9 Caption setting and operation
This chapter explains how to set up and operate captions on this product.
The caption function allows you to composite still images or text onto the video being streamed.This can be used to display a message to viewers or a logo on the video being streamed.
9-1 Basics for creating and editing subtitles
Captions in this product are composed of multiple “layers”, which are layered together to create a composite result.There are two types of layers: “image layers” and “text layers”. To create the desired caption, first create an empty caption, then add the raster image and text required for the caption content as image and text layers, respectively.
To use image layers, you must first create a still image to use as a layer using image editing software, and then upload the image to this product’s memory using LiveShell Studio.Text layers can be entered or edited using LiveShell Studio.
Creating a new caption
To create a new caption, follow these steps.
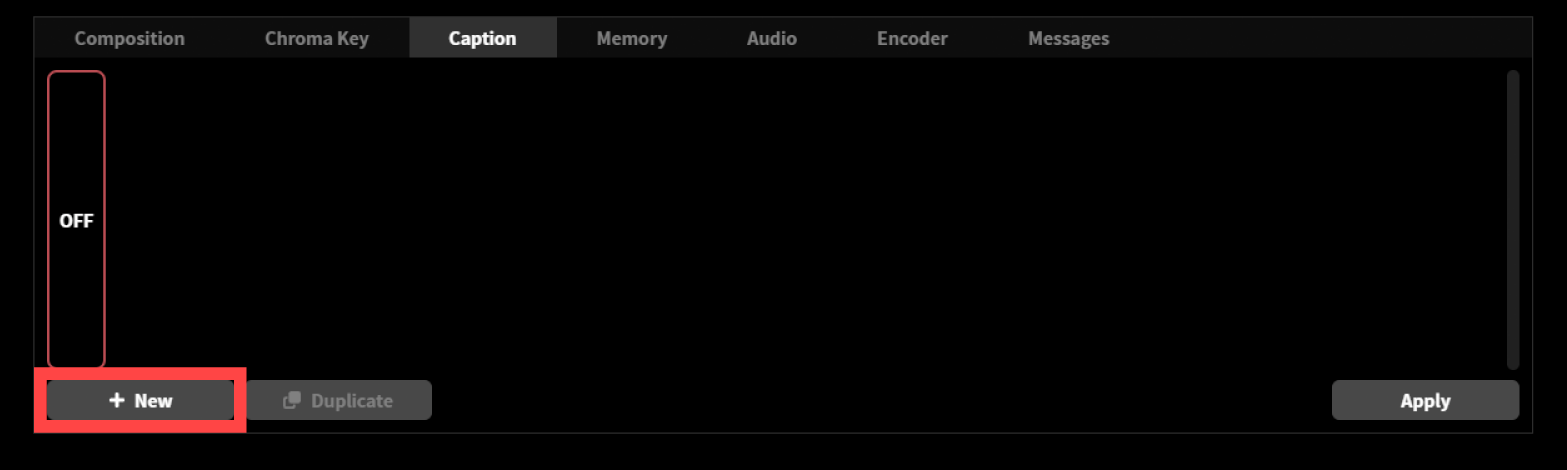
Click the “New” button displayed within “Caption”.
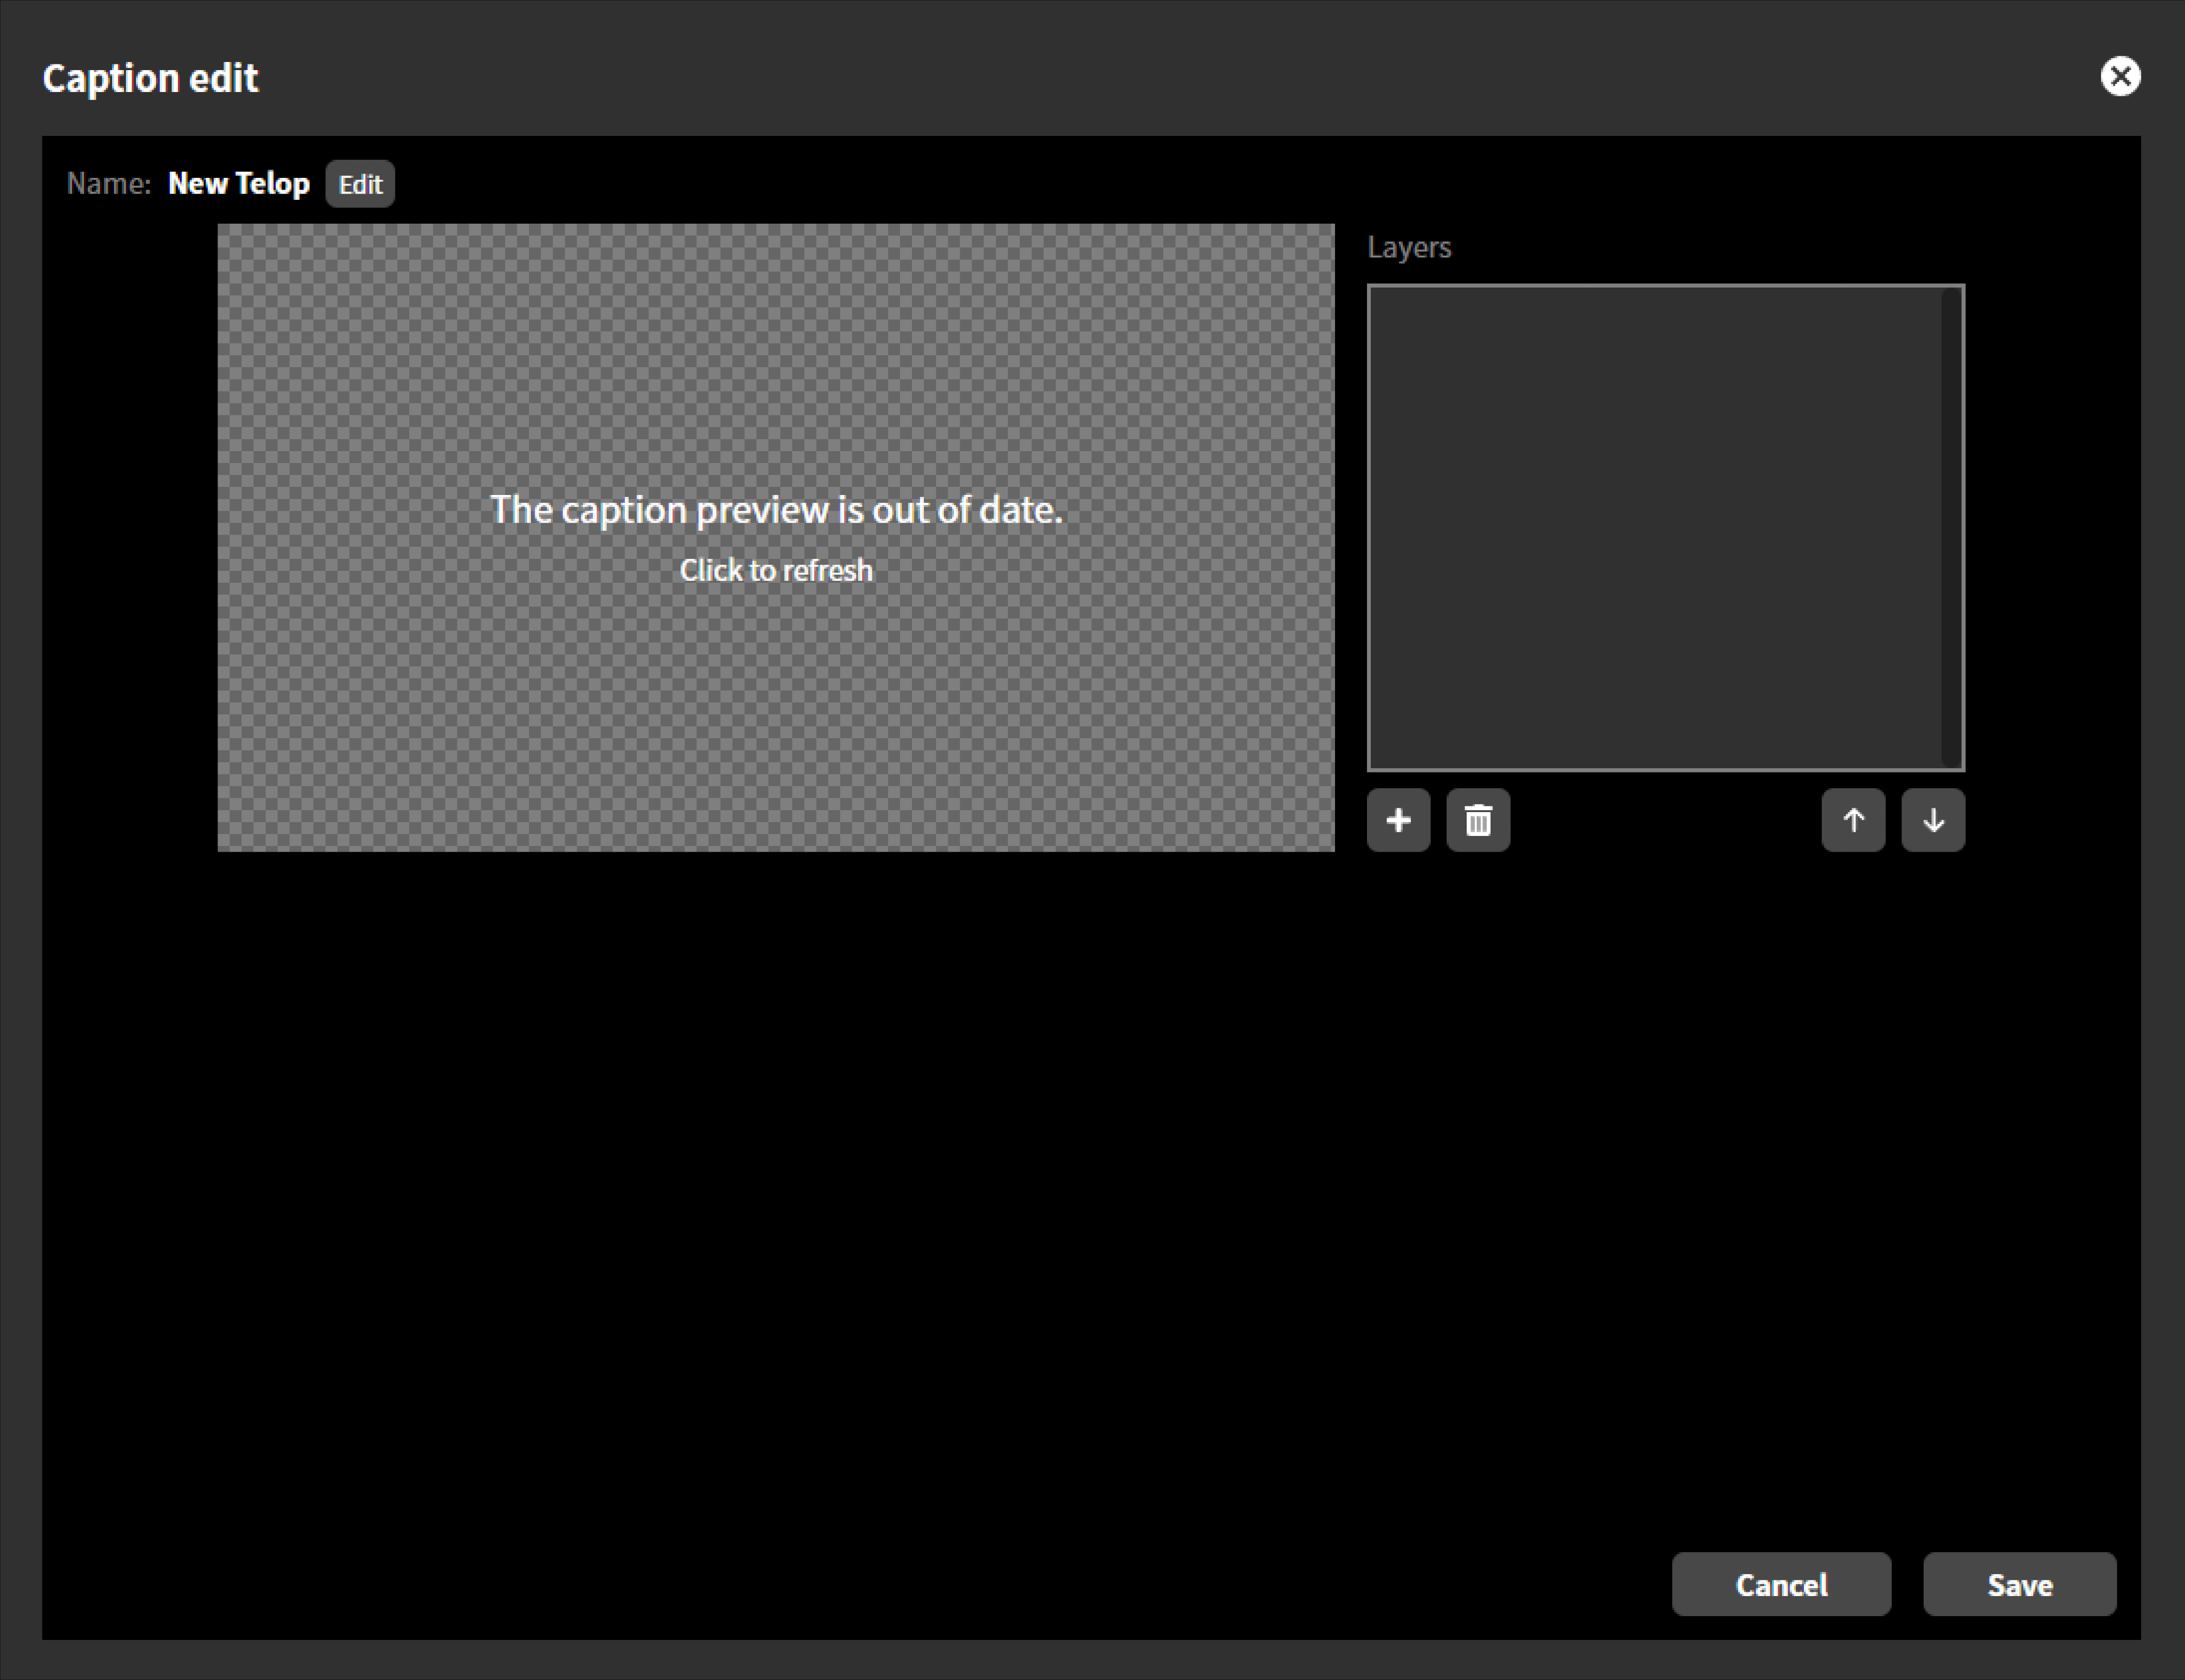
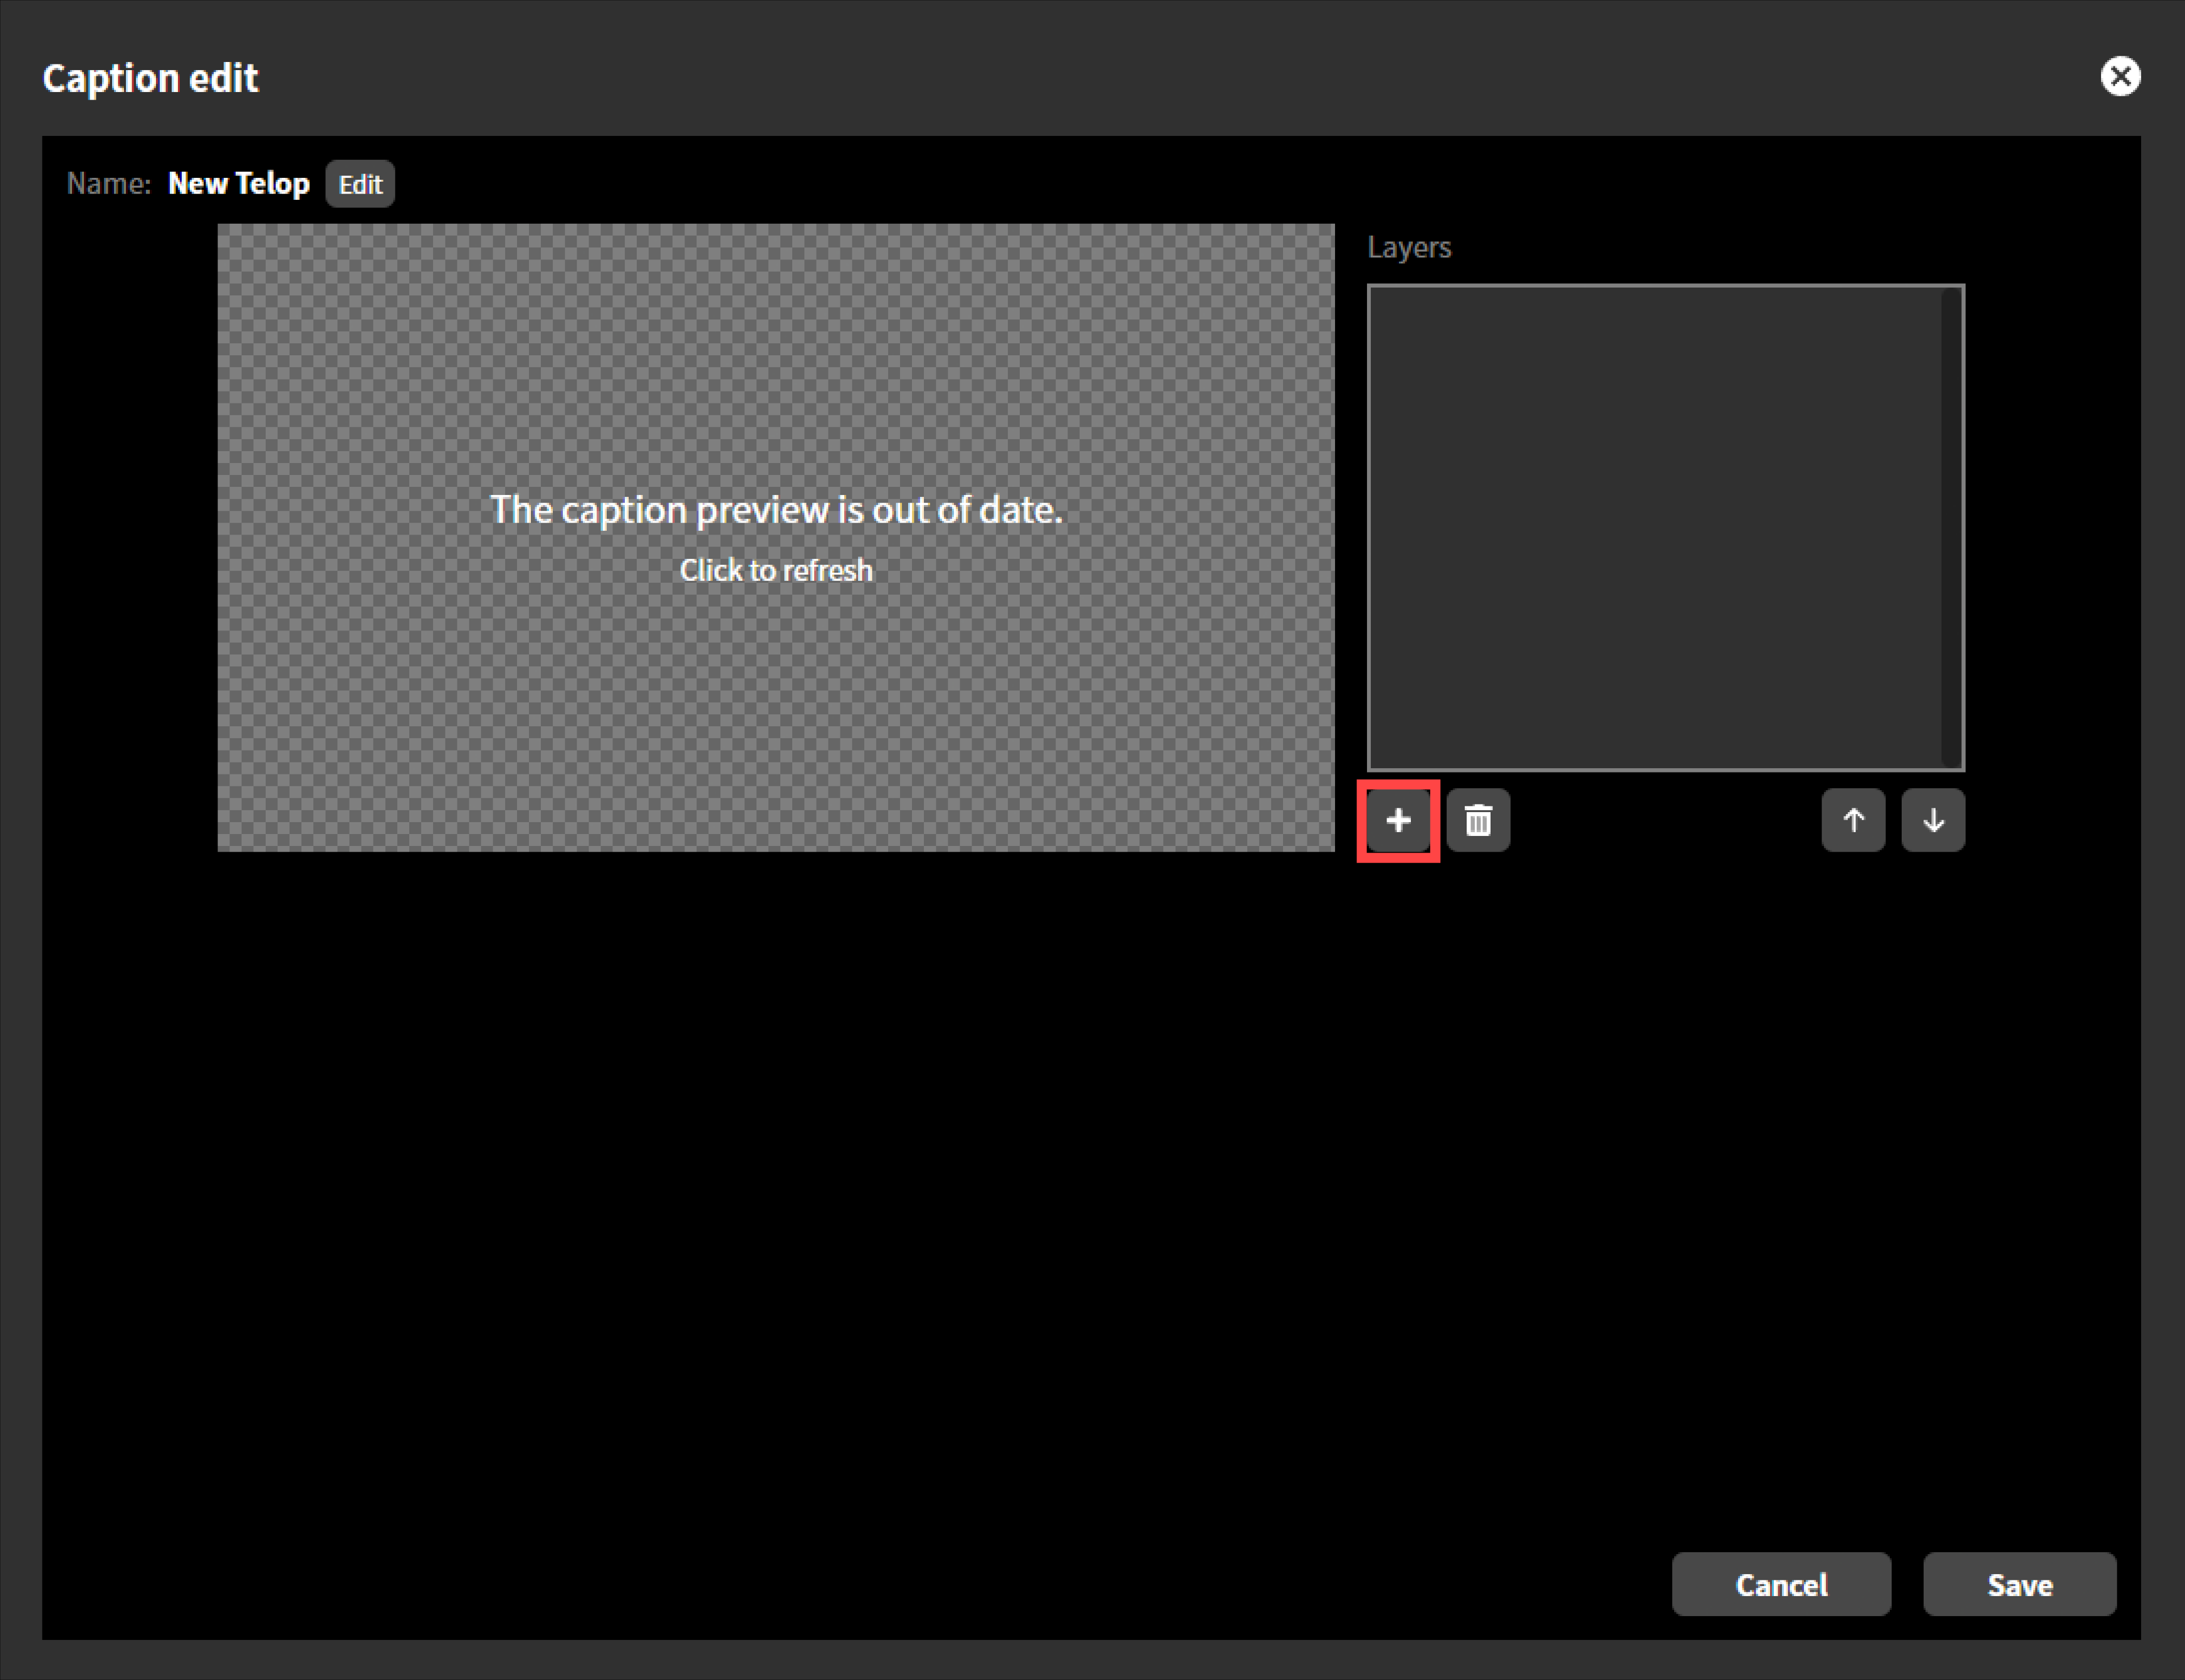
The “Caption Edit” dialog will appear. At this point, there are no layers that make up the caption content. It is a transparent caption.
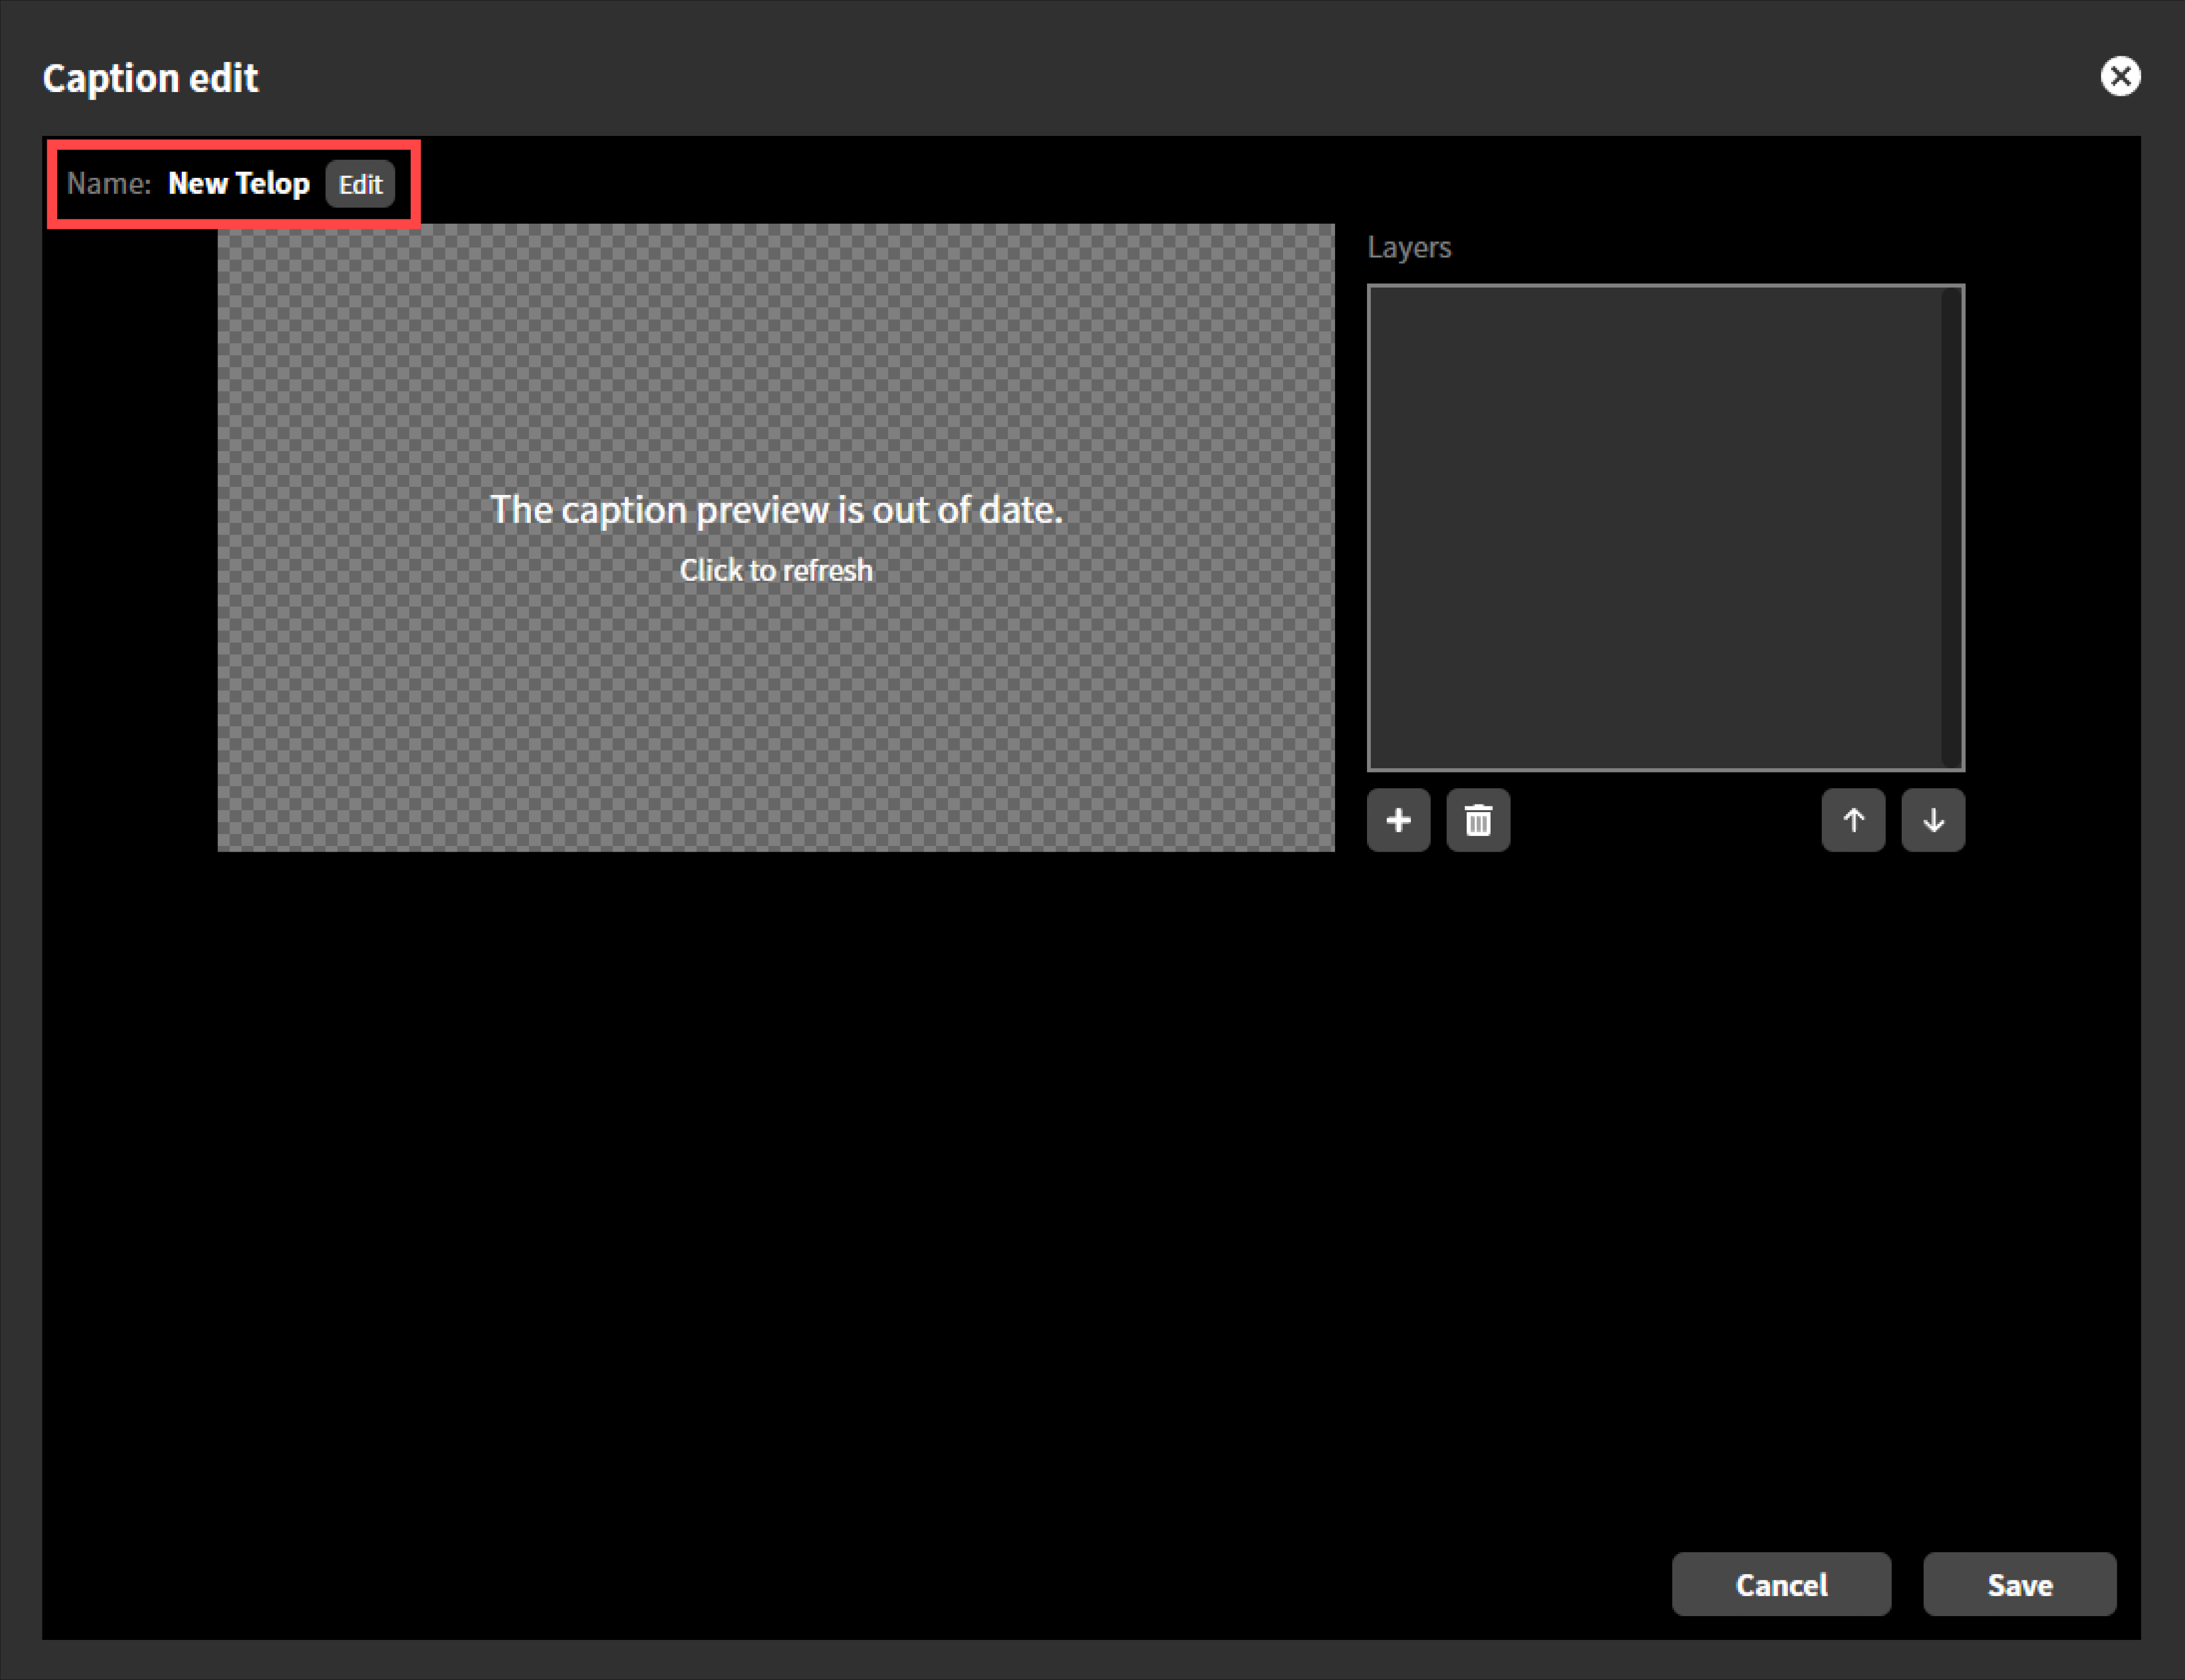
You can name the caption any name you like. A newly created caption will be named “New Telop”. You can change the name by clicking the “Change” button next to the name.
Adding a Layer
To add a new layer on the caption, follow these steps.
Click the “+” button at the bottom of “Layers”.
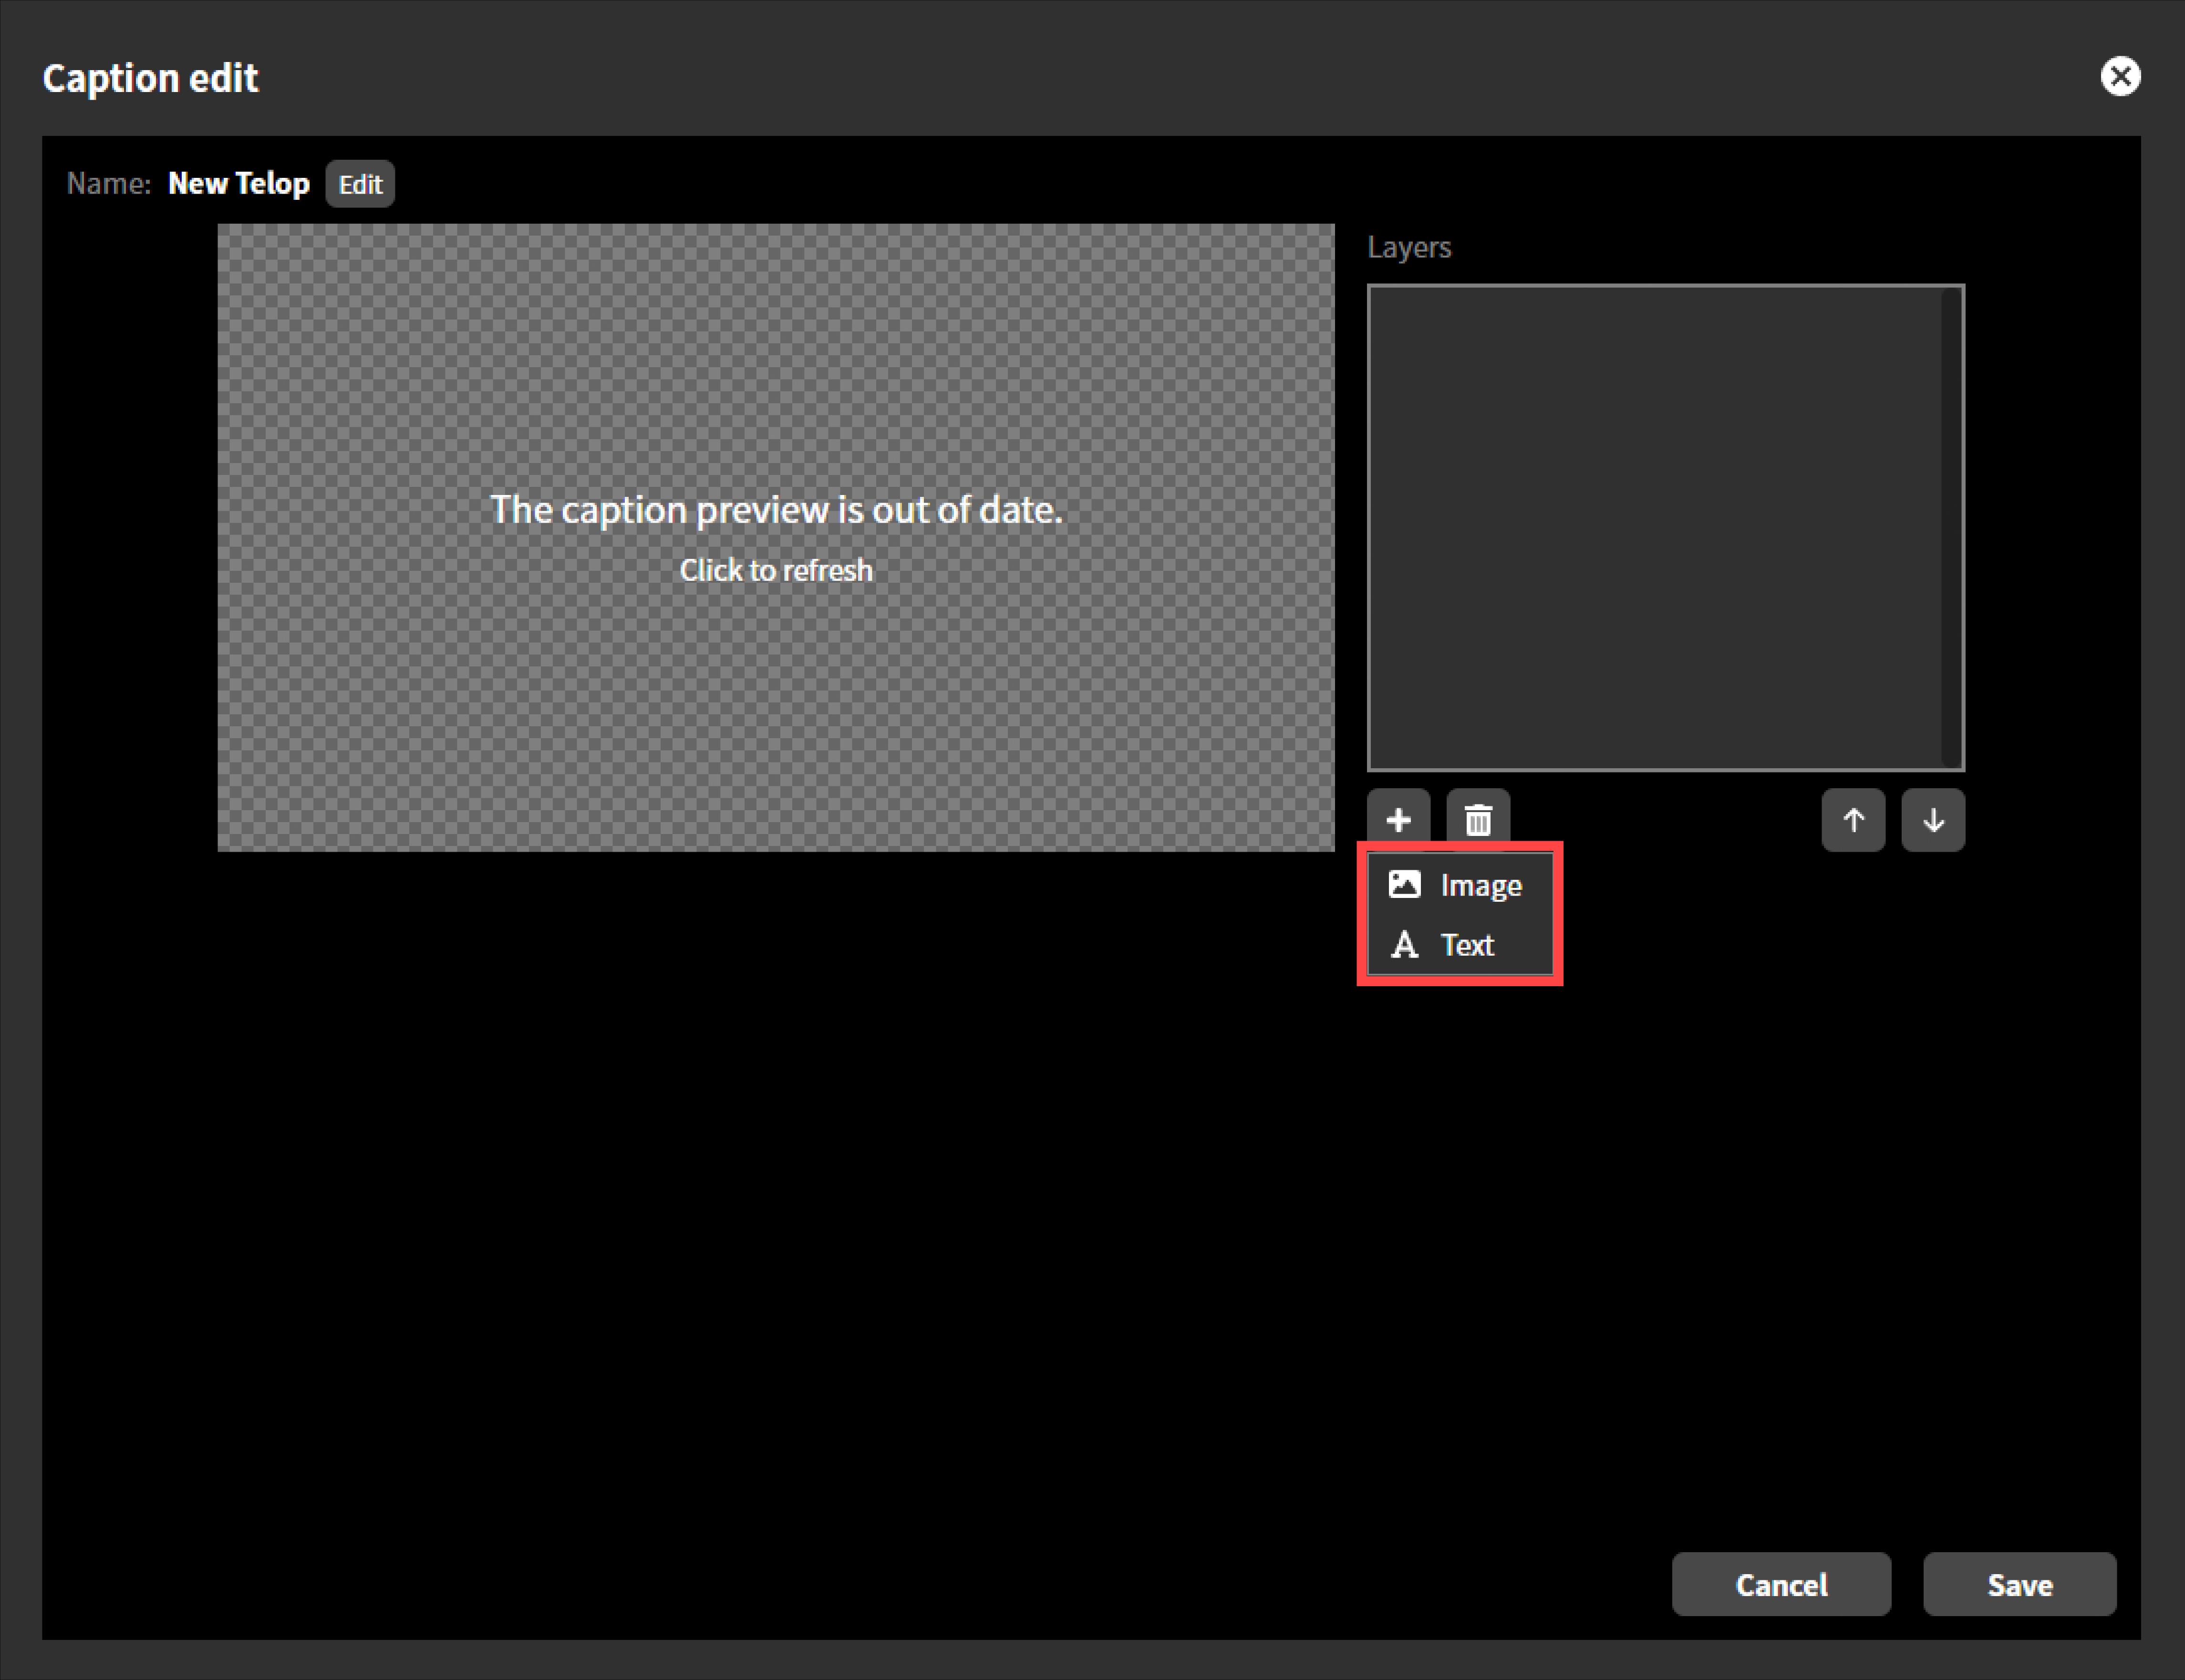
A submenu will appear, allowing you to select either “Image” or “Text”.Select “Image” if you want to add an image layer, or “Text” if you want to add a text layer.
Adding an image layer
To add a new image layer, follow these steps.
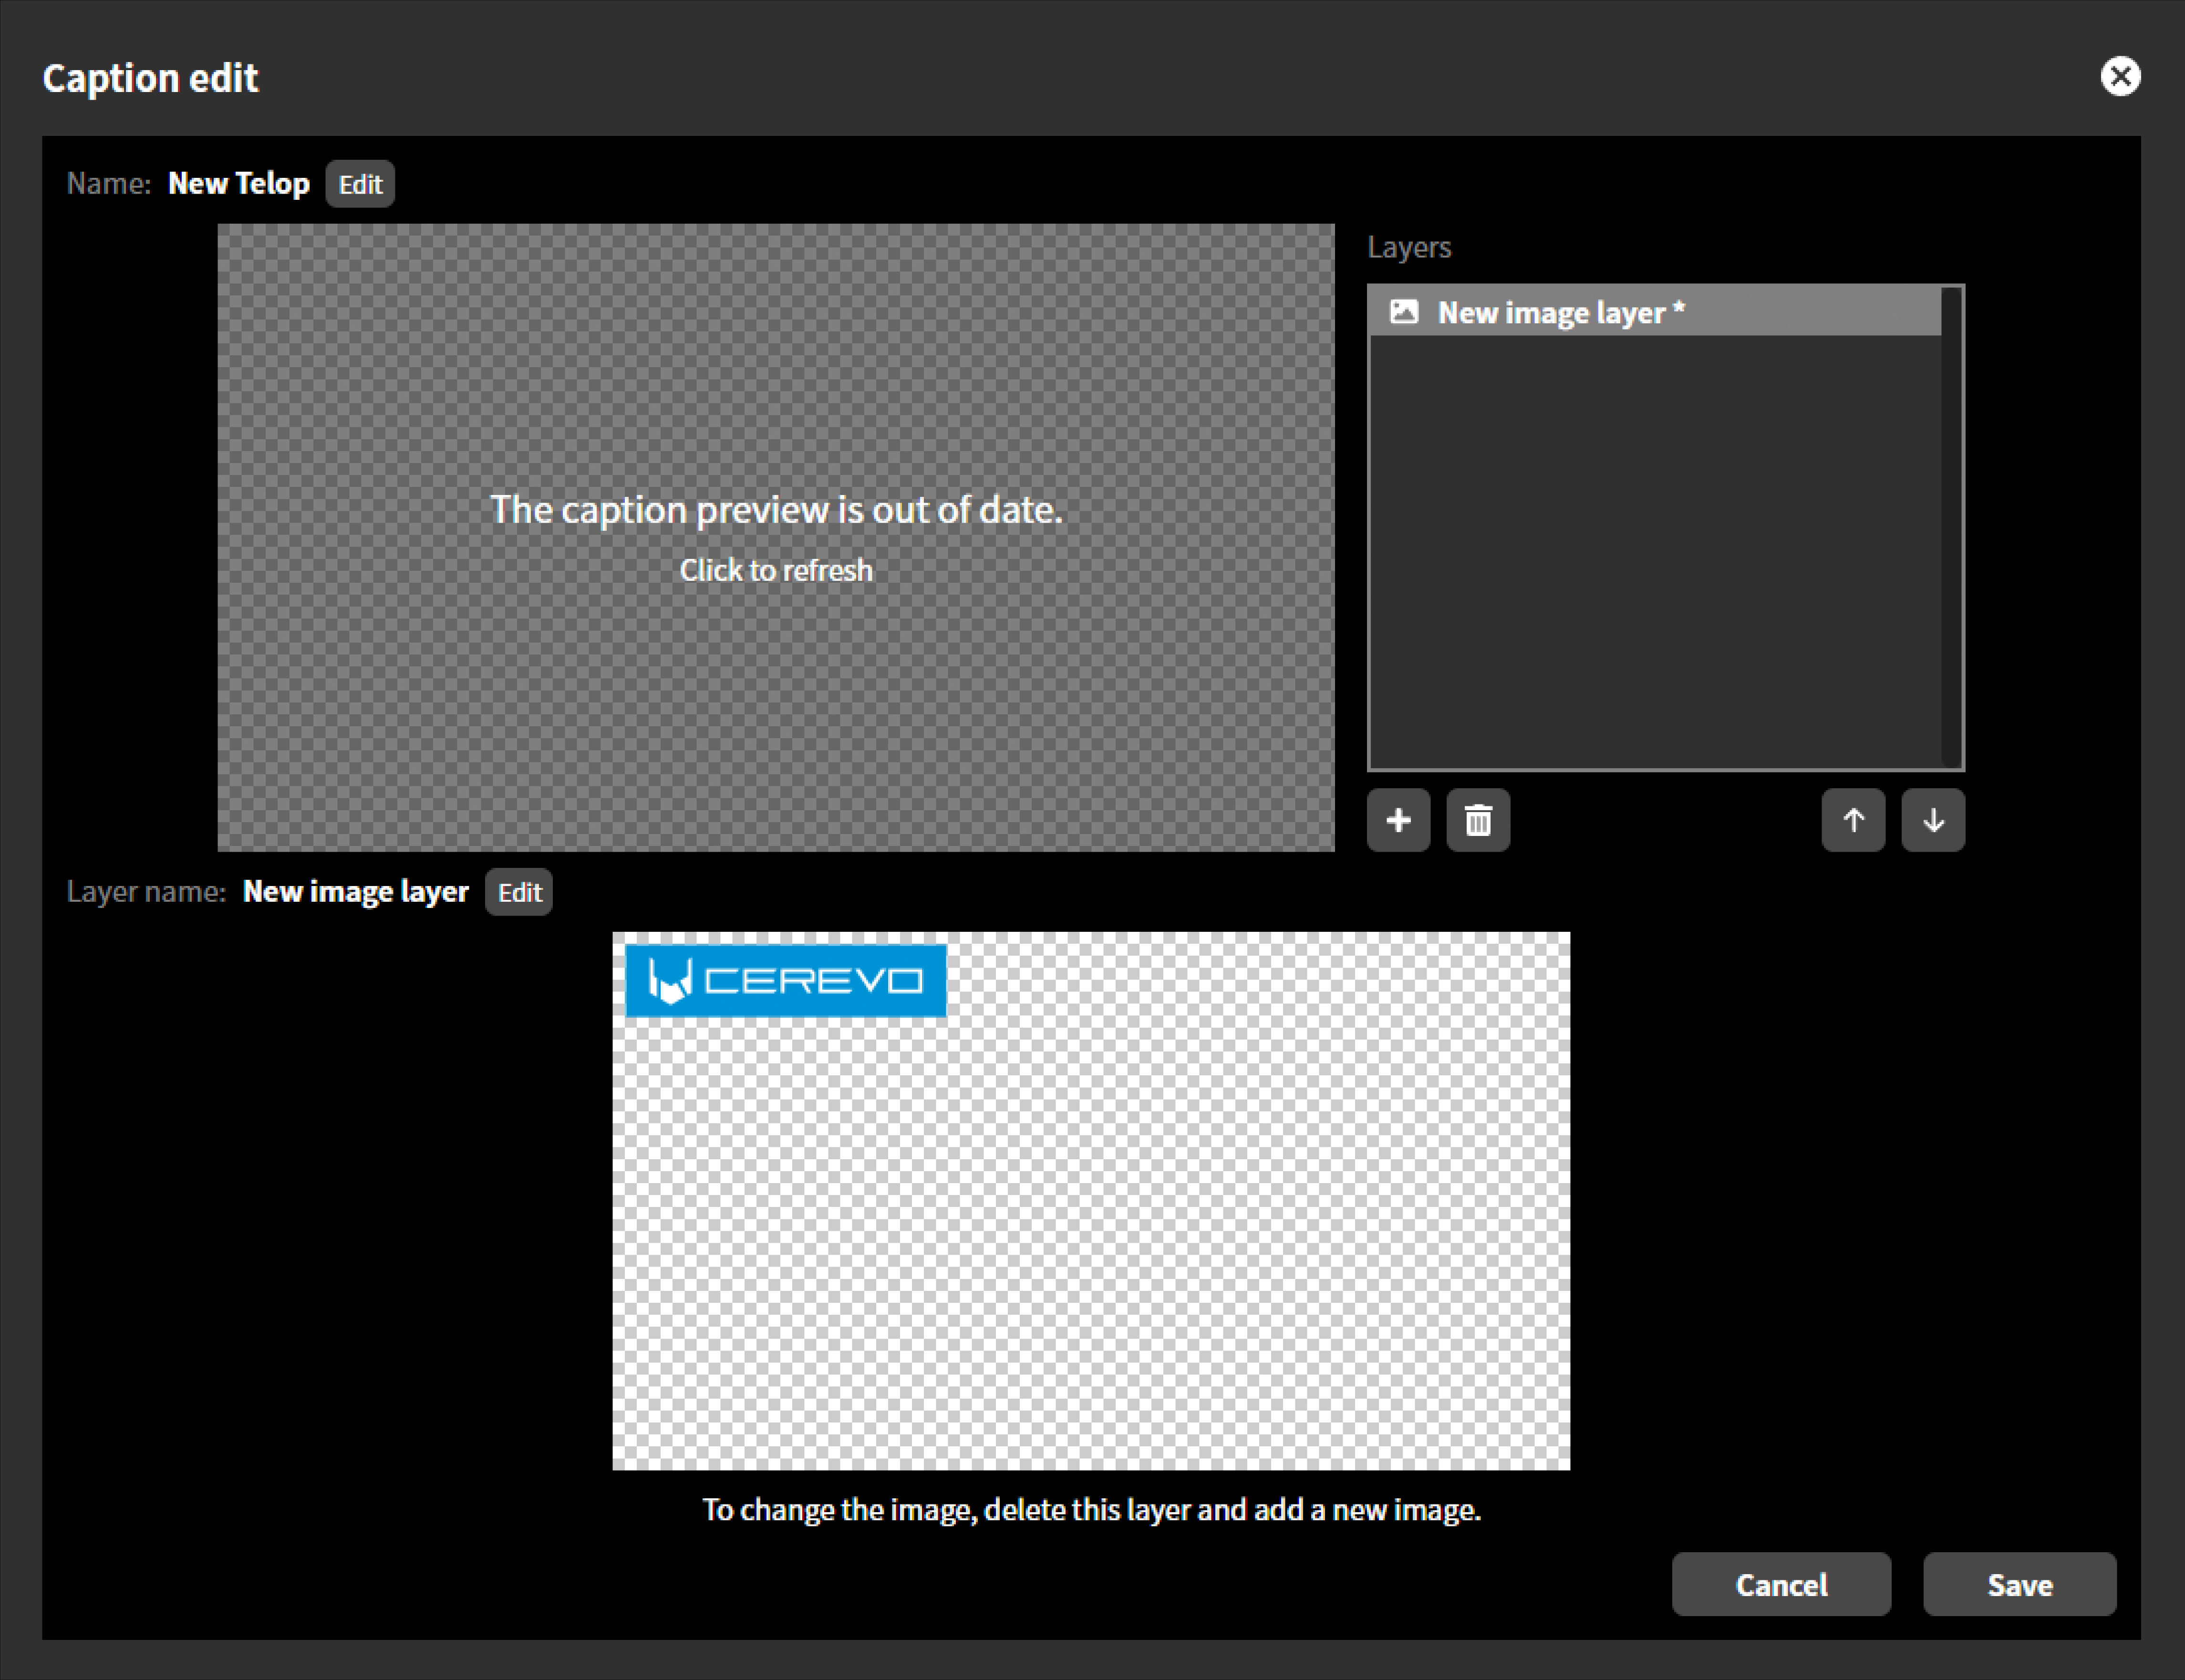
If you select “Image” in “Add Layer” in the previous section, you will be asked to upload an image file. Select the image file you created in advance on the operating device and upload it.
This image must meet the following conditions:
The file format must be a PNG image.
The image resolution must be the same as the system video format.
For example, if the system video format is set to 1920x1080 60p, it is recommended an image size of 1920x1080 dots.If the system video format is set to 1280x720 60p, we recommend an image size of 1280x720.
If the image resolution differs from the system resolution, it will be adjusted to the same size as the system resolution, ignoring the aspect ratio, and then composited.
The file size must be 4 MB or less.
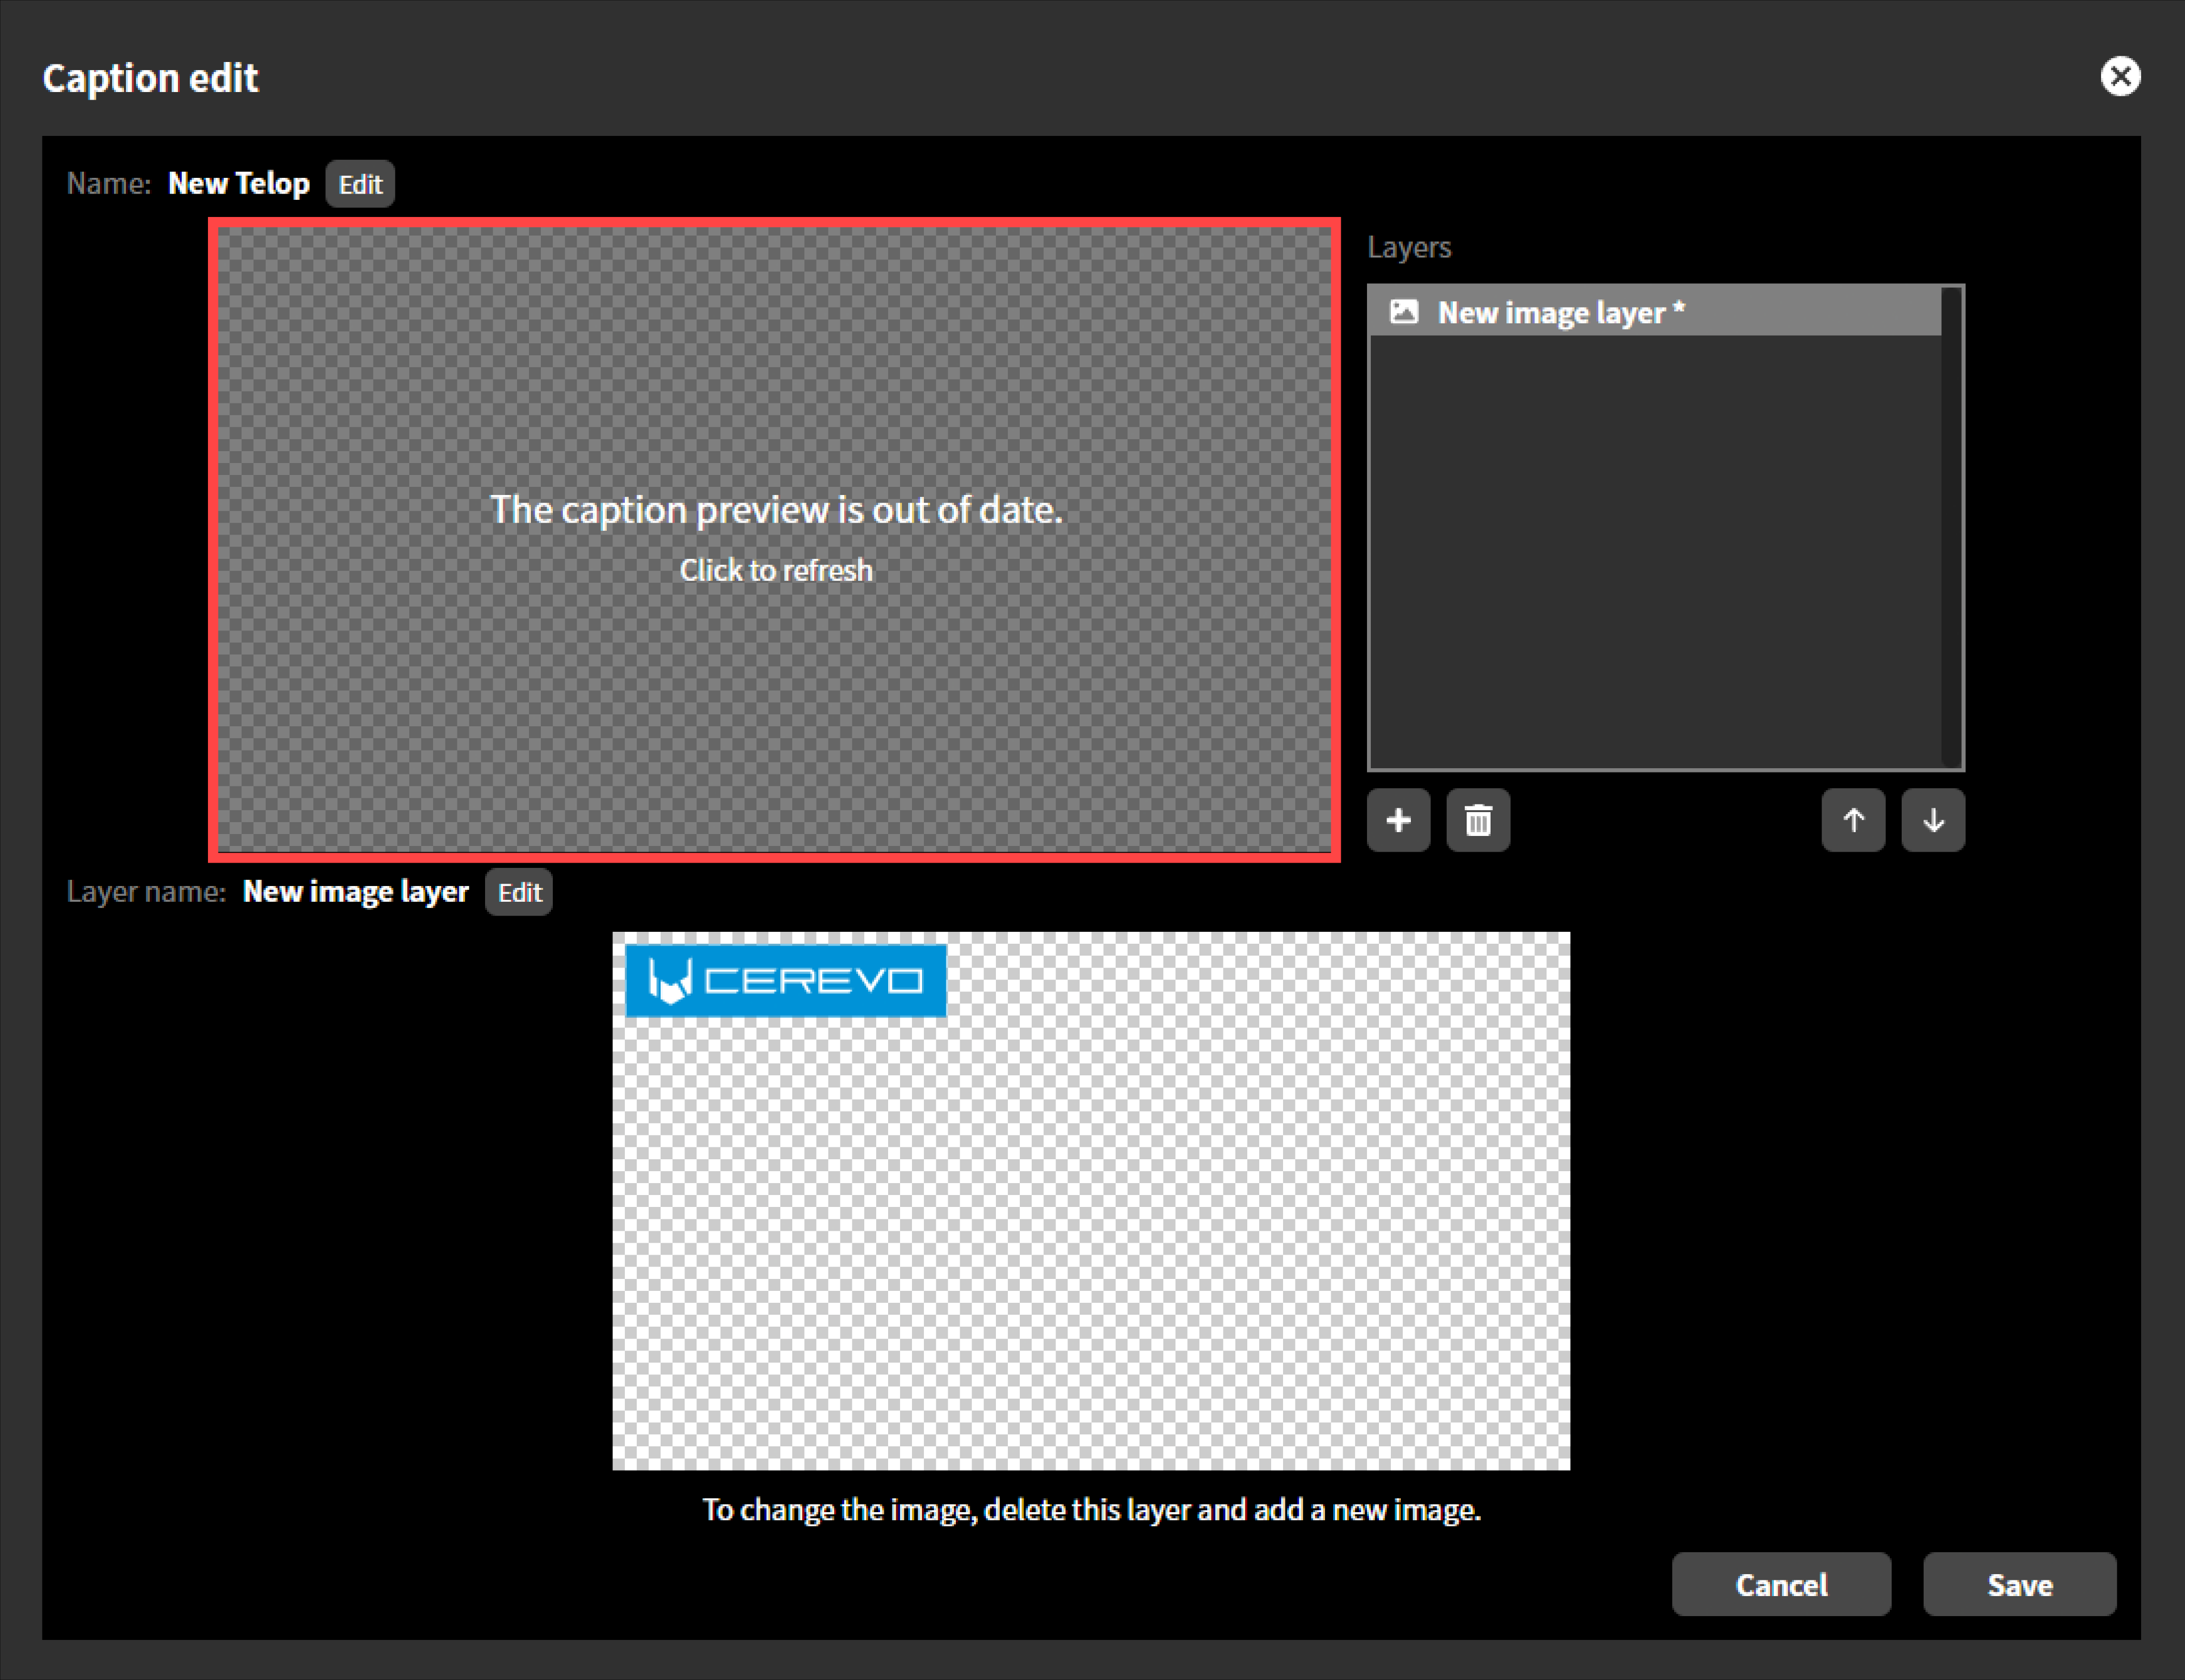
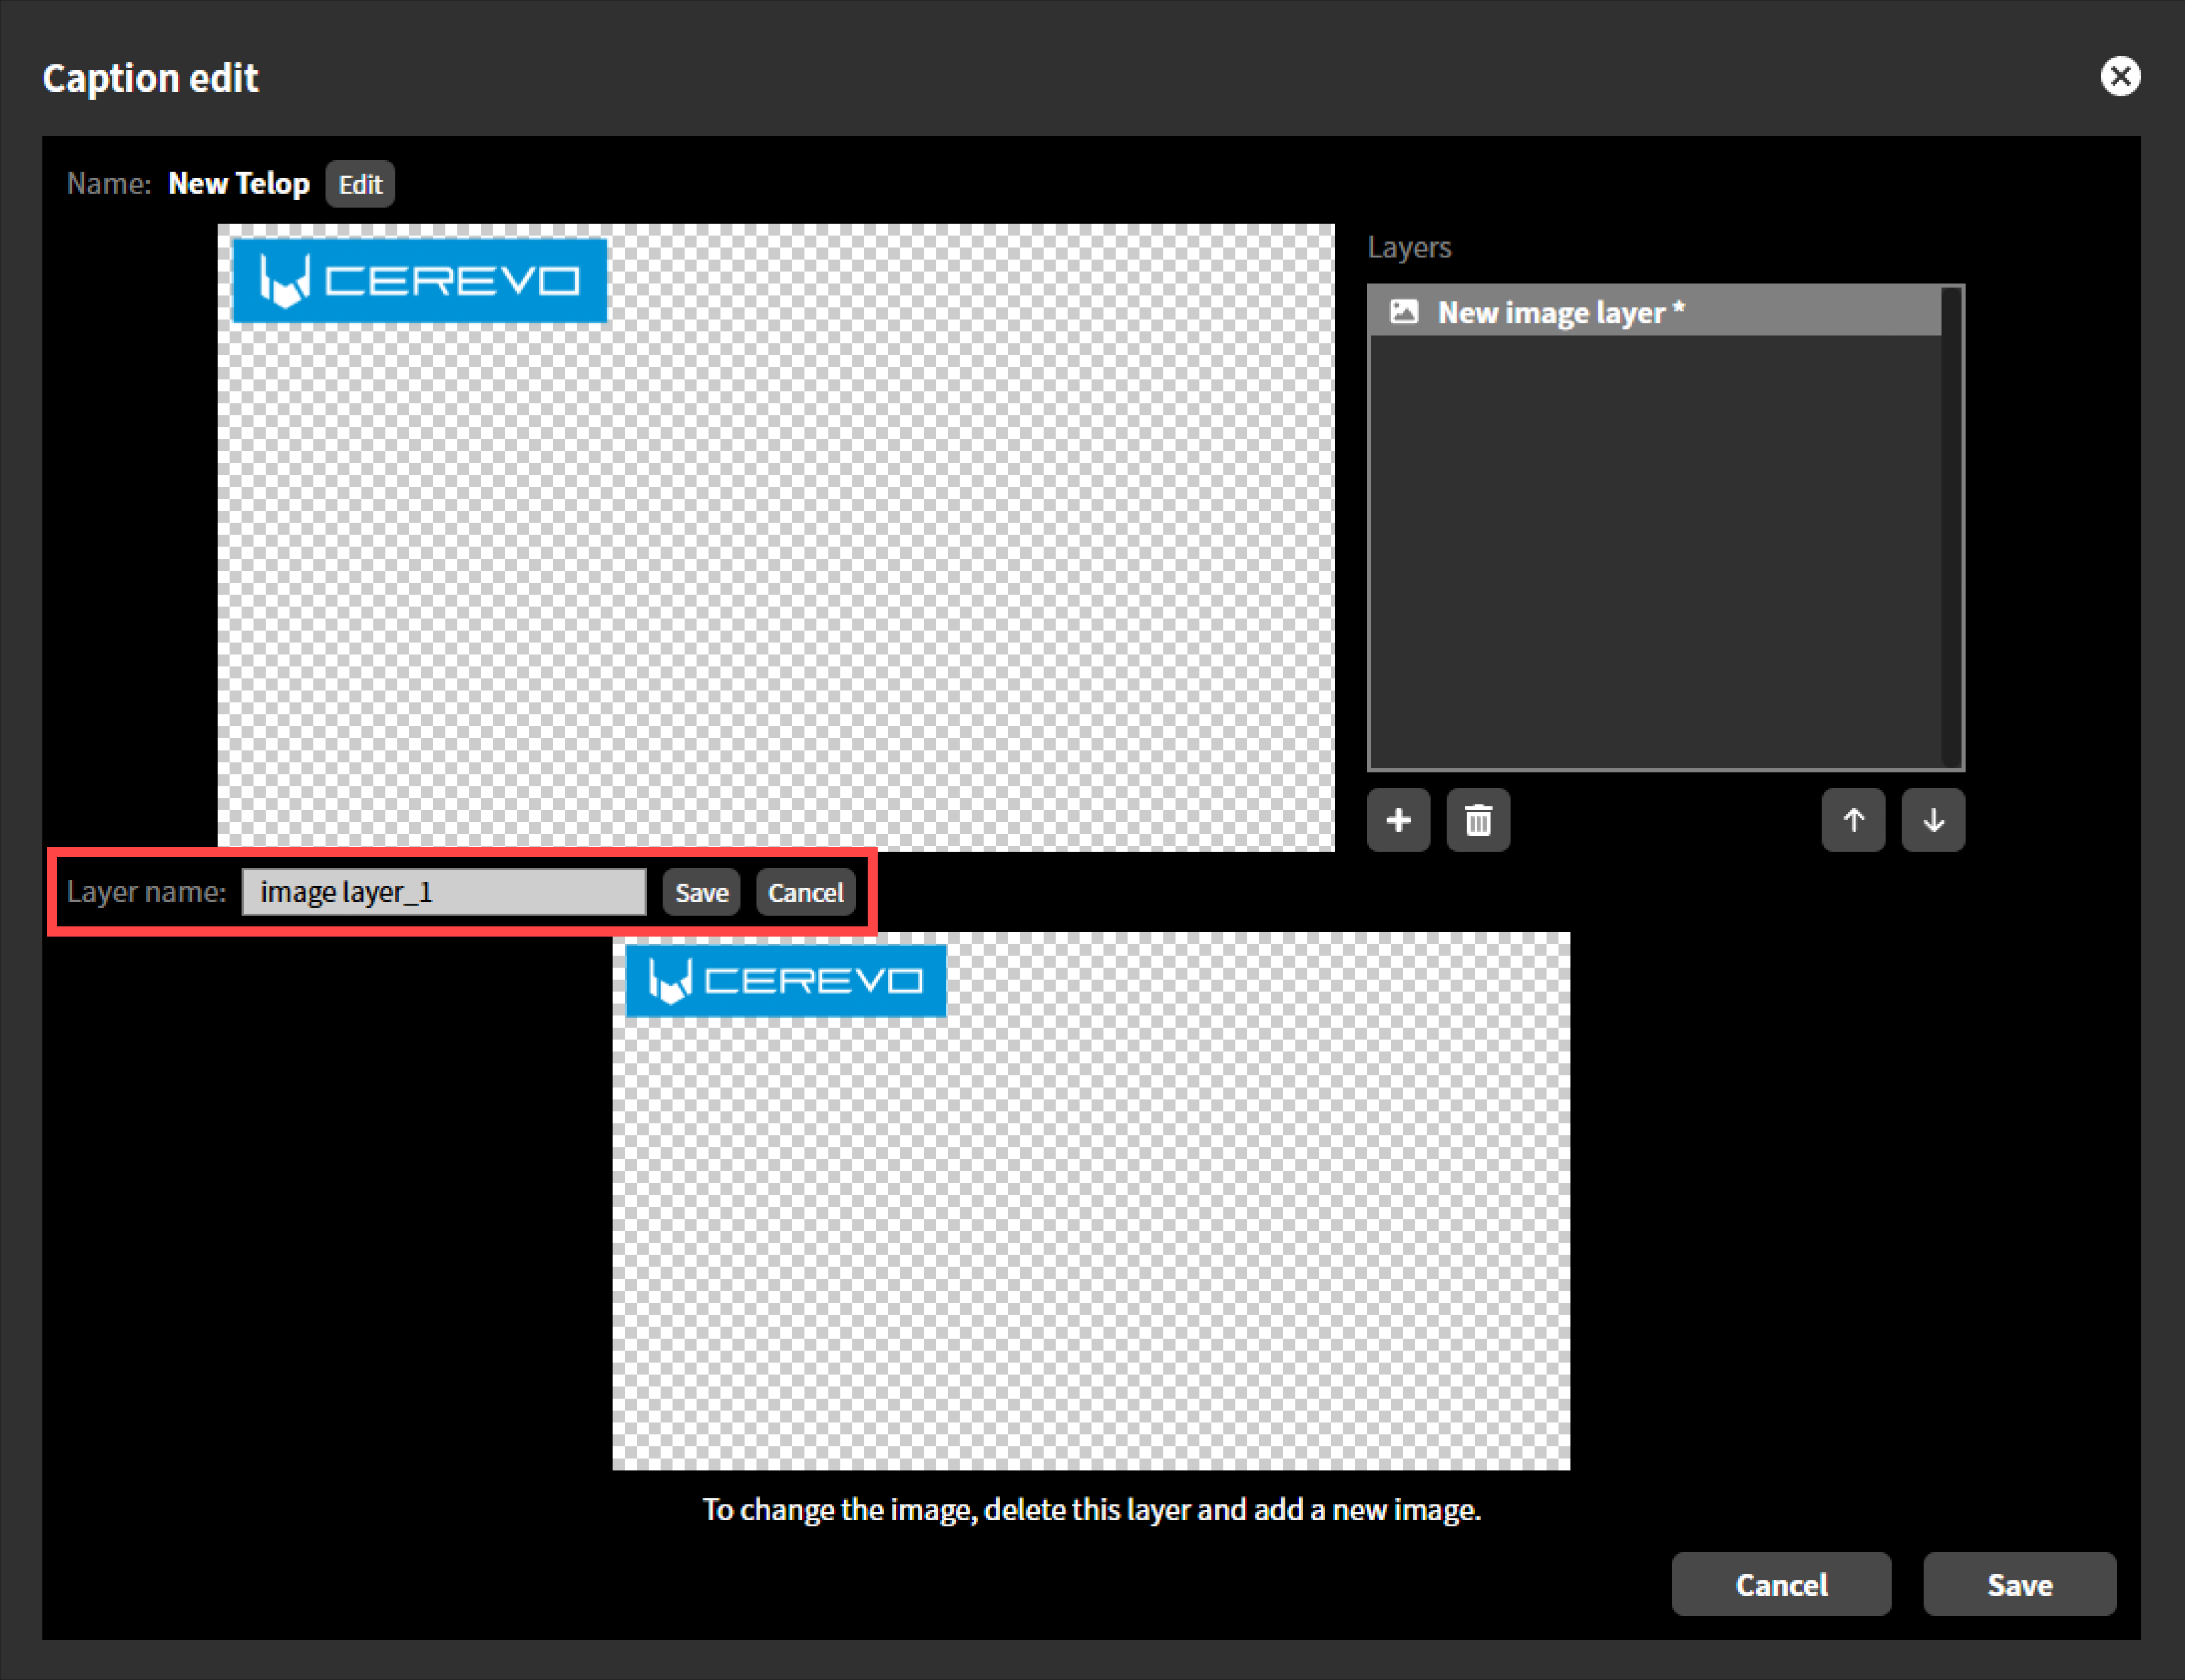
 2. The preview does not update automatically. If you want to check it, click “Preview” to update it.
 3. To edit the layer name, click “Edit”.
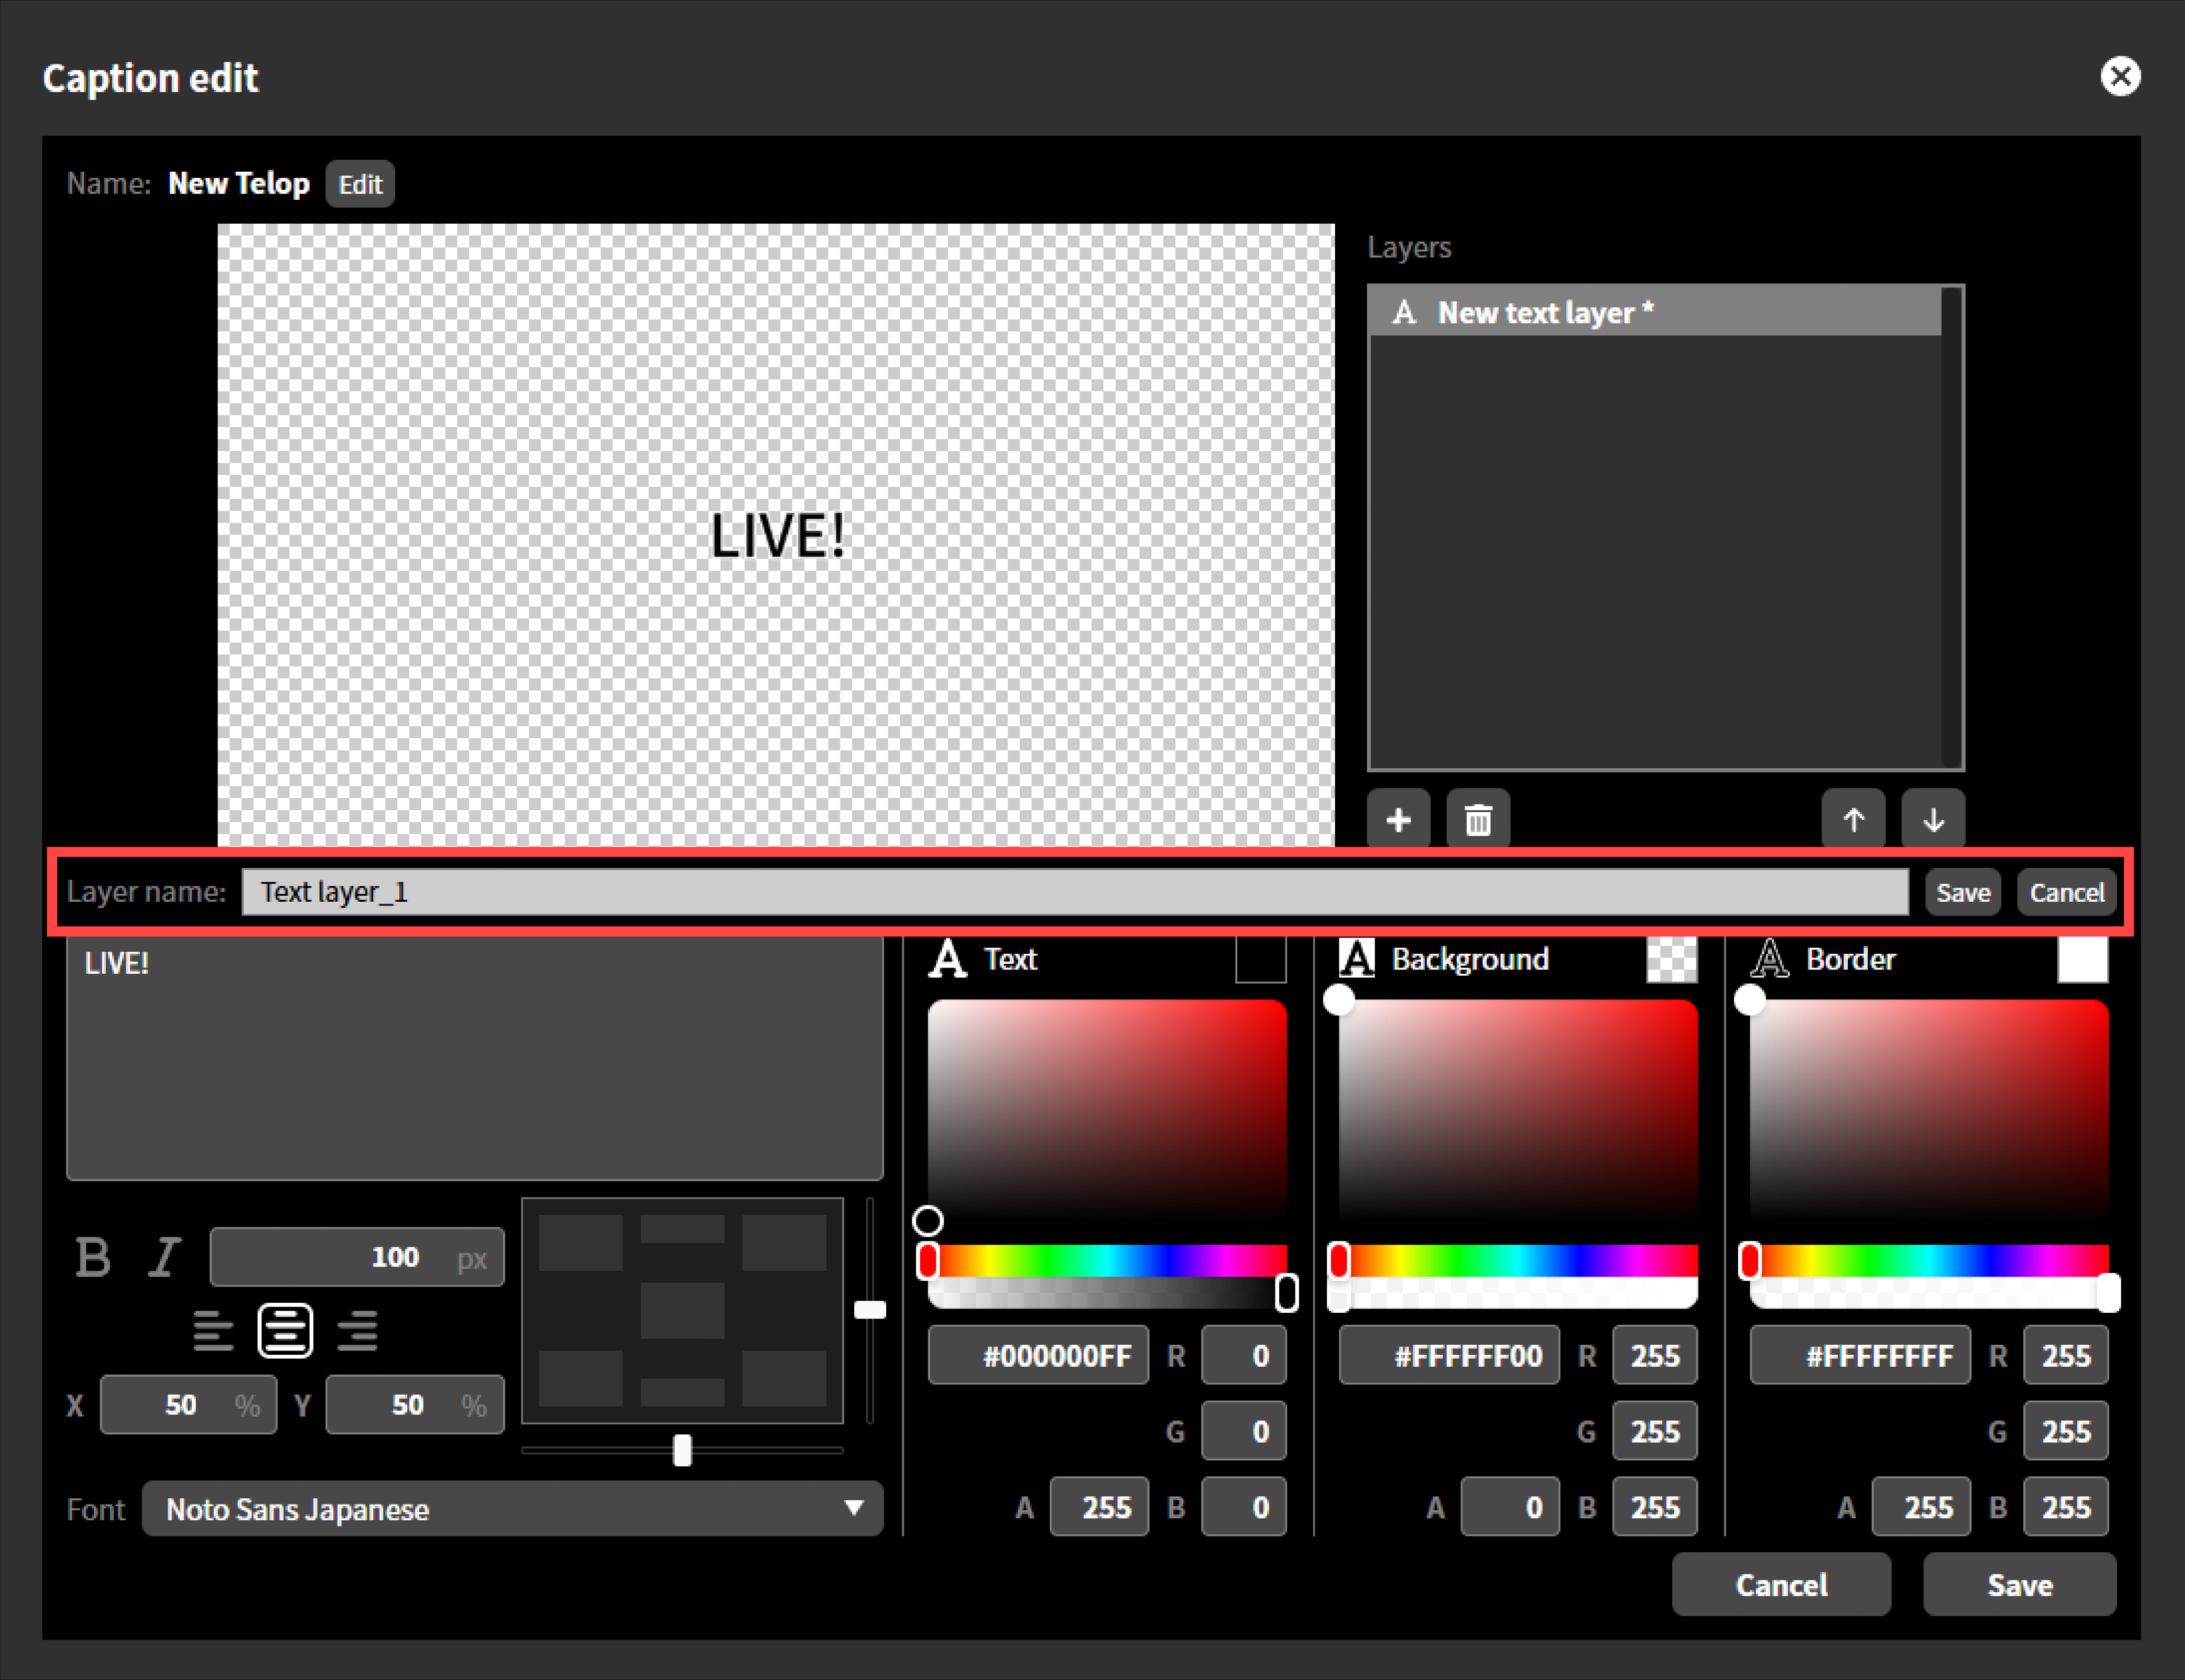
 4. Enter a layer name you wish and click “Save”.
 5. Once all edits are complete, click “Save”.
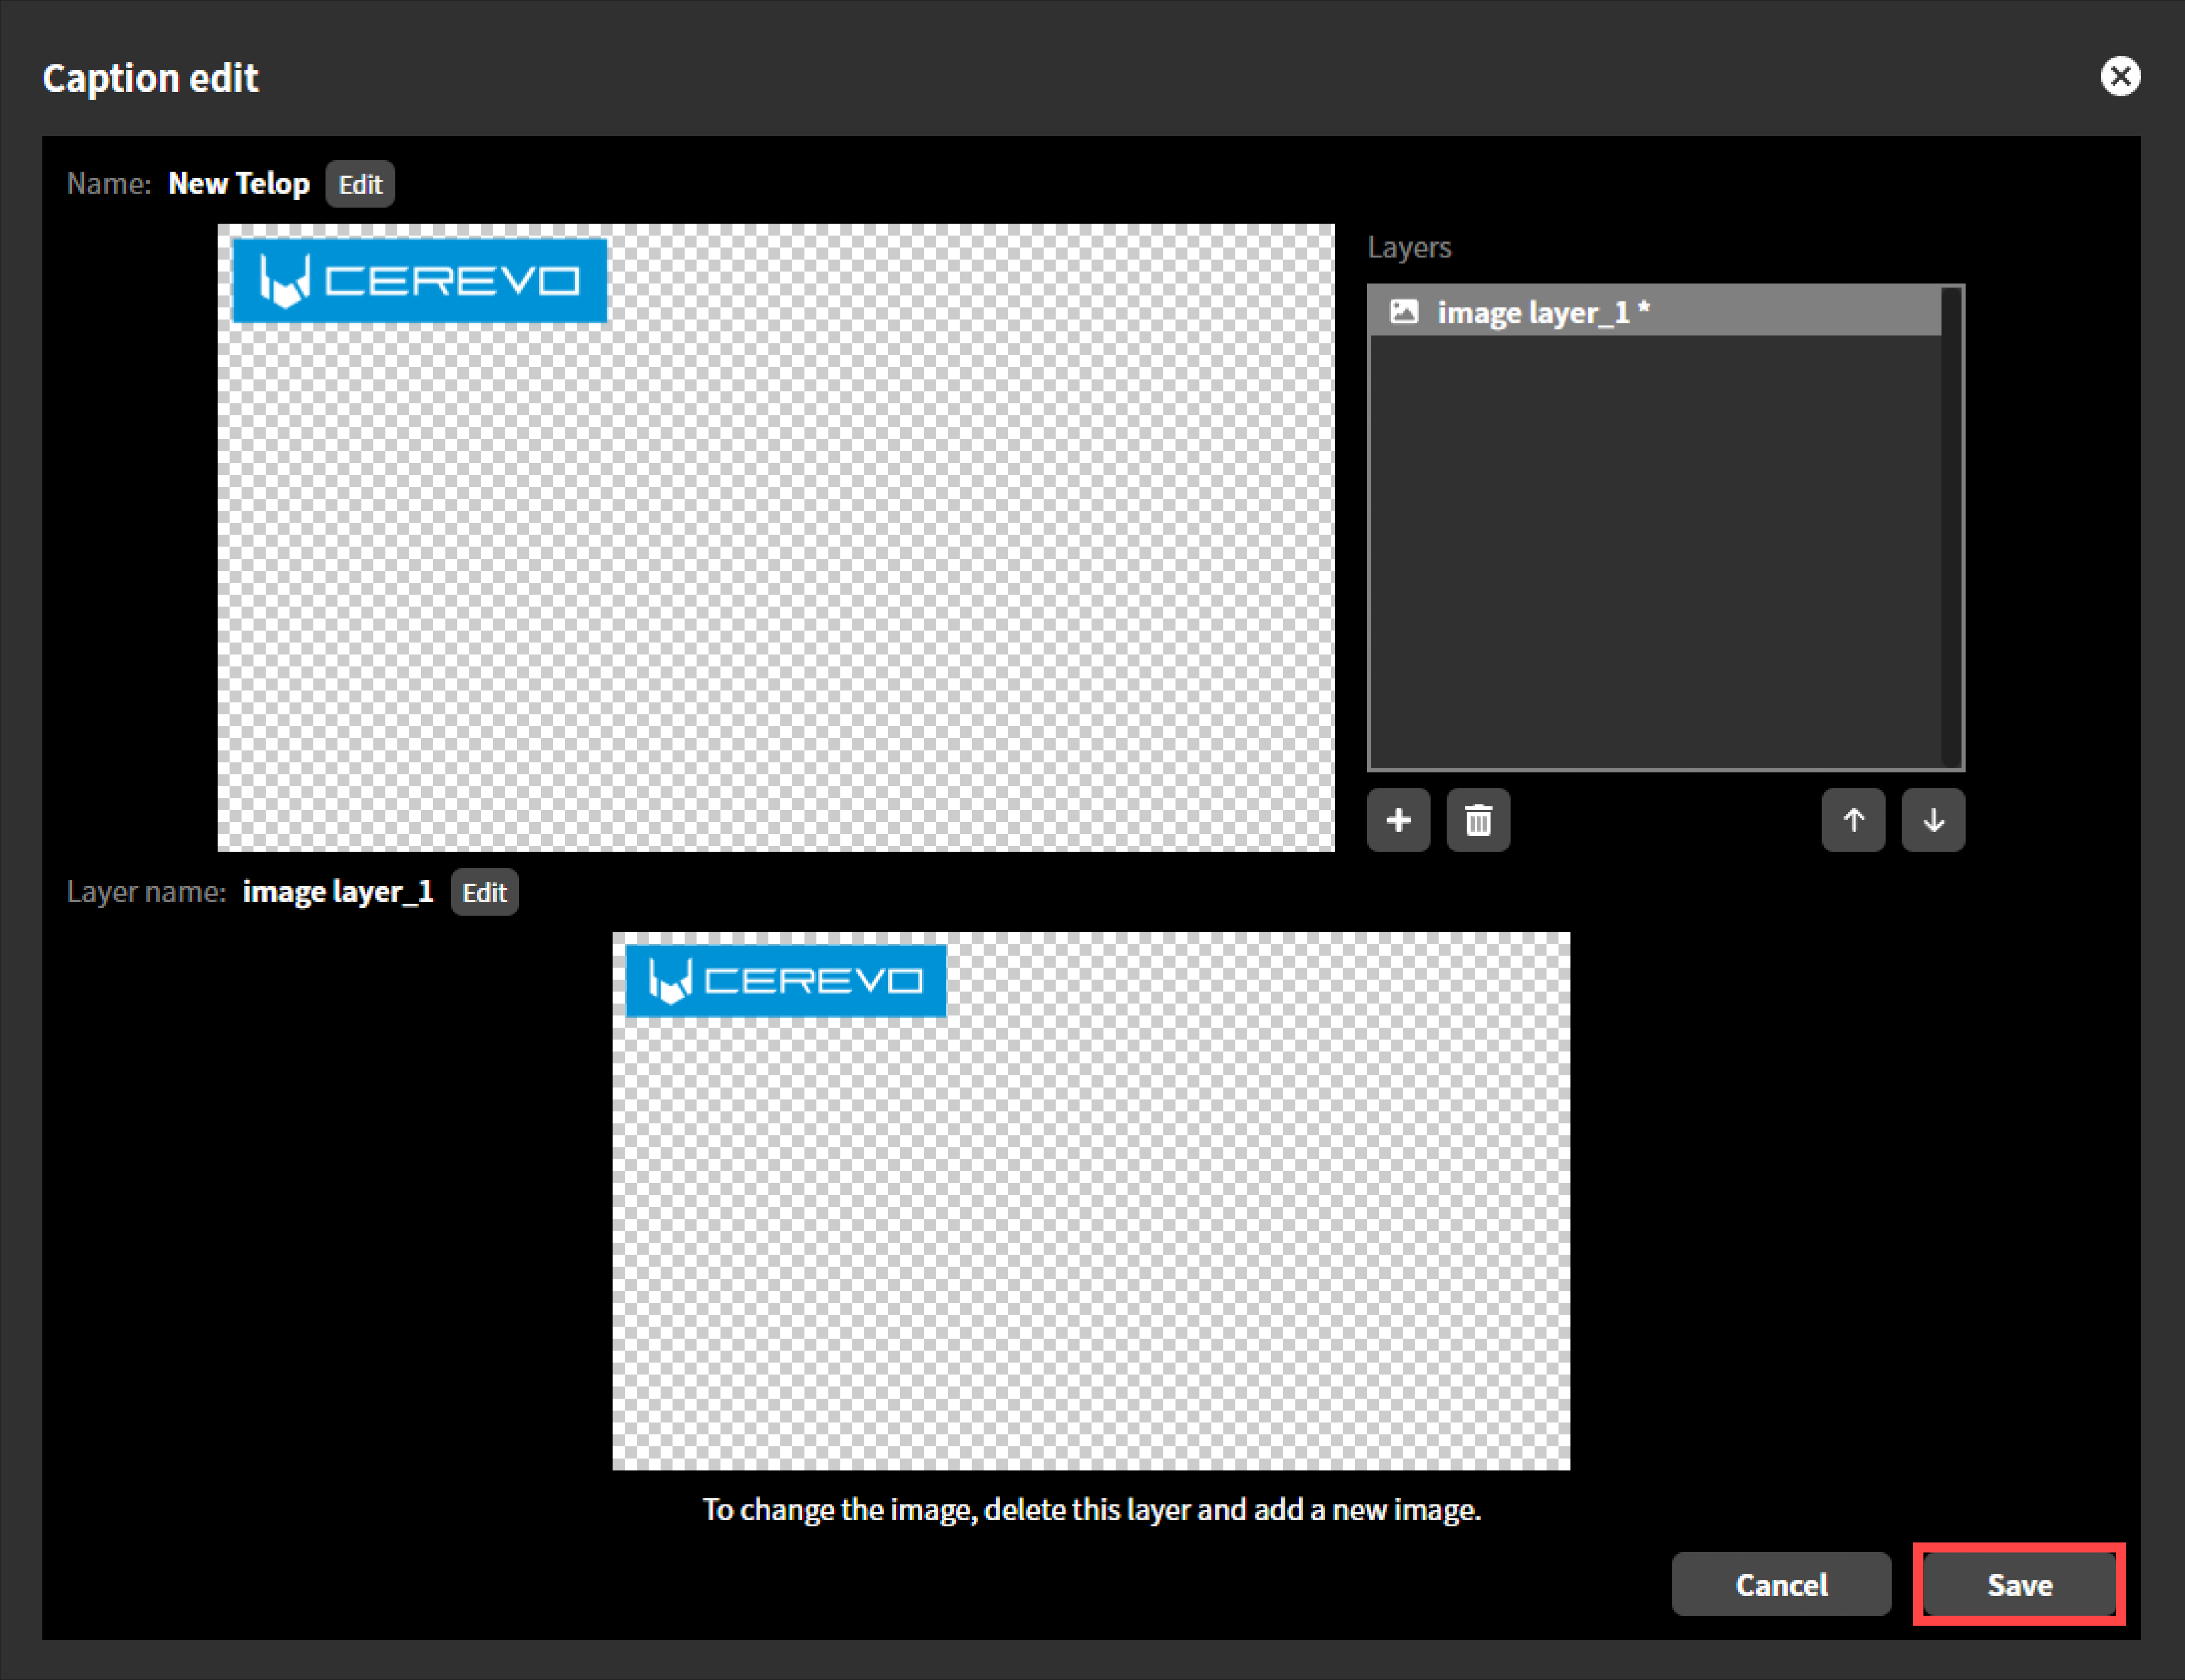 6. Once saving is complete, the “Edit Text” window will close automatically.
Adding a text layer
To add a text layer, follow these steps.
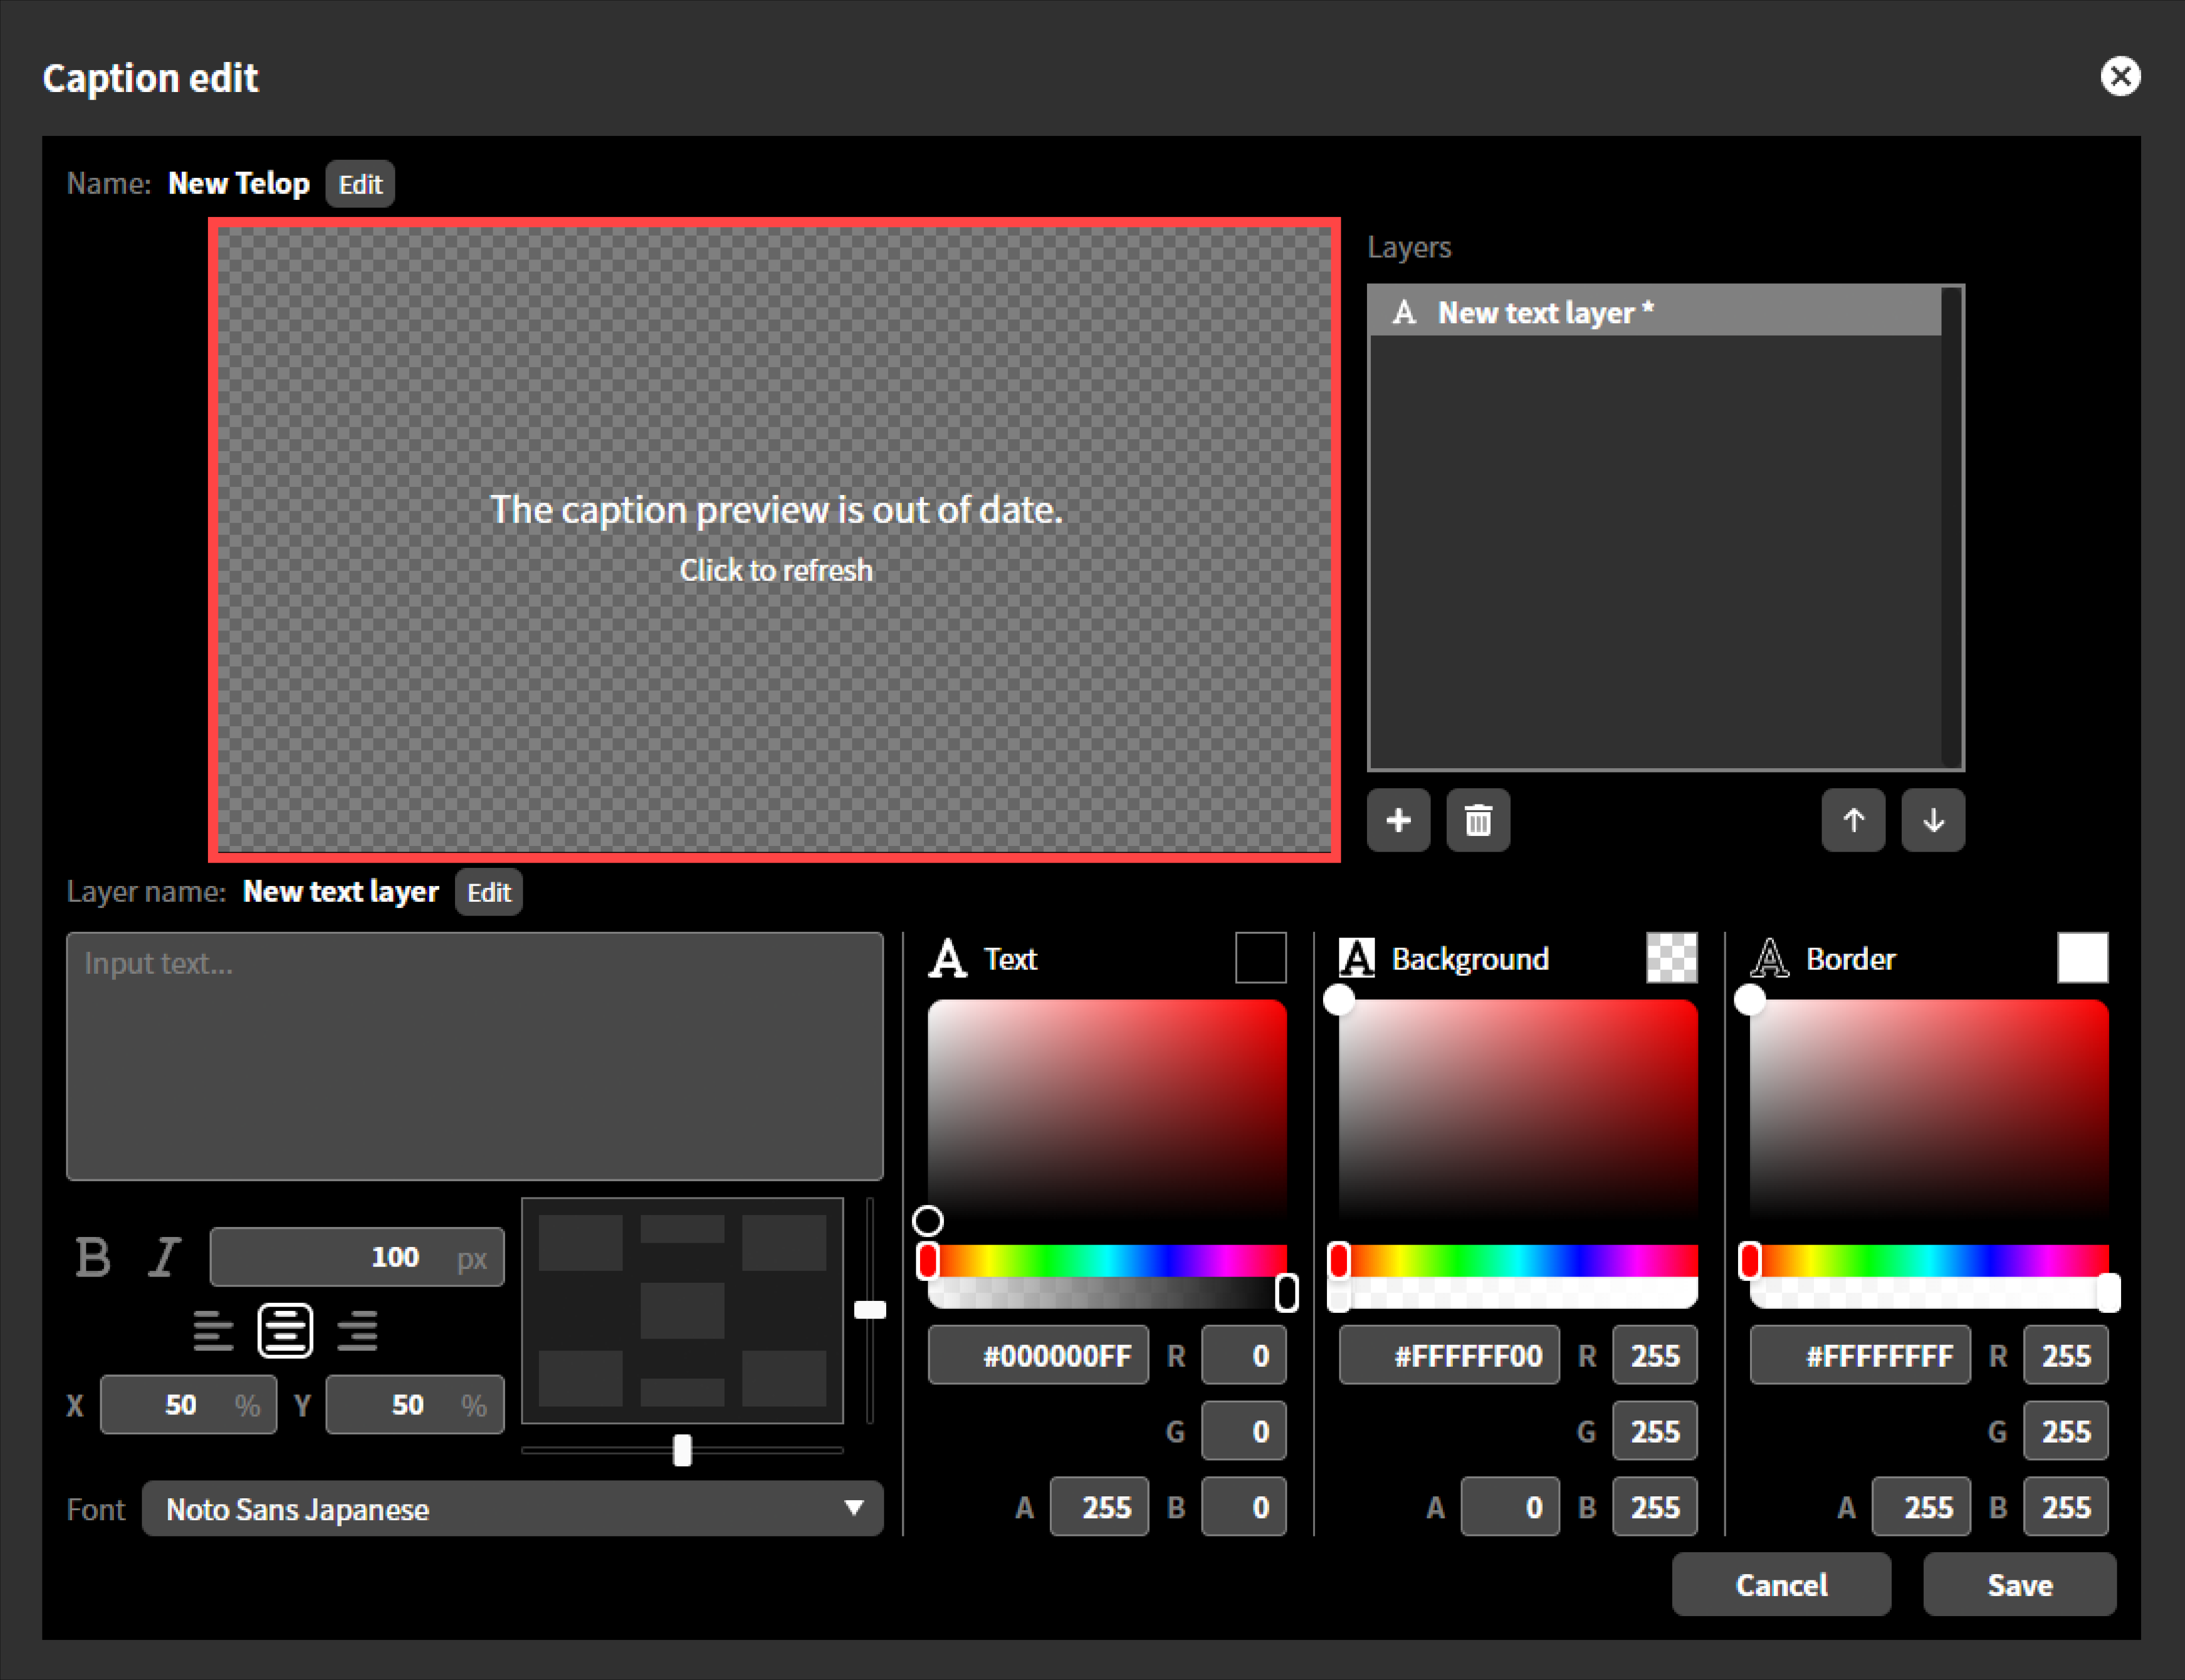
In the previous section, “Adding a layer”, when you select “Text”, the text caption editing screen will appear.
 On this screen, you can edit the text to be displayed as captions, as well as instructions such as text size, color, and on-screen placement.
Editing methods vary depending on the content. Please refer to the individual procedures below for each.The preview does not update automatically. If you want to check it, click “Preview” to refresh it.
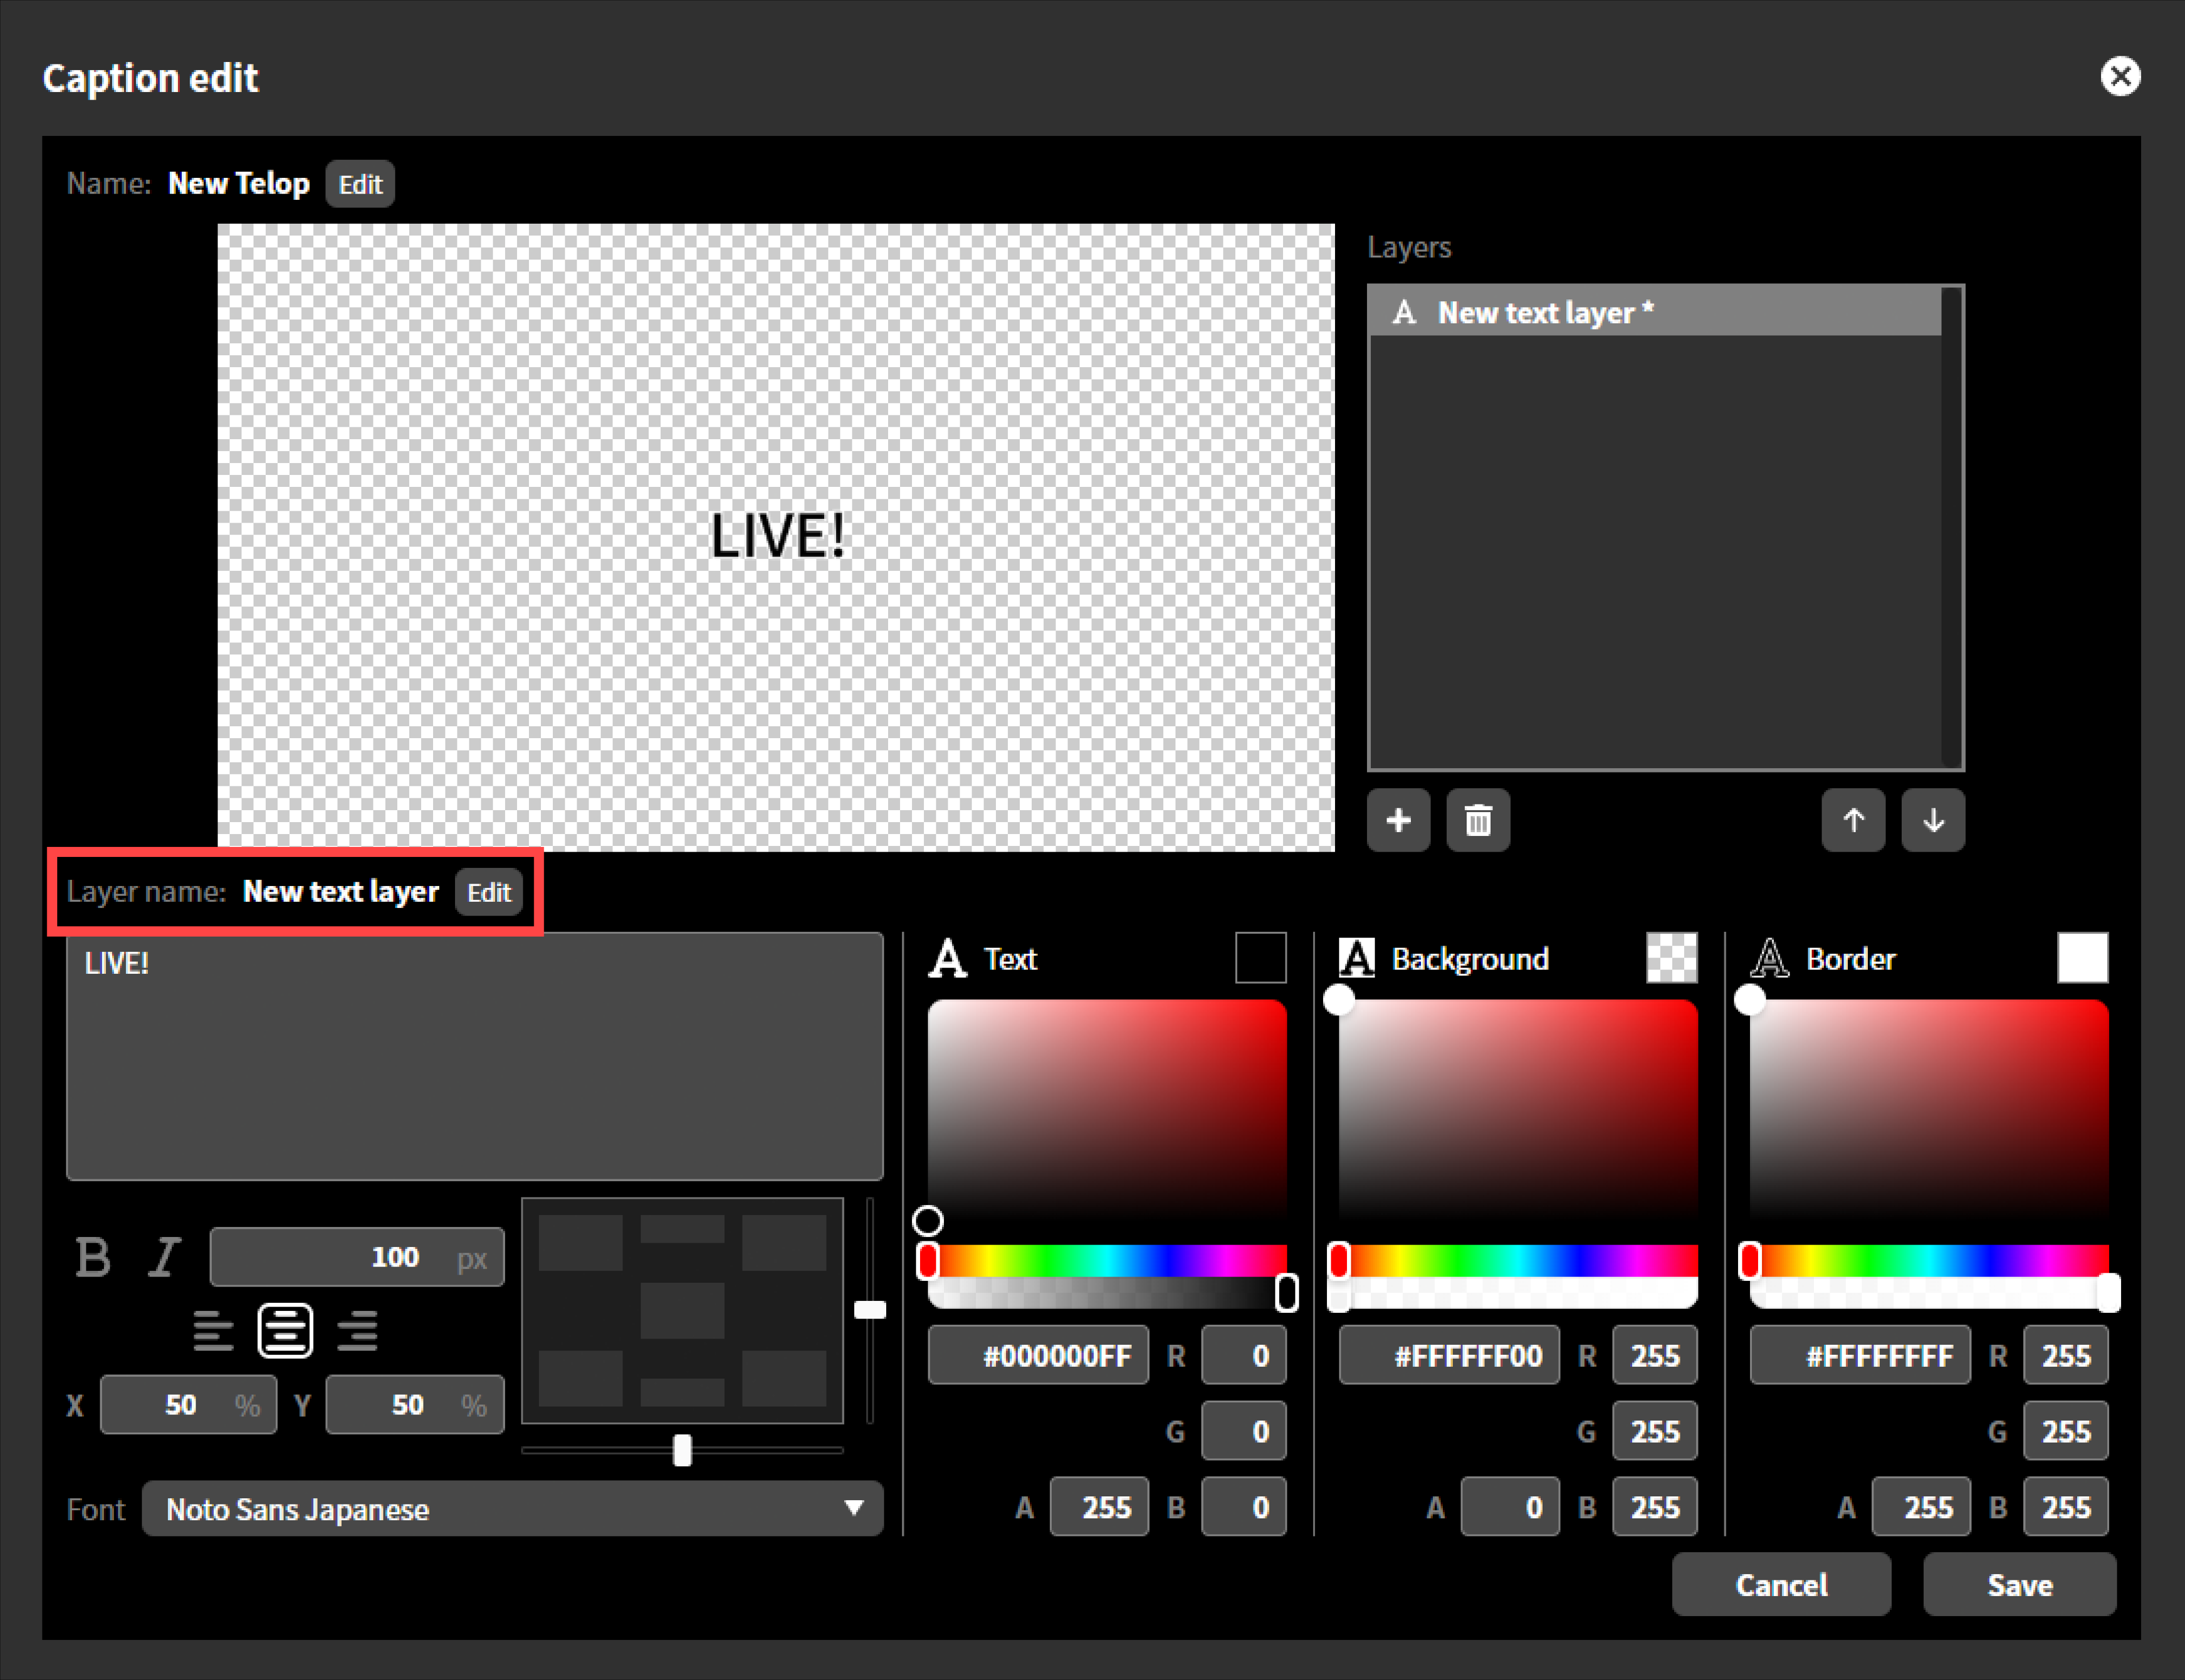
To edit the layer name, click “Edit”.
Enter a name for the layer and click “Save”.
Click “Save” when you have completed all edits.
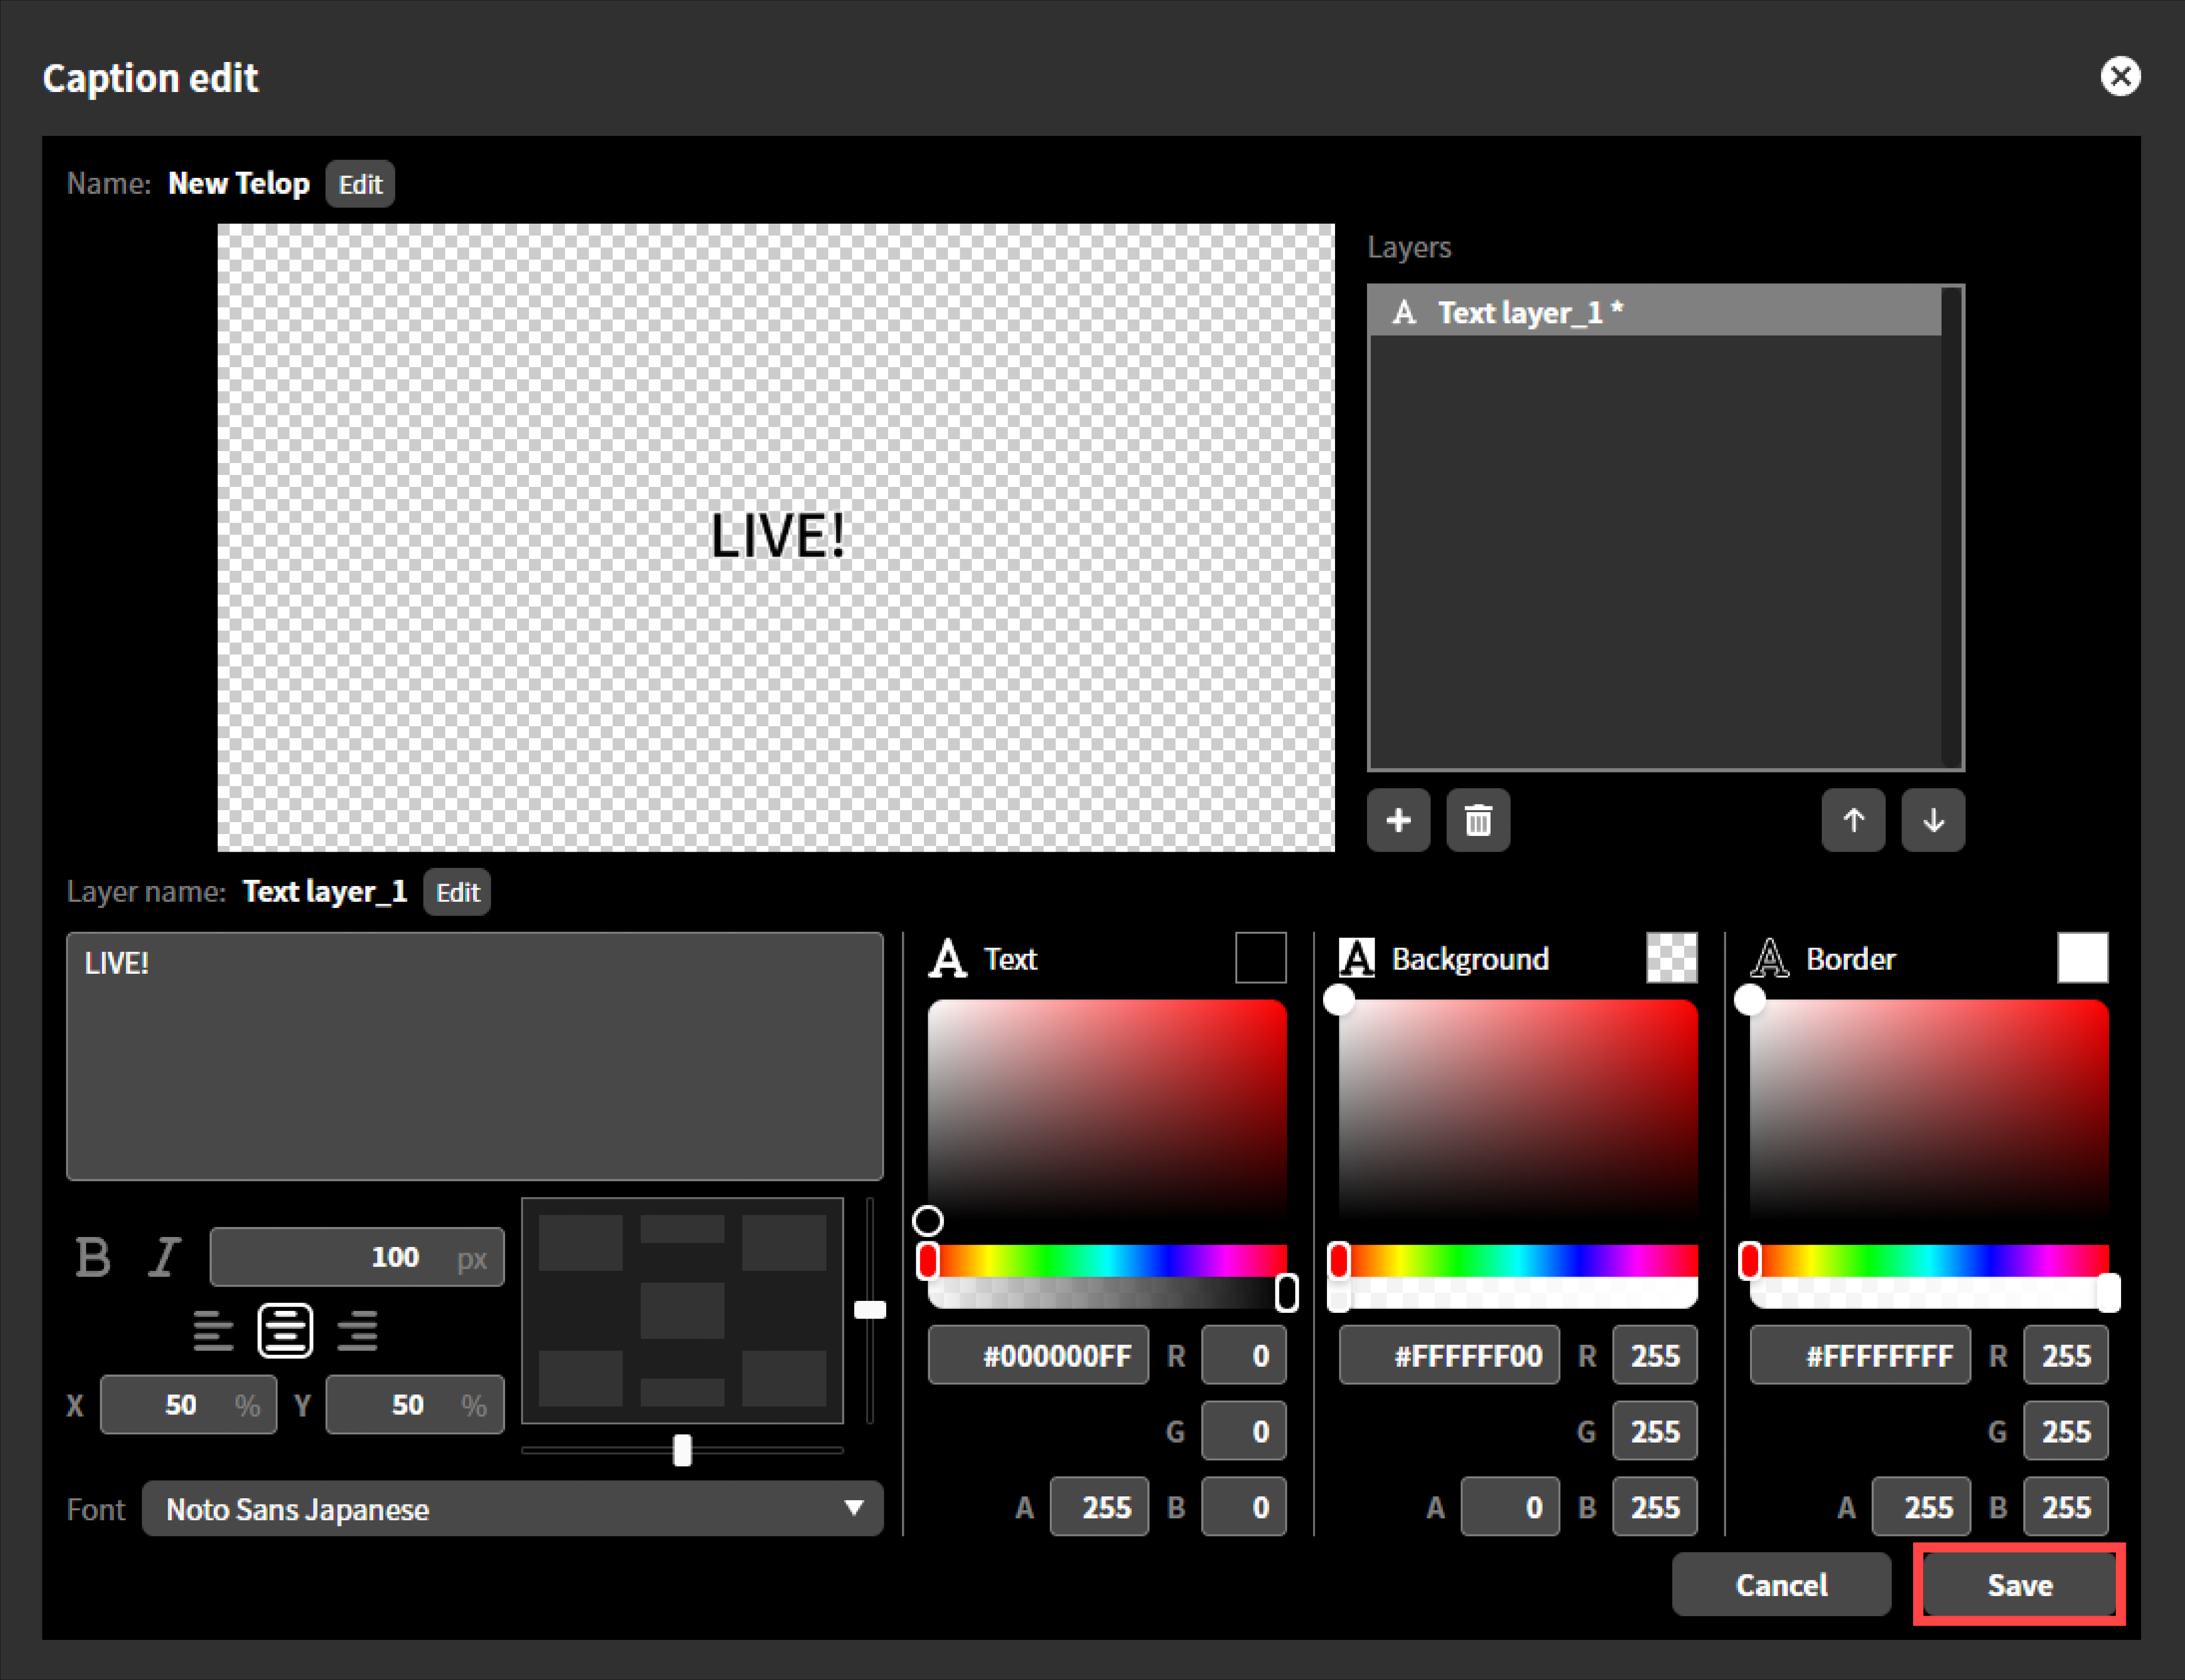
Once saving is complete, the “Edit Caption” dialog will close automatically.
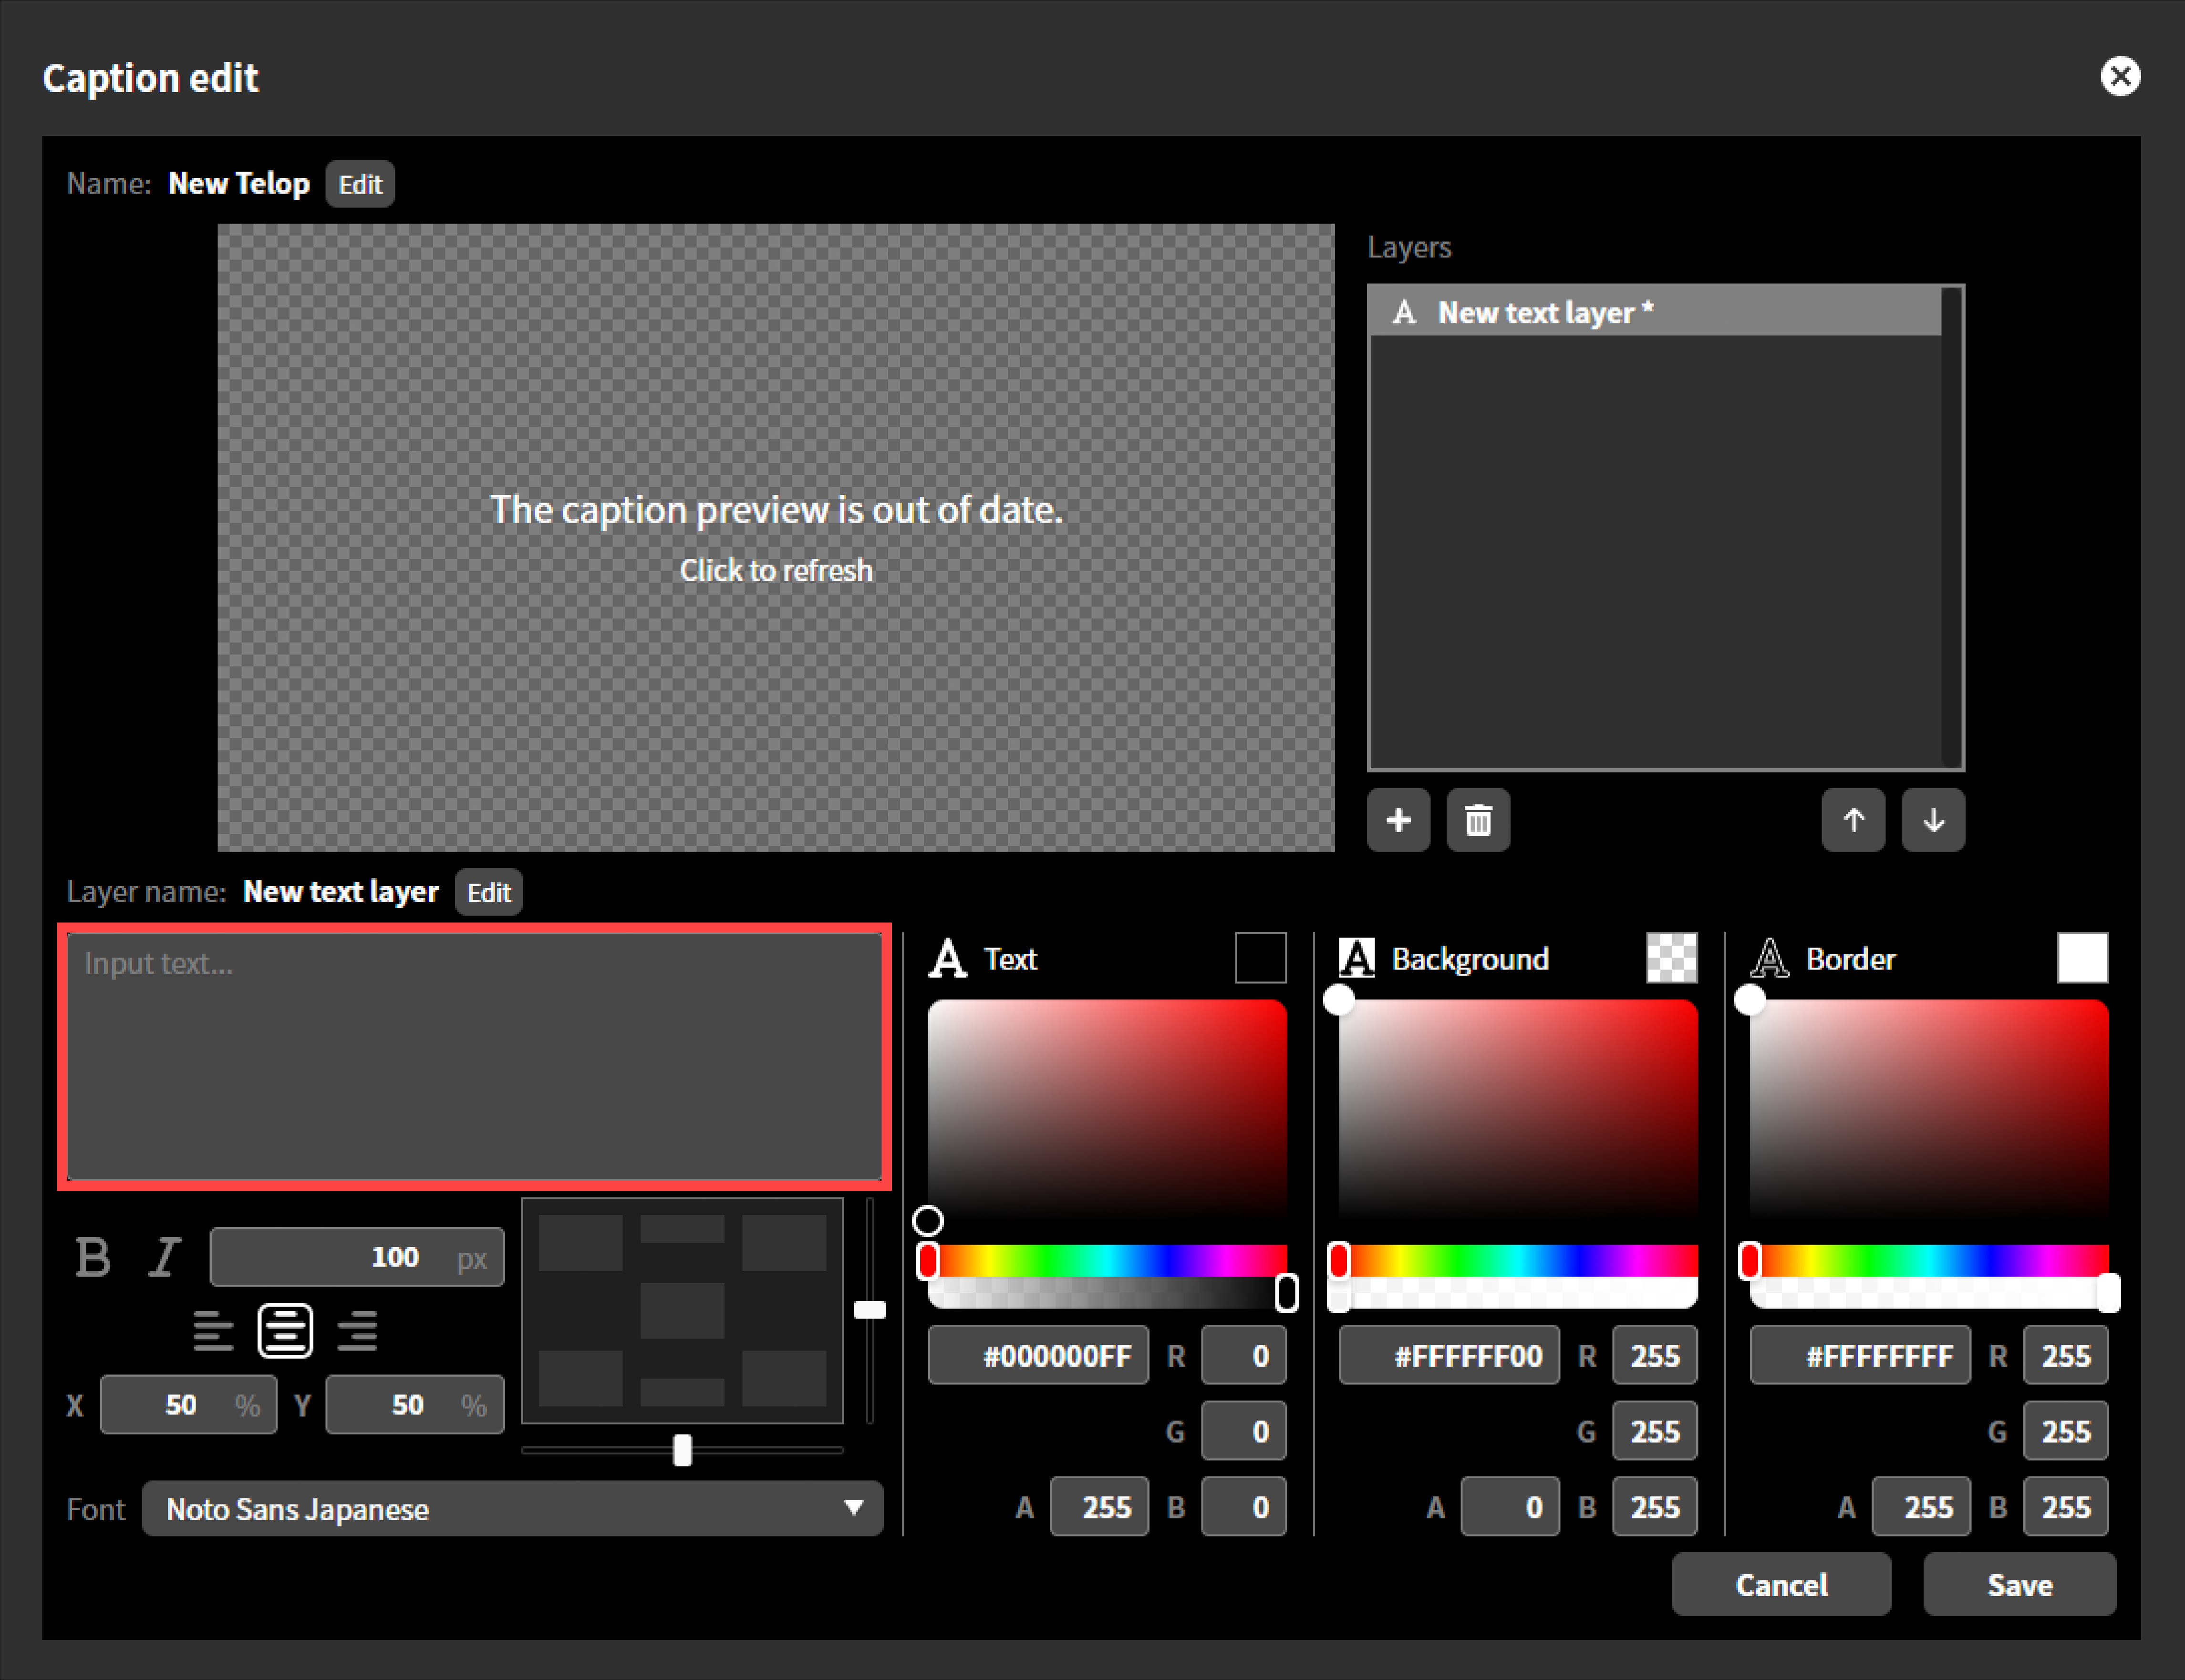
Text editing
In the text box that says “Enter text…”, enter any text you wish to display as a caption.
Text style
Select the text font from the drop-down menu displayed in “Font”.

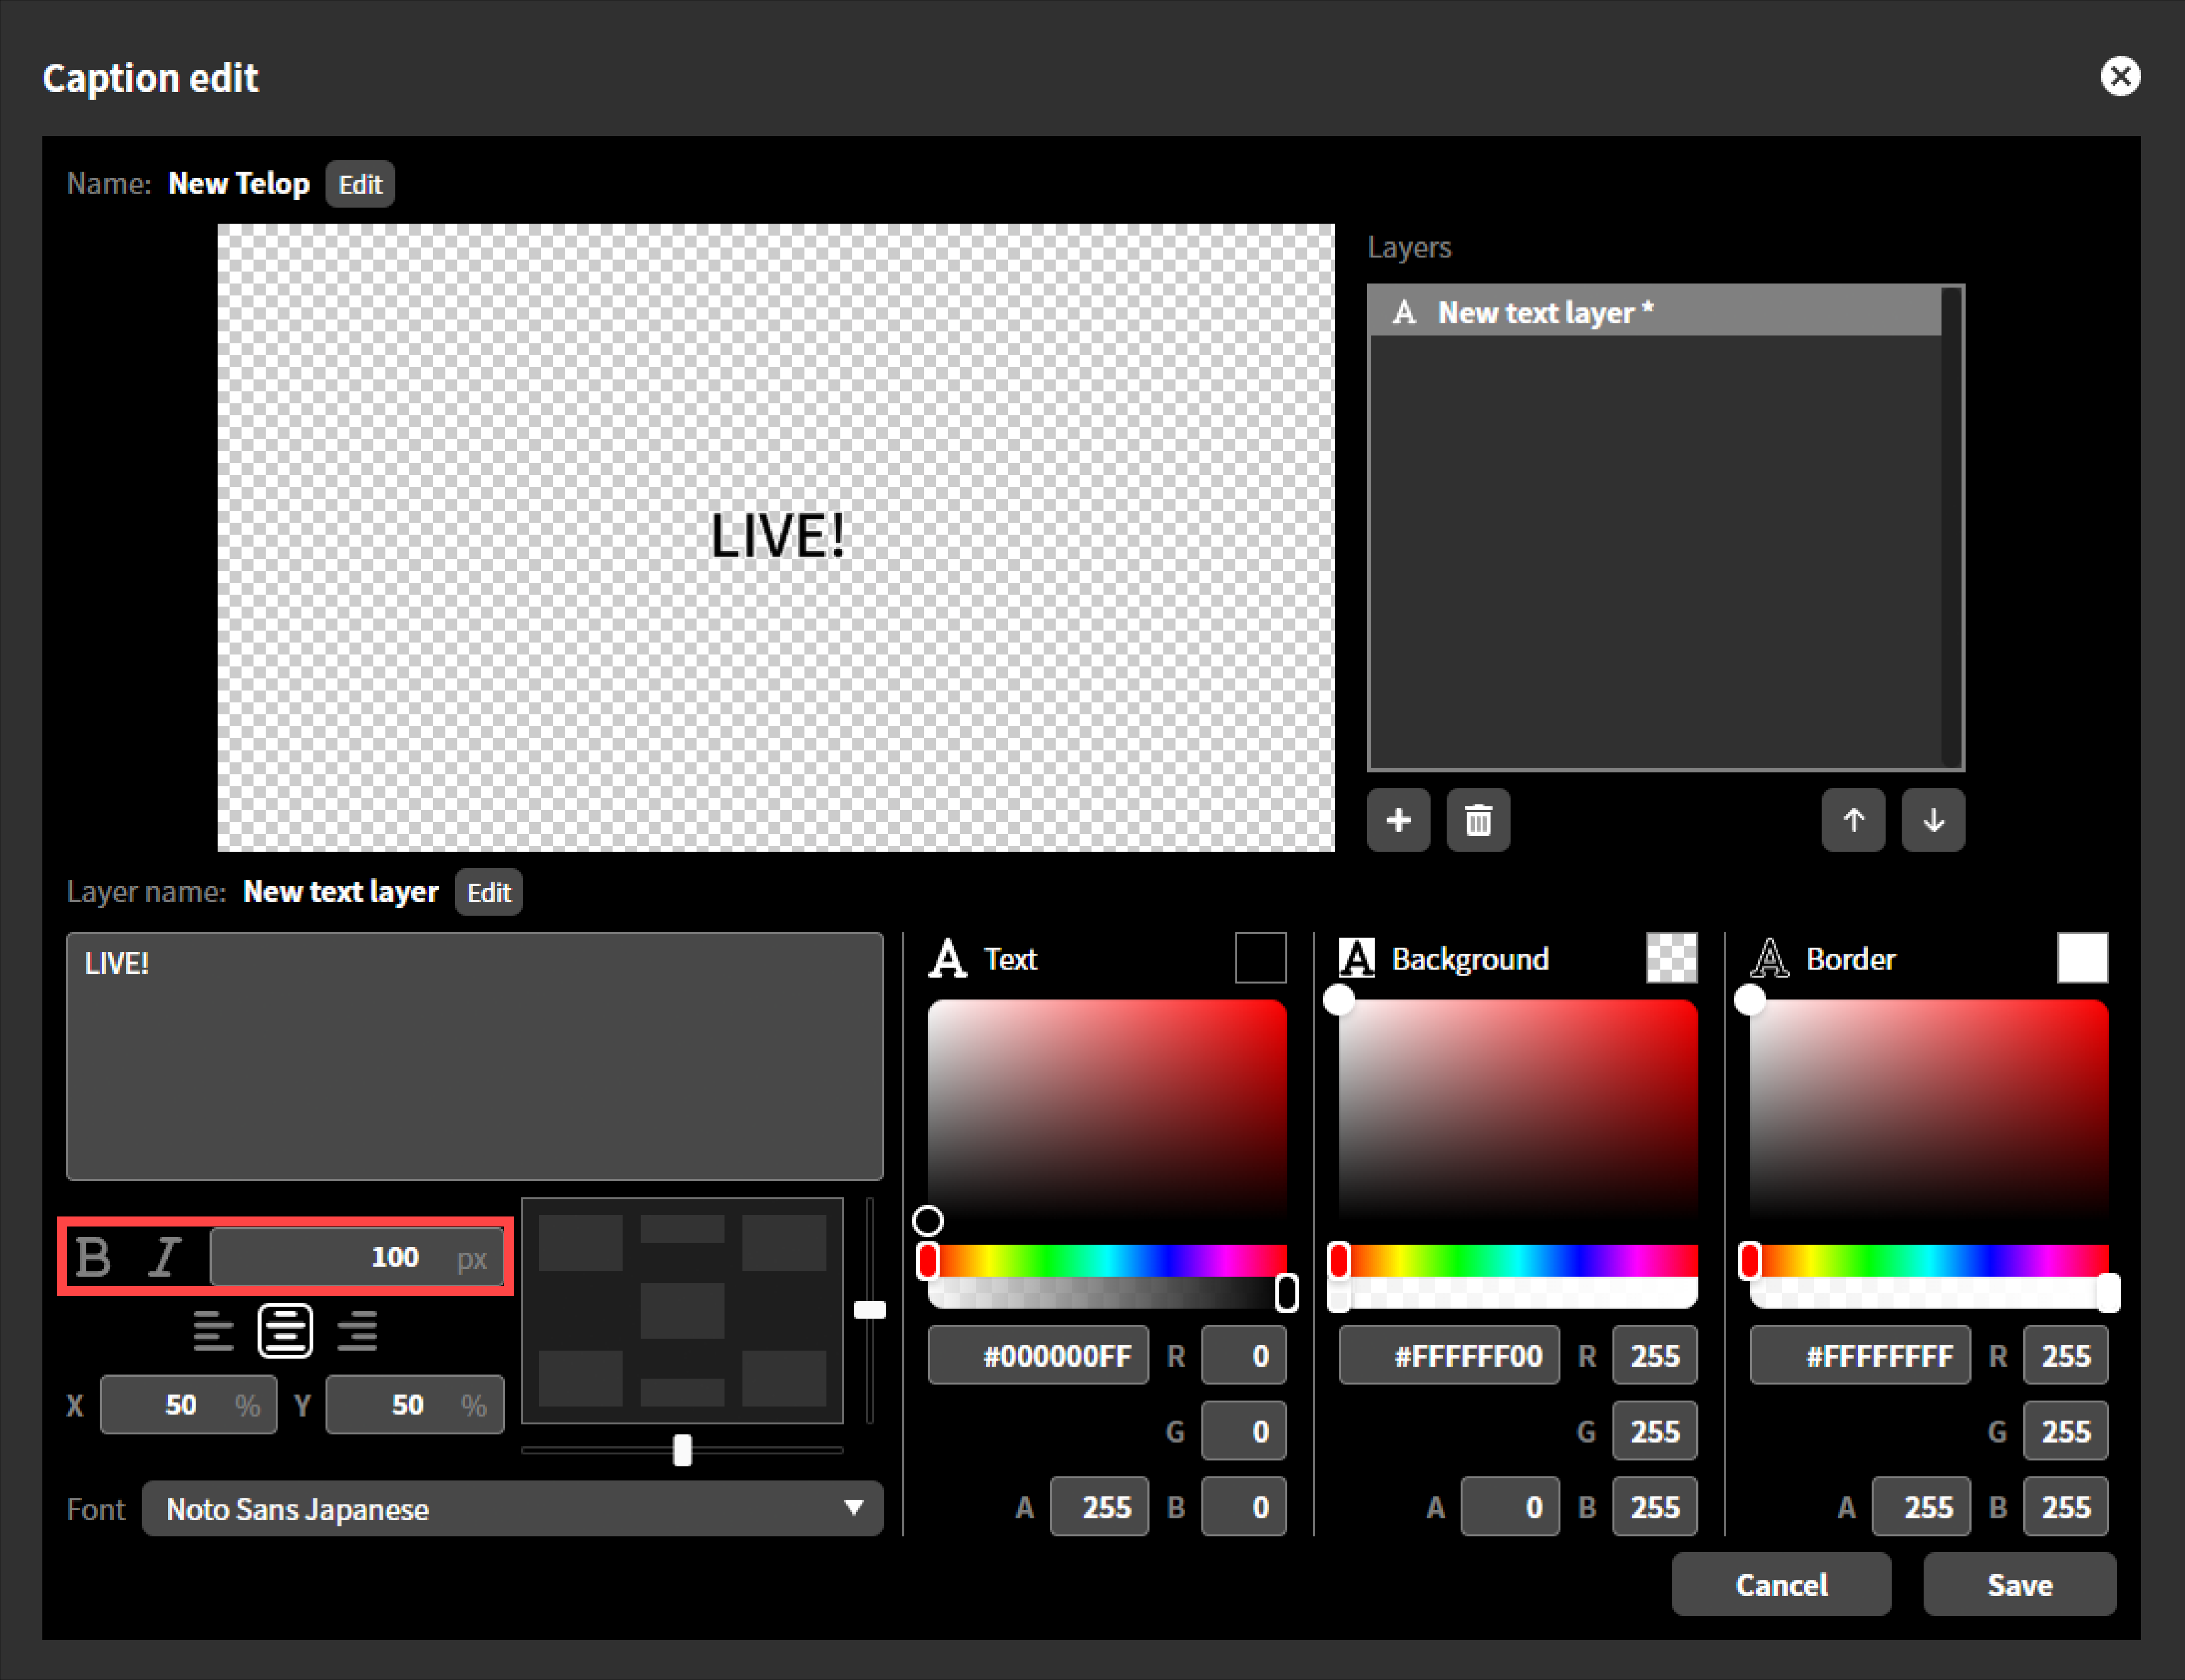
Text Size
You can specify the text size in pixels. The default size is 100px.
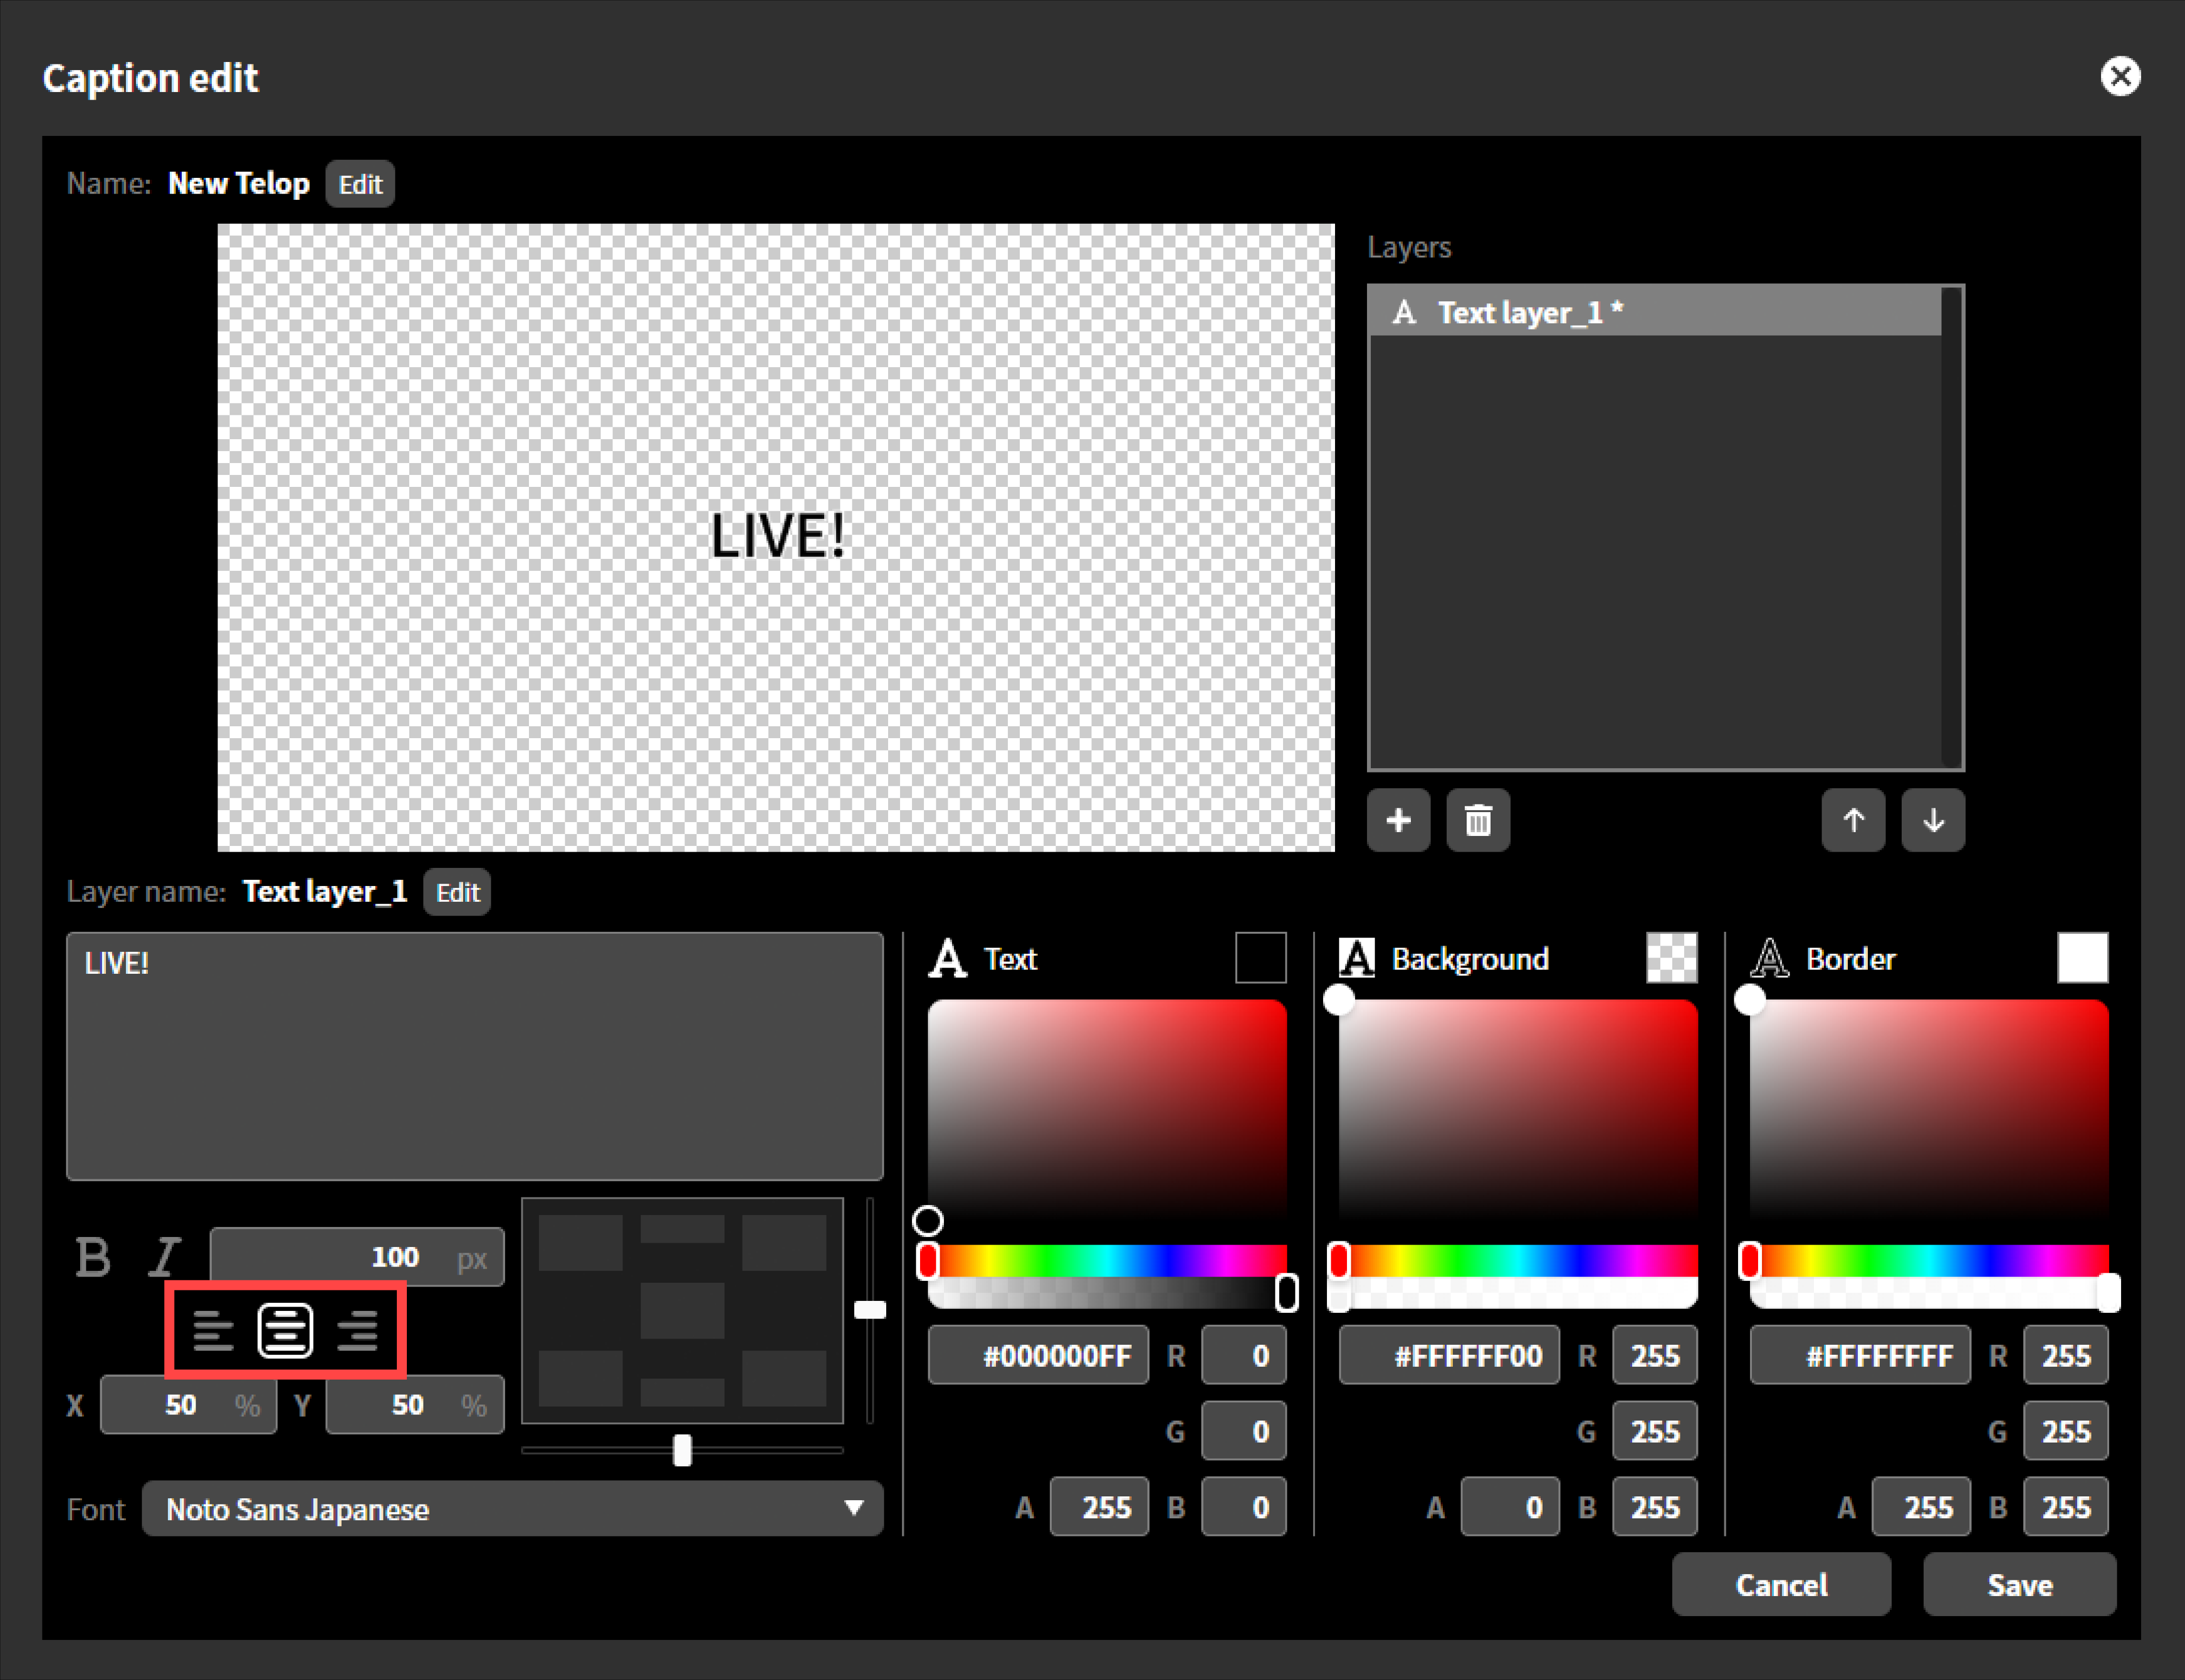
Text alignment, horizontal
You can select the horizontal alignment of the text from “Left,” “Center,” or “Right.” This selection determines which part of the text will be used as the basis for positioning when you “Specify text position” as explained in the next section. The criteria for positioning are as follows:
Left edge of text if left-justified
Center of text if centered
Right edge of text if right-justified
Horizontal text alignment can be set manually, or it can be set automatically when you position text using the position Box.
Text positioning
You can position the text within the text area using the positioning box, fader, or by entering the X and Y coordinates directly.
Using the positioning box, you can position the text in one of the following positions within the caption area by single click: center, top center, bottom center, top left, bottom left, top right, or bottom right.The horizontal alignment of the text is also automatically set accordingly.If you select “Center”, “Top Center”, or “Bottom Center”, the horizontal alignment of the text will be set to “Center” and it will be centered within the caption area.If you select “Bottom left” or “Top left”, the horizontal alignment of the text will be set to “Left justified,” and the left edge of the text will be aligned with the left edge of the caption area.Similarly, if you place the text in the “bottom right” or “top right” position, the horizontal alignment of the text will be “right justified,” and the right edge of the text will be aligned with the right edge of the caption area.
You can fine-tune the text position horizontally by moving the fader below the position box, and vertically by moving the slider to the right of the position box.You can also specify the position by entering immediate values for the X and Y coordinates. The values are expressed as a percentage of the horizontal and vertical resolution, with the top left corner of the screen as the origin.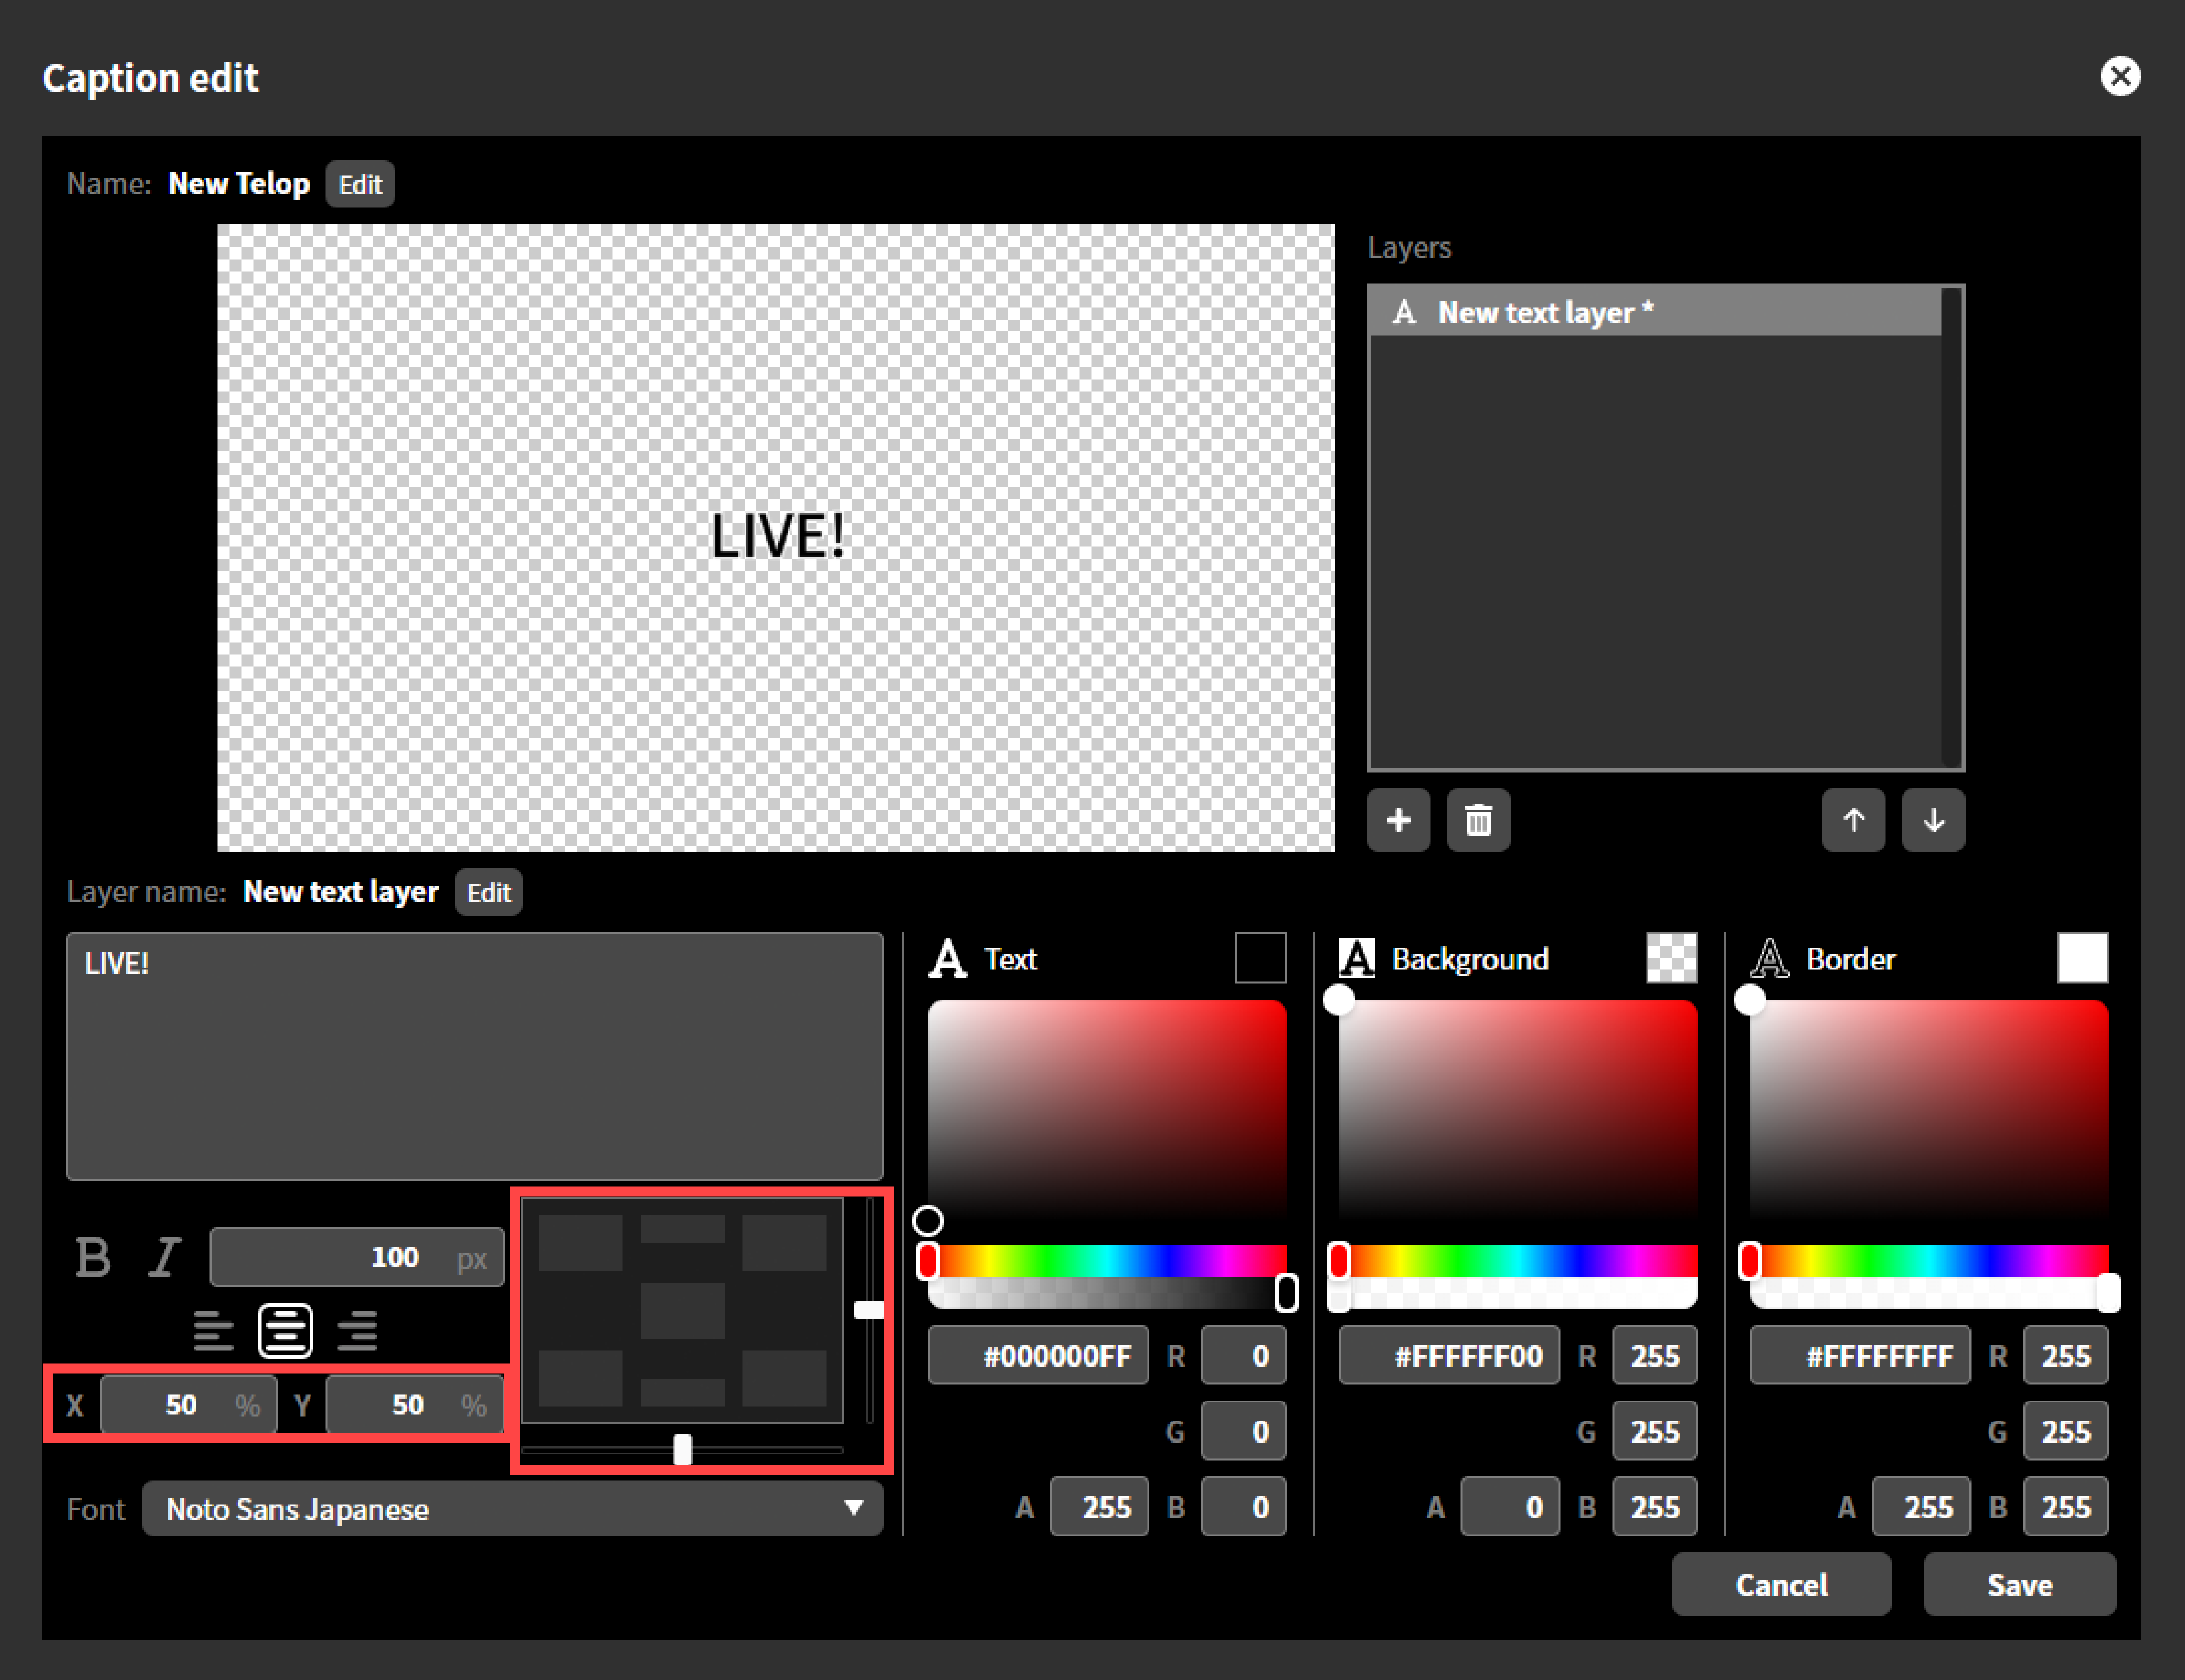
Text color and transparency
You can specify the color of the text body, background, and border separately. You can also specify the transparency of each element. Areas without any of these elements will be transparent.
Colors can be specified using a color picker, in hexadecimal format #RRGGBBAA, or by entering red, green, blue, and transparency values.When entering colors as immediate values, 0 is the minimum and 255 is the maximum. Transparency is completely transparent at 0 and completely opaque at 255.Due to rounding, the transparency value may differ by 1 from the set value, but this is not abnormal.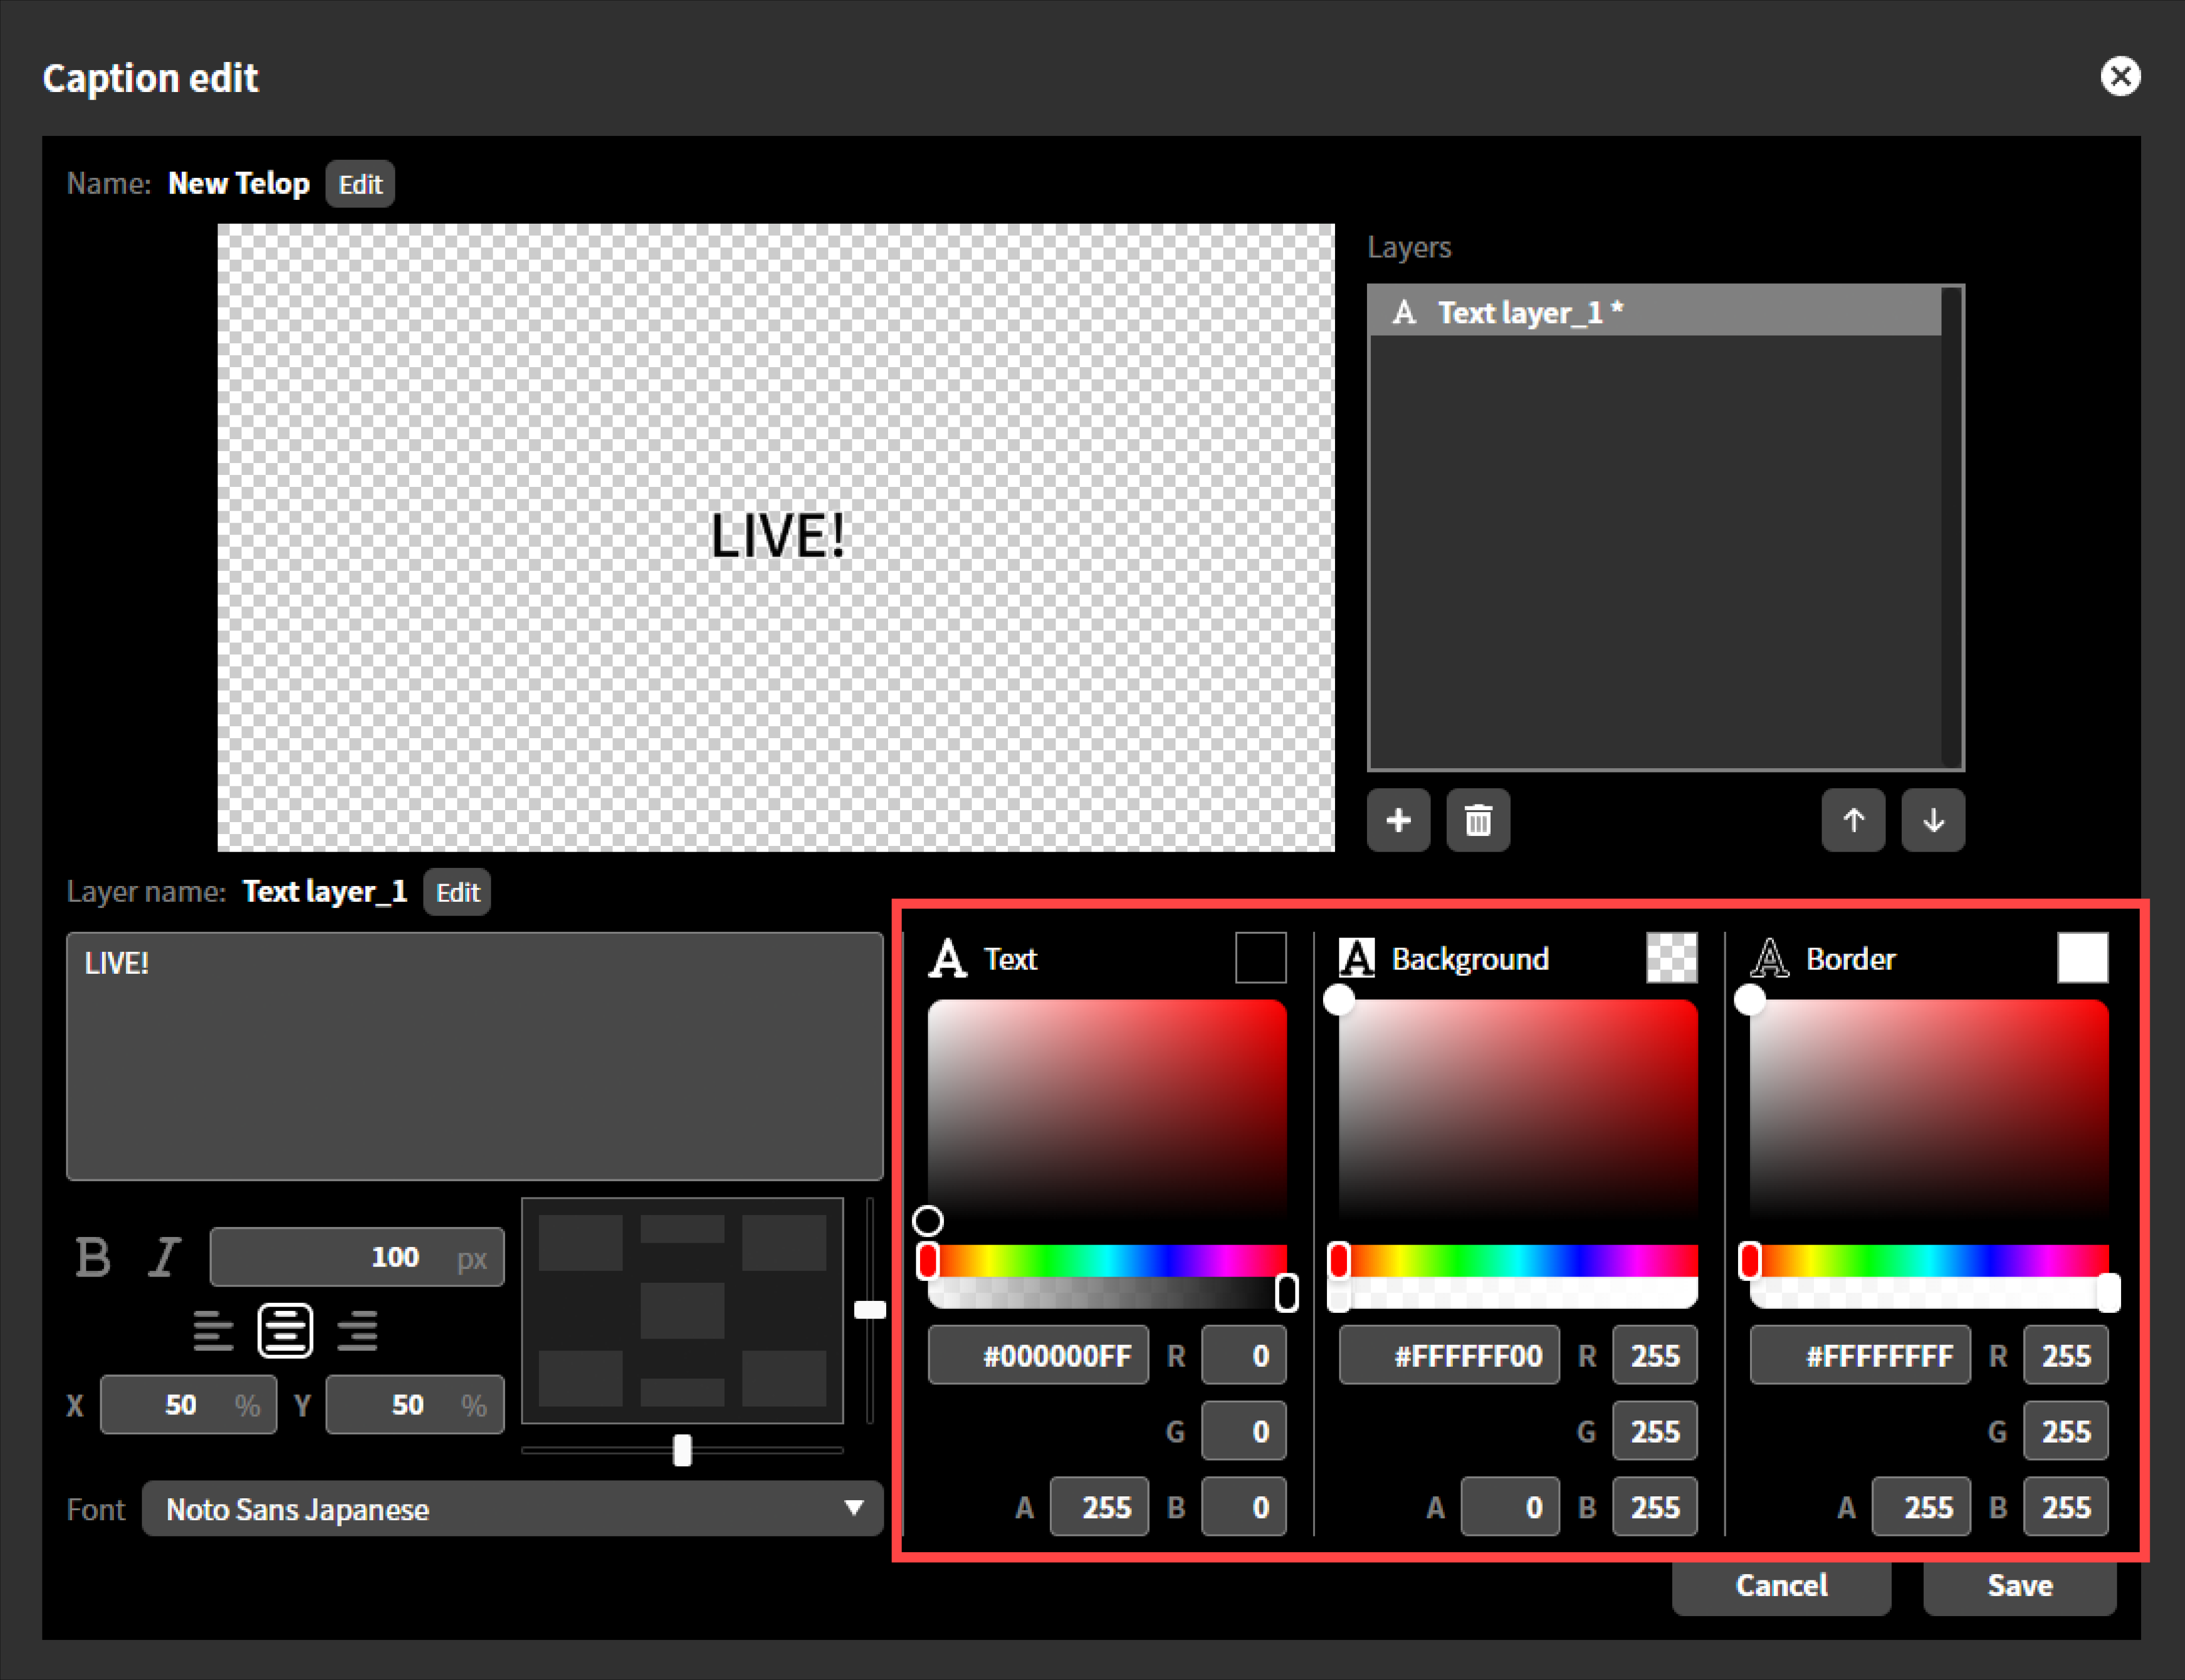
Editing layer
In the layer list, select the layer you wish to edit and you can re-edit that layer.
The following items can be re-edited:
Naming layer
You can give any name to image layers and text layers. You can change the name by clicking the “Change” button next to the layer name.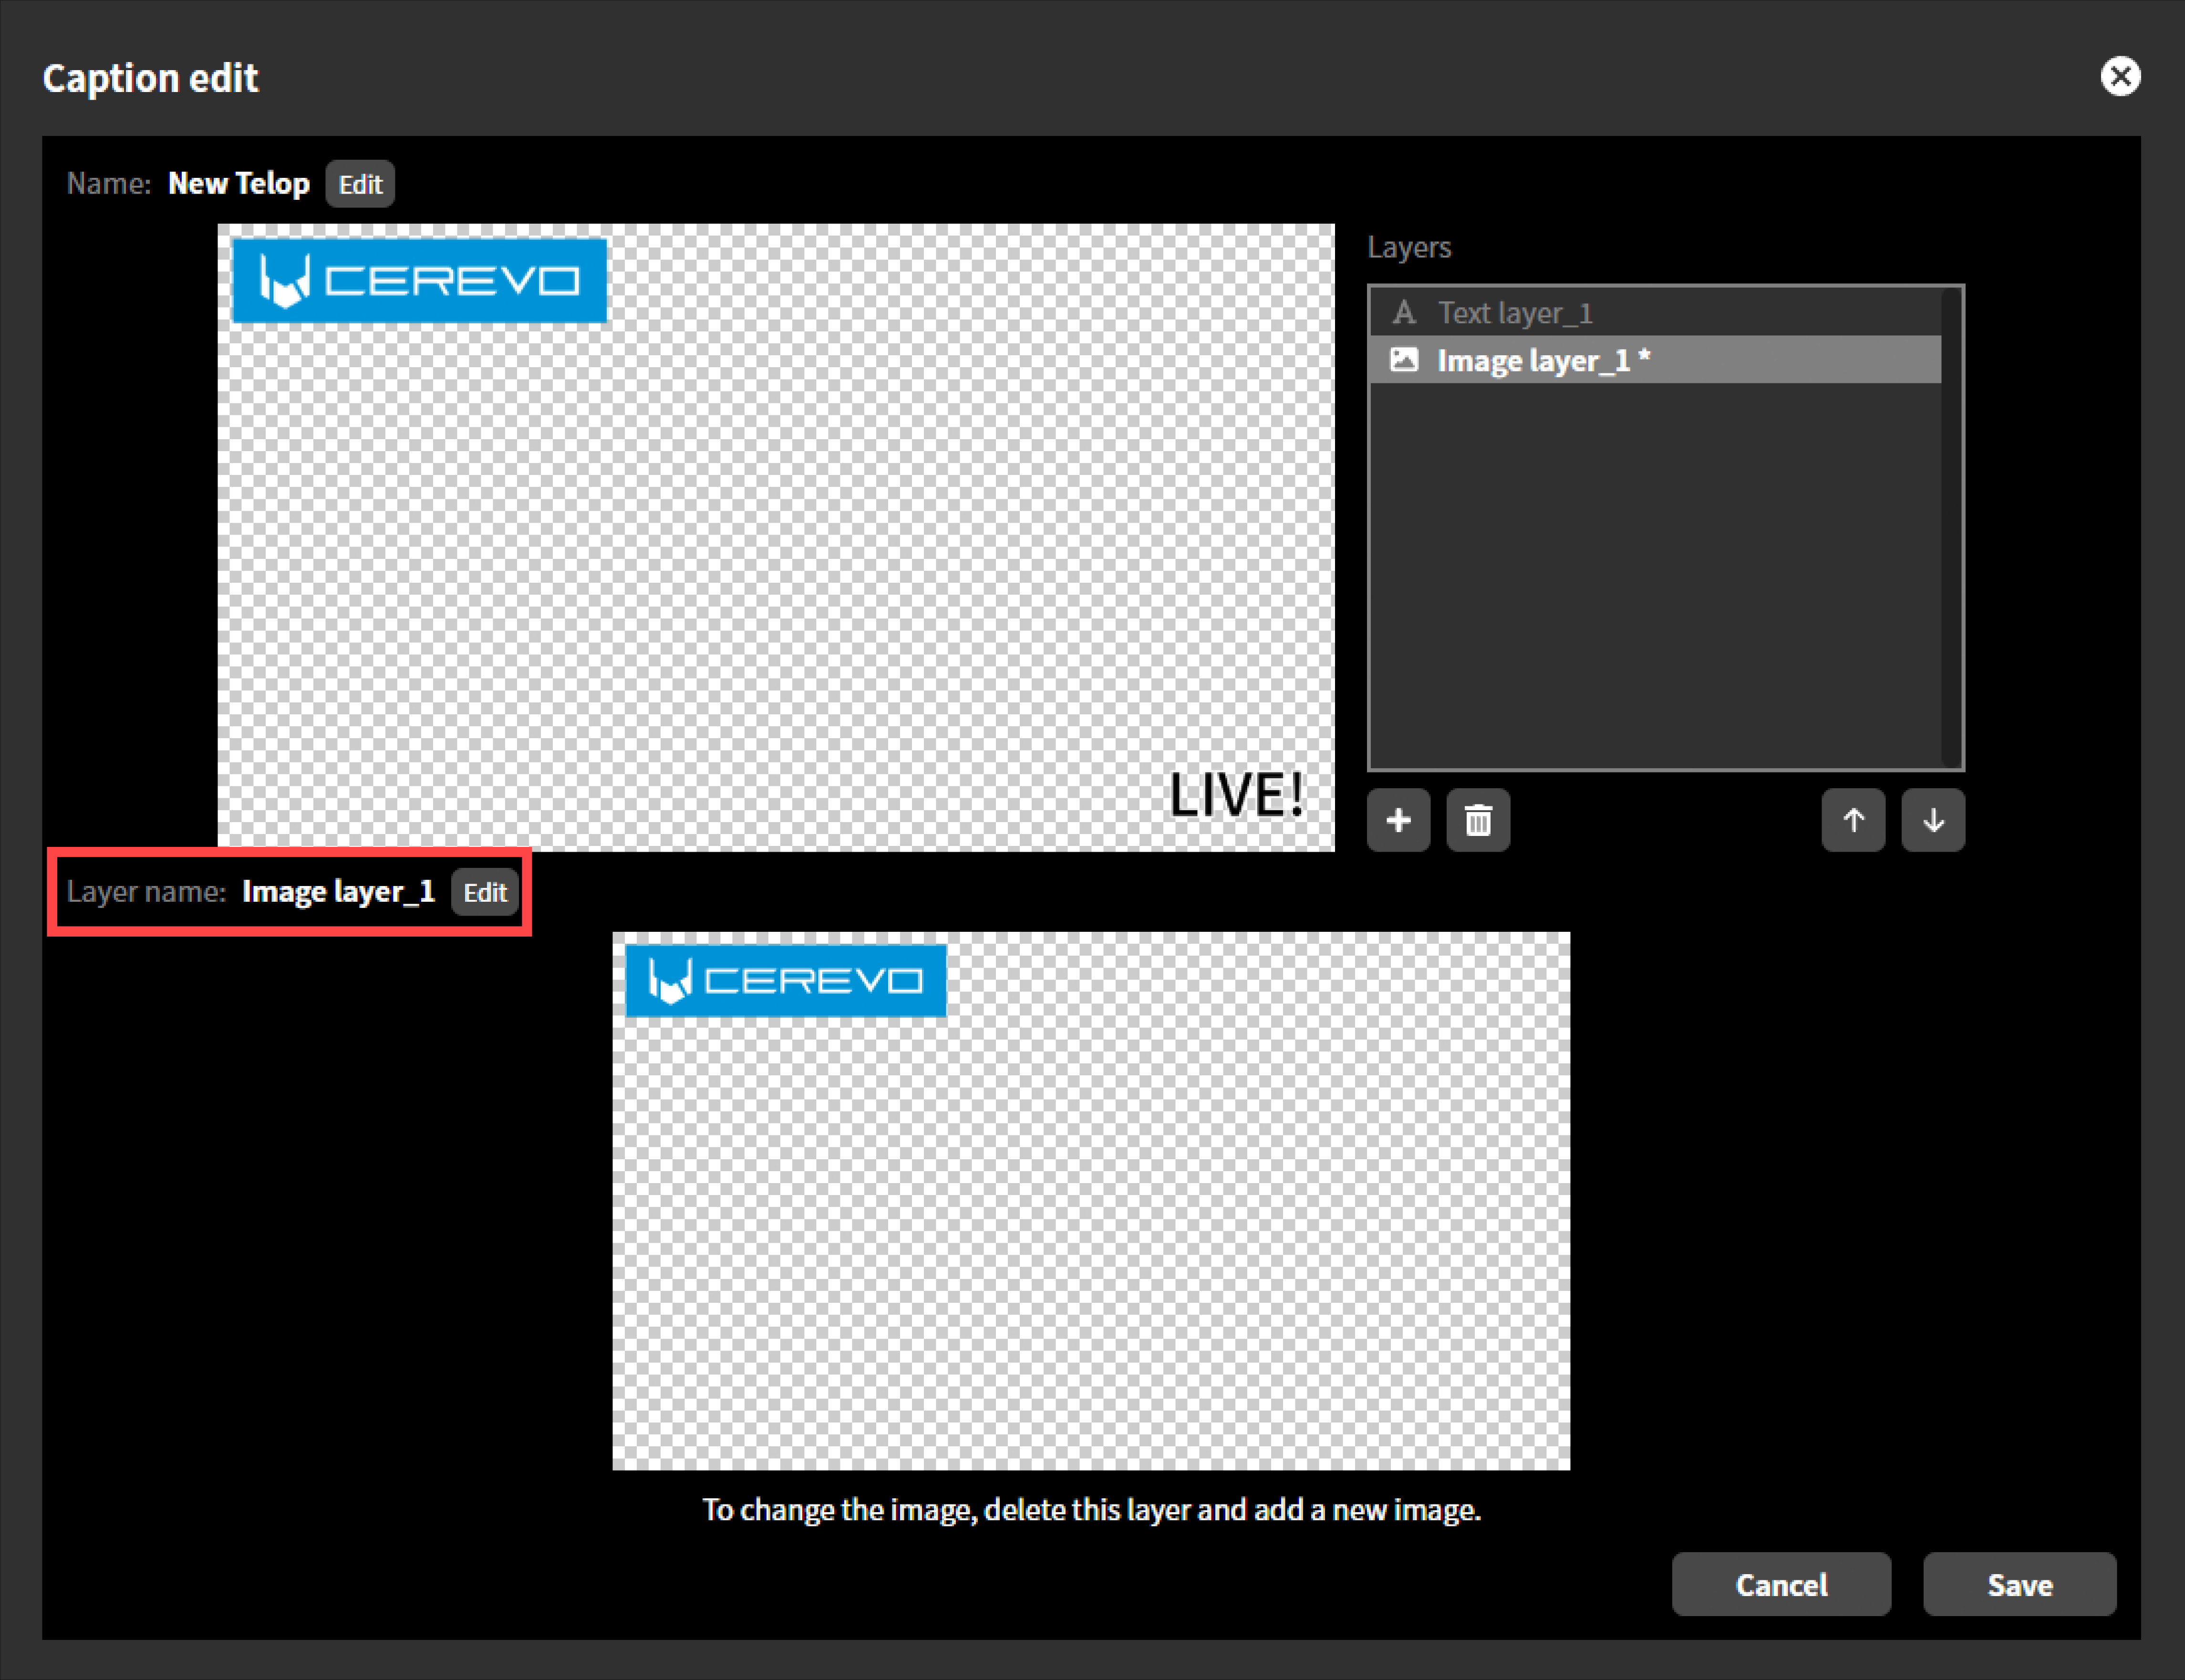
Re-editing text layer
You can edit text layers in the same way as when you added a layer.
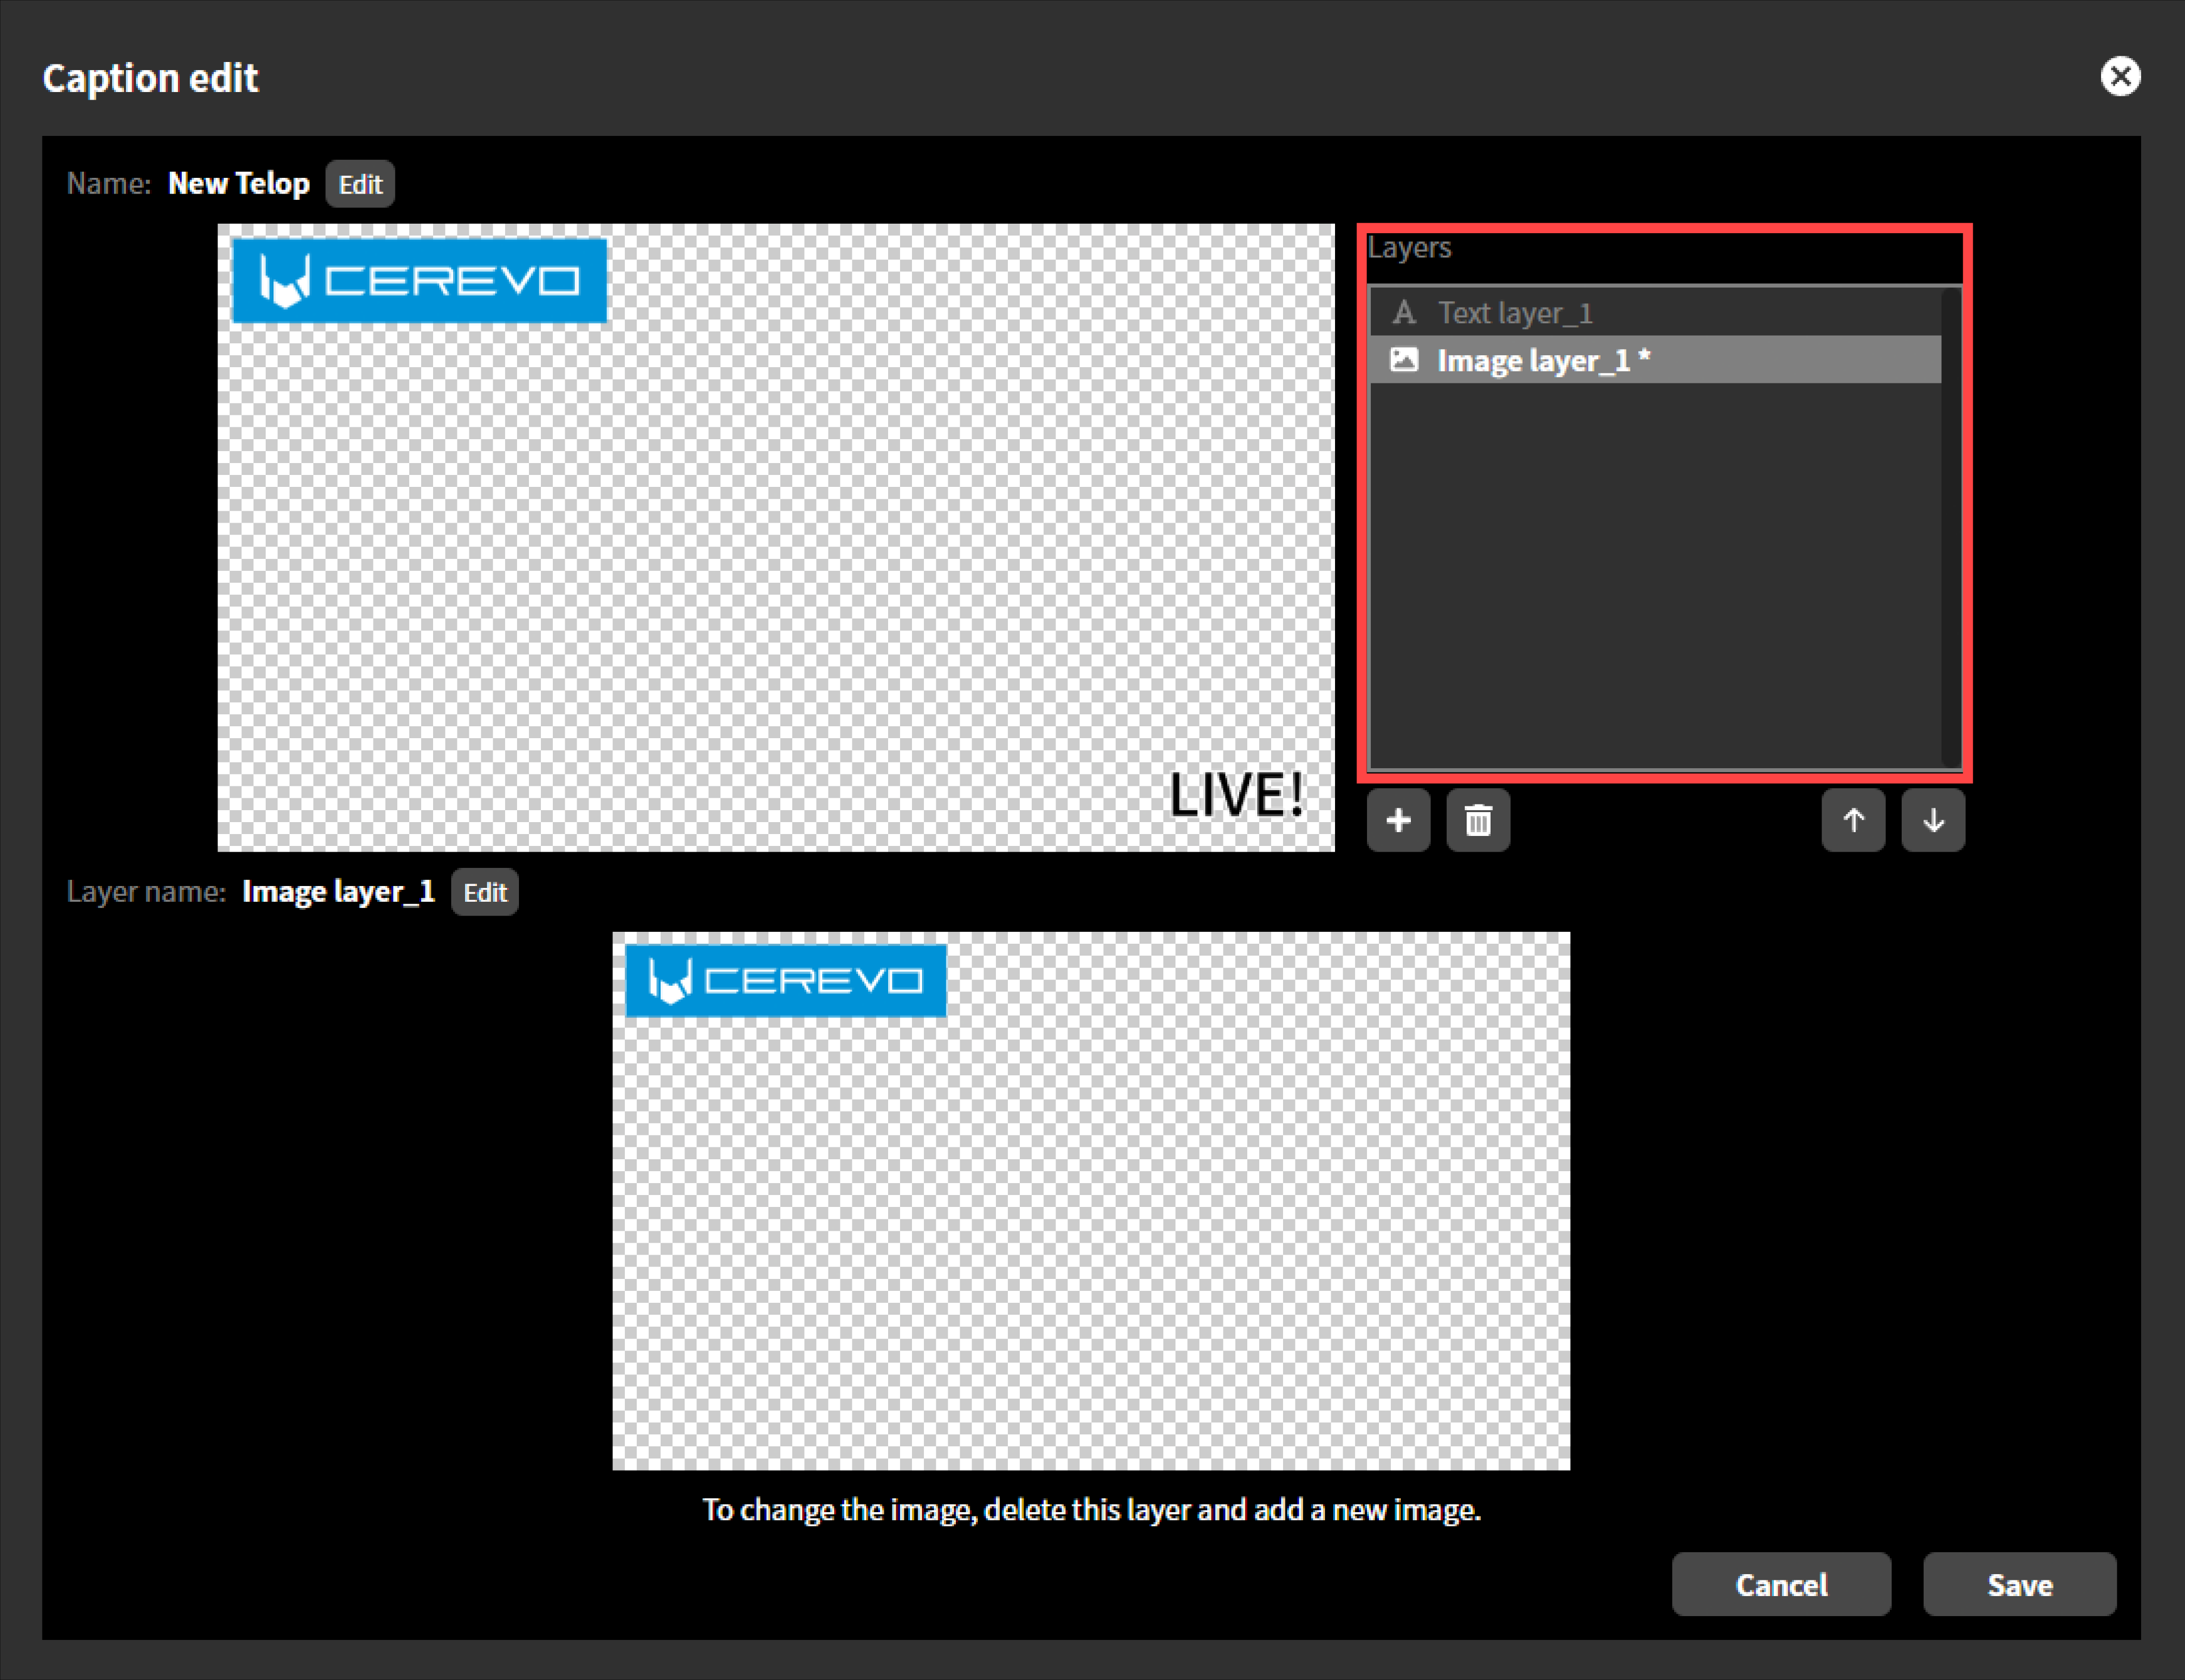
Re-editing image layer
An image layer cannot be edited. To change the contents of an image layer, first delete the layer and then add a new image layer.
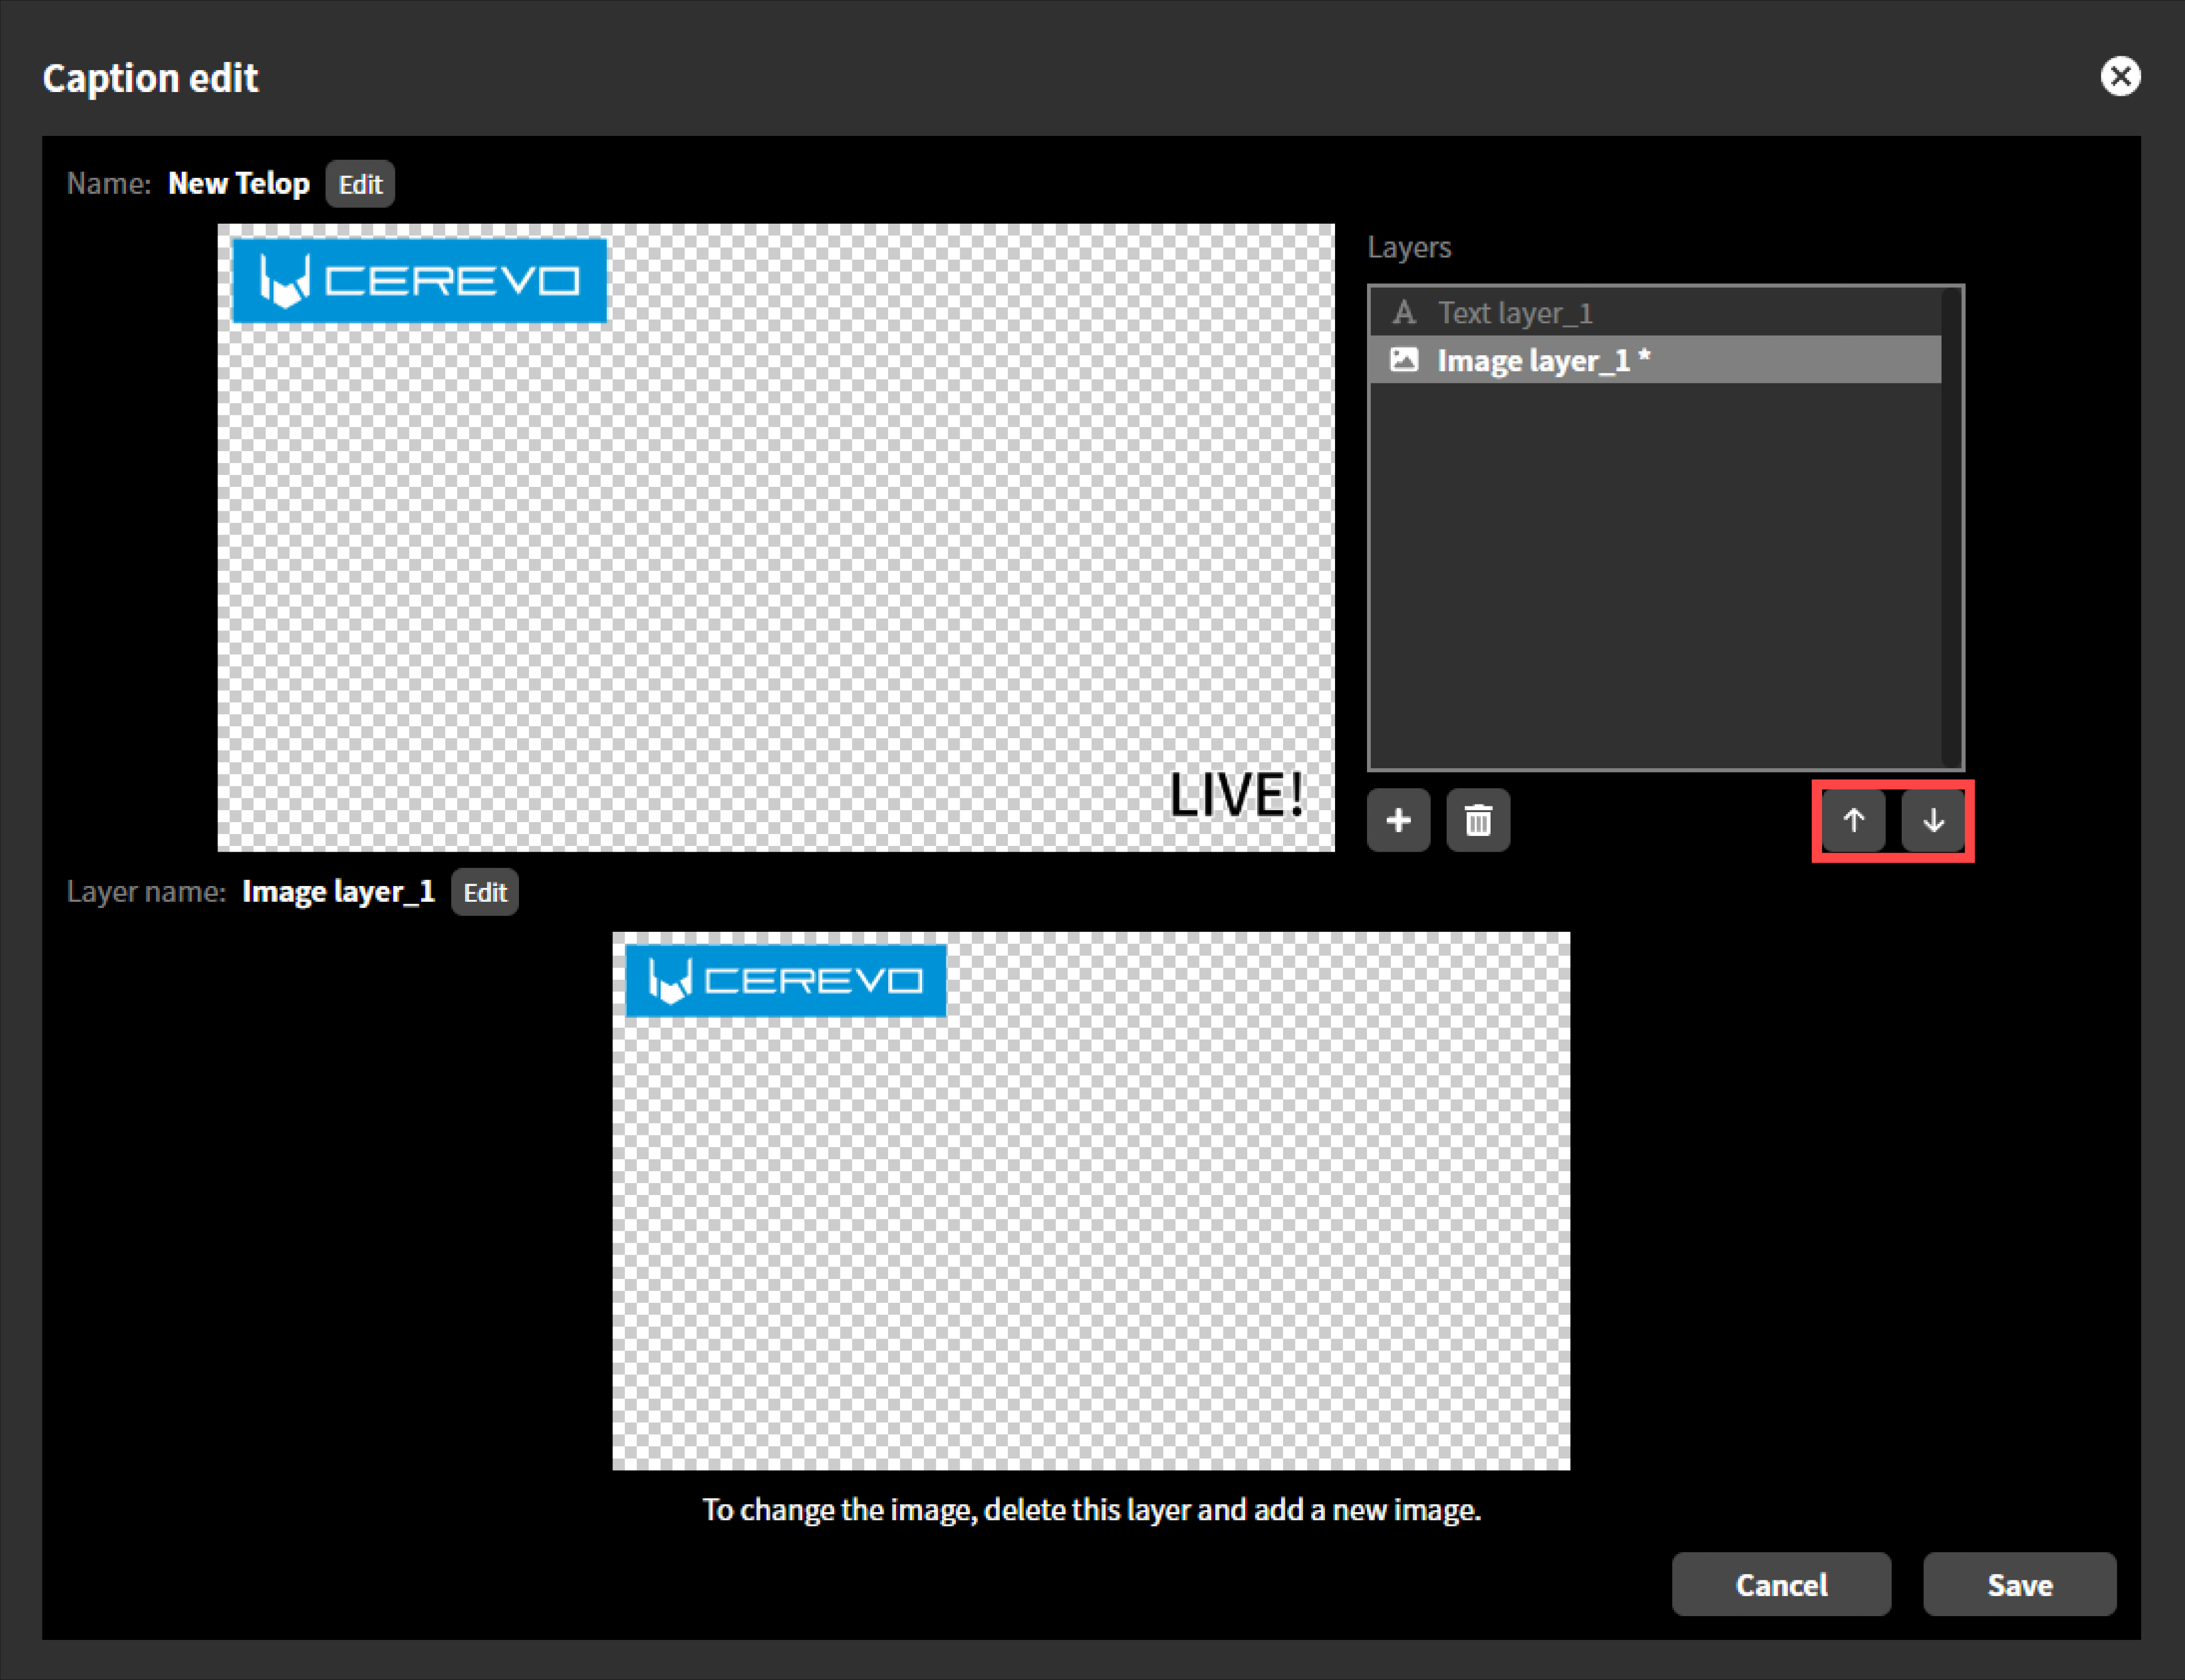
Changing the layer order
In the layer list, select the layer you wish to change the stacking order by clicking “Up” or “Down”. The layer at the top will be composited in front.
Deleting a layer
In the layer list, select the layer you wish to delete and click the trashcan icon to delete. A deleted layer can not be restored. 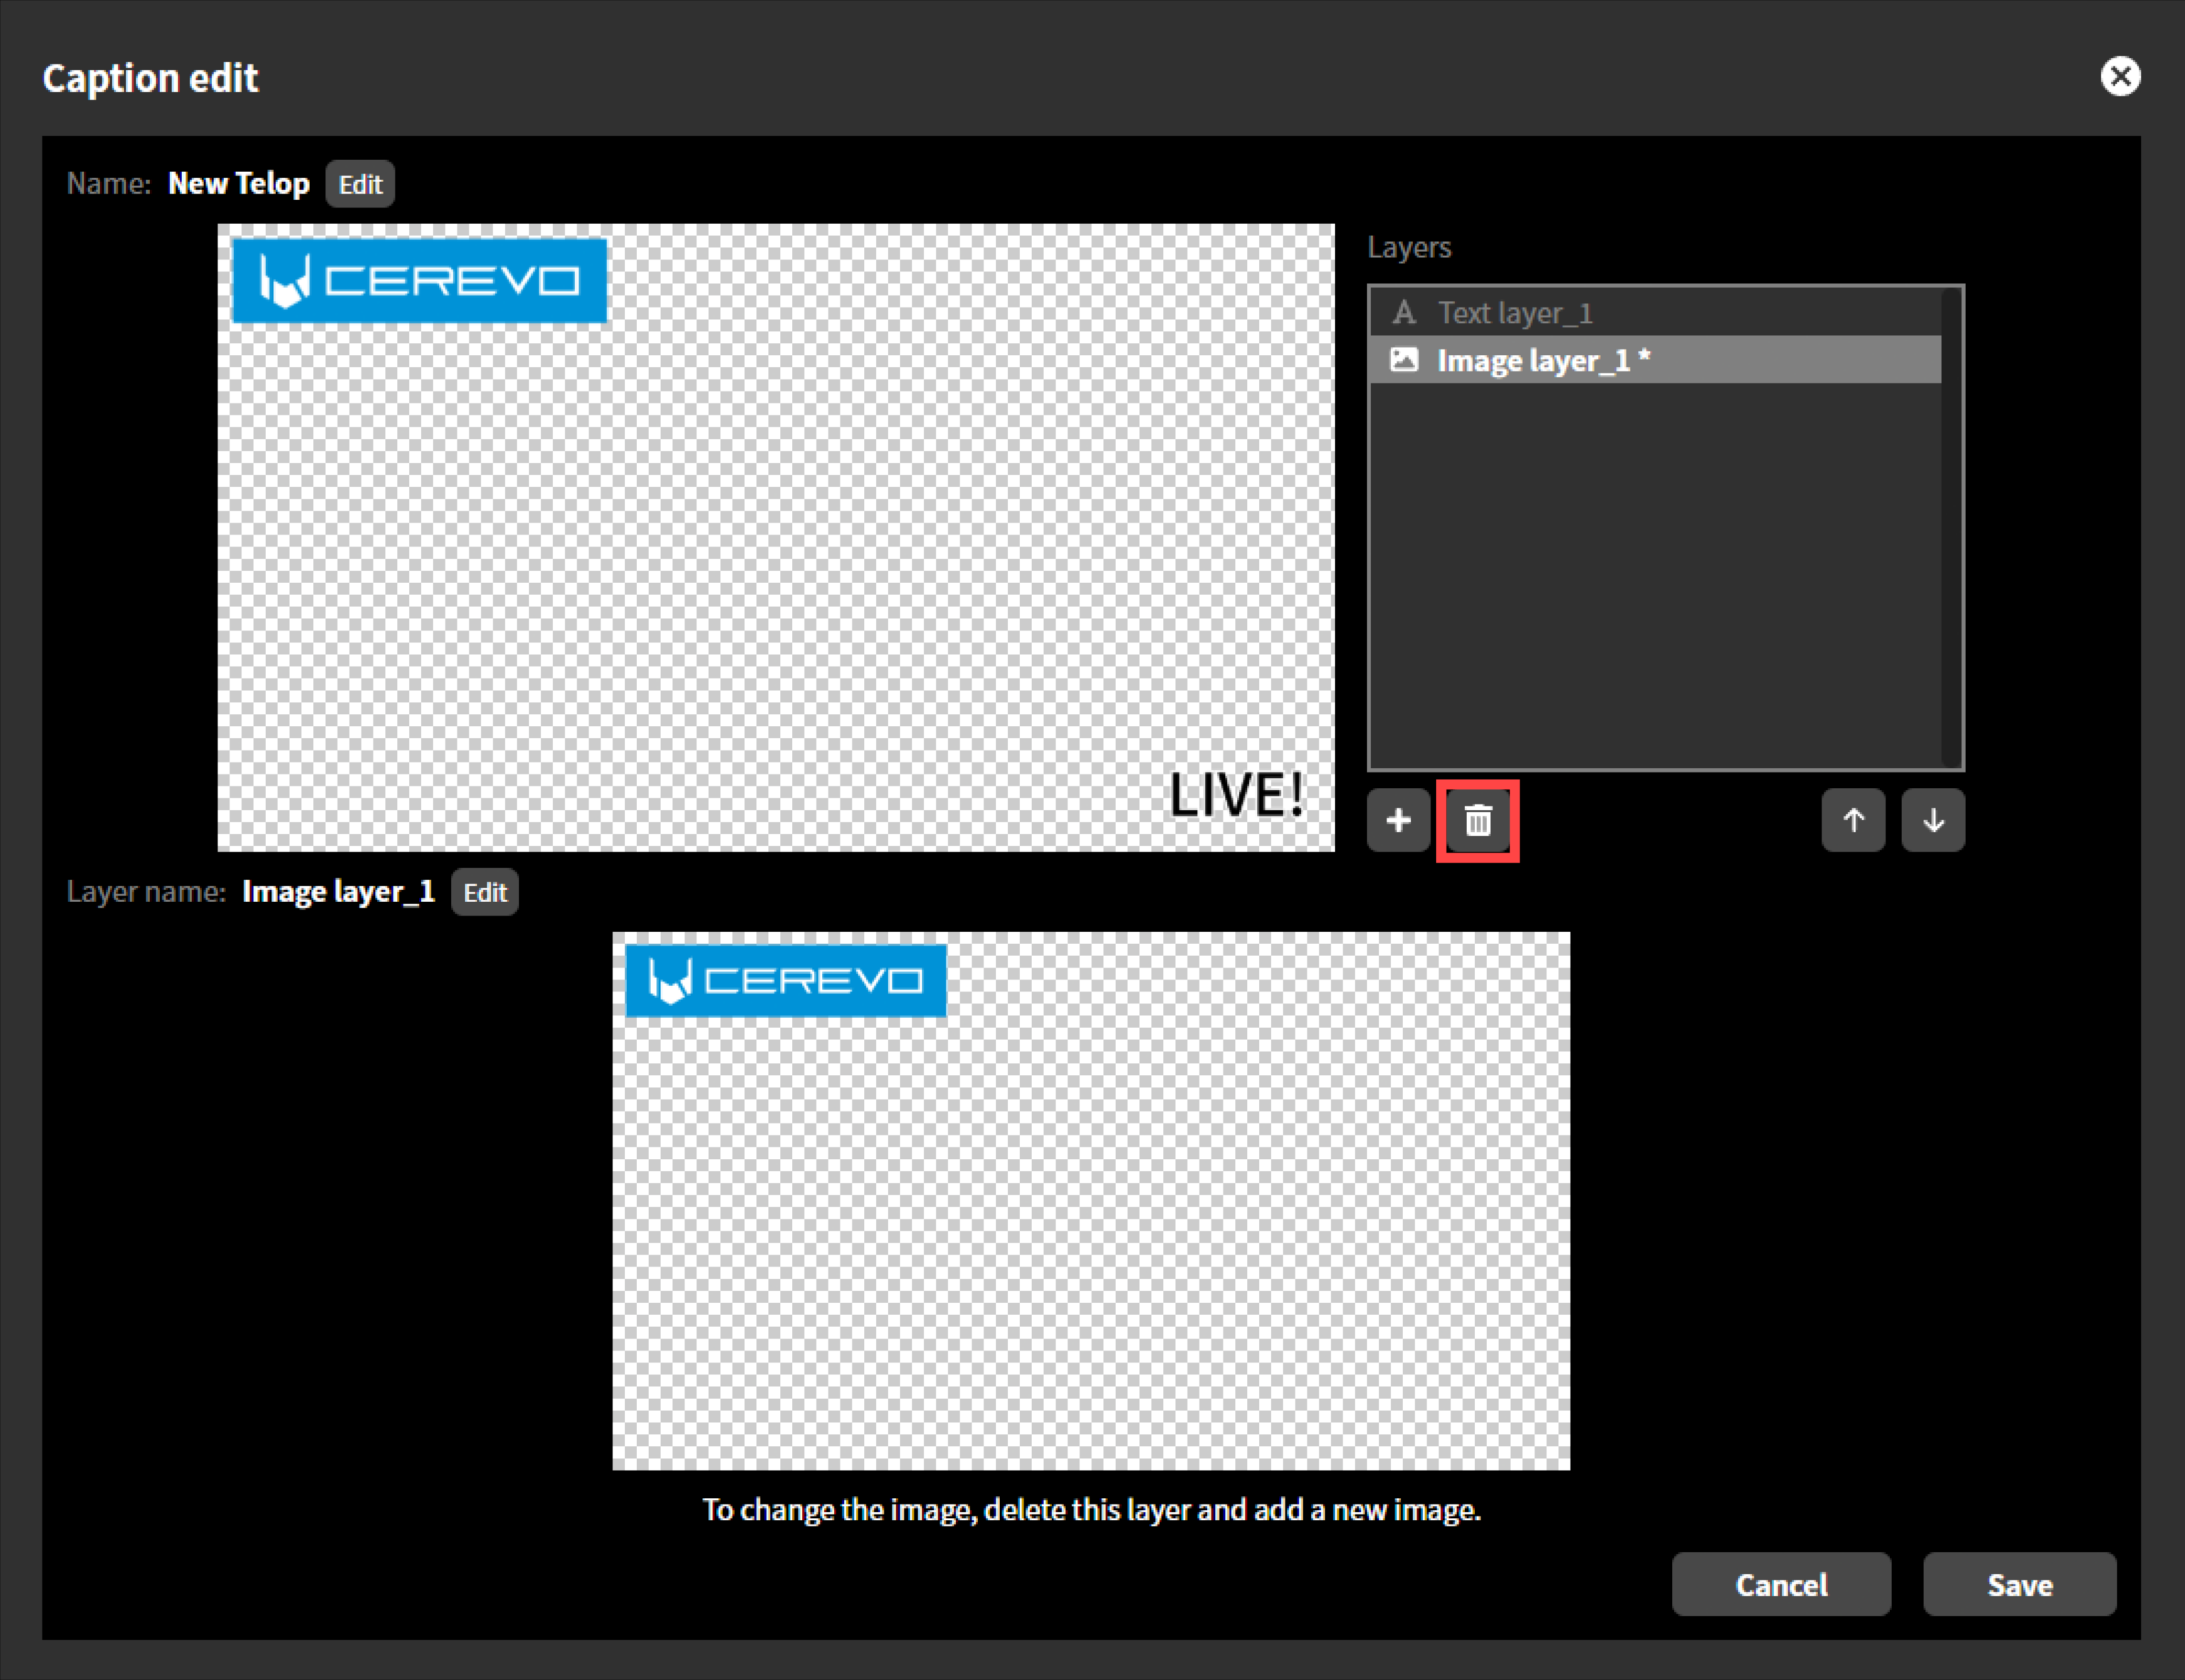
Saving the caption
After adding and editing layers, click the “Save” button to save the caption and finish editing. Clicking “Cancel” will finish without saving the edited content. 
Re-editing caption
You can re-edit by clicking the “Edit” icon next to the caption thumbnail. Re-editing allows you to change the layer order, replace layers, re-edit text layers, and more.
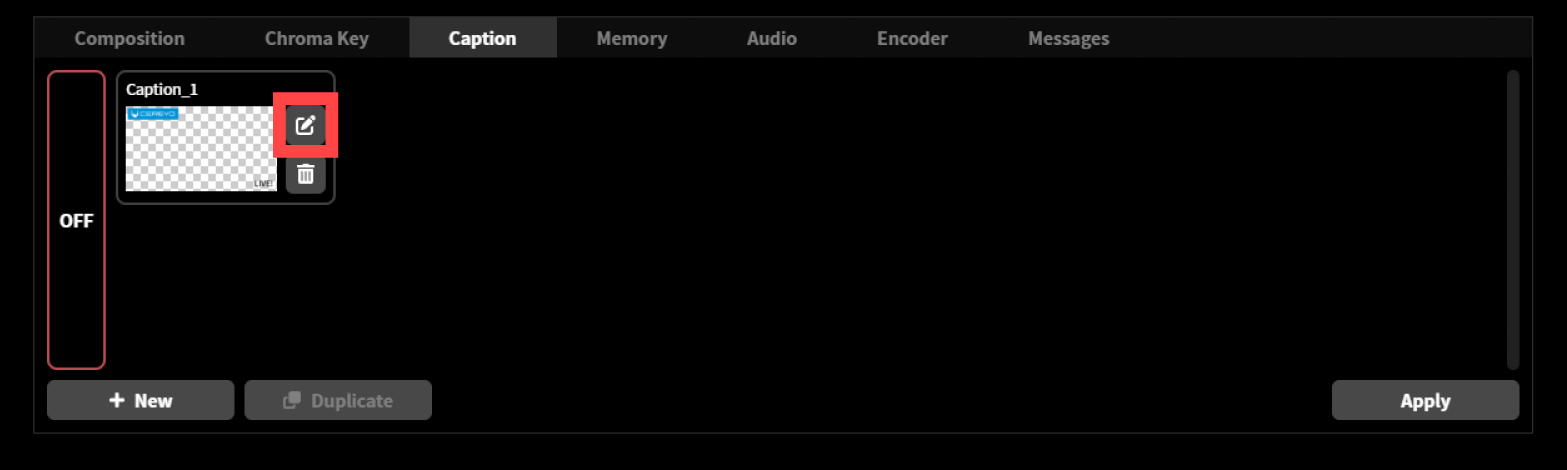
Deleting caption
You can delete a caption by clicking the “Delete” icon next to the caption thumbnail. Once deleted, the caption cannot be restored.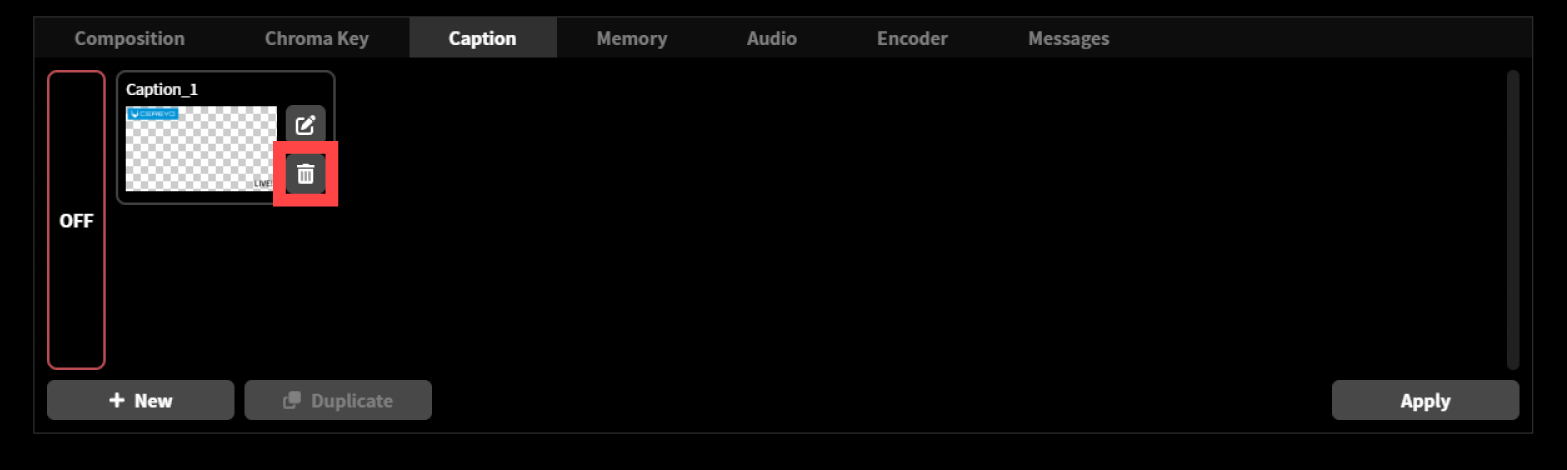
Duplicating caption text
You can duplicate caption text you’ve already created.
Select and Click the thumbnail of the caption text you want to duplicate. A green frame will appear around it when it’s selected.

Click the “Duplicate” button in the lower left.
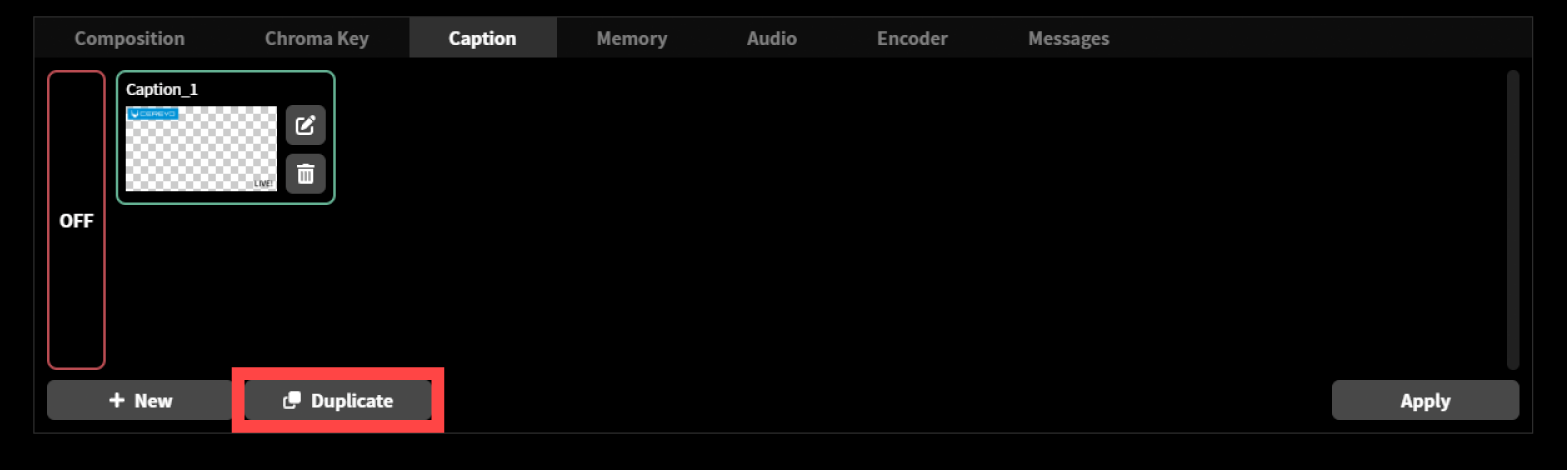
The selected caption text will be duplicated.
9-2 Adding text to live streaming video
To add text to a video stream, follow the steps below.
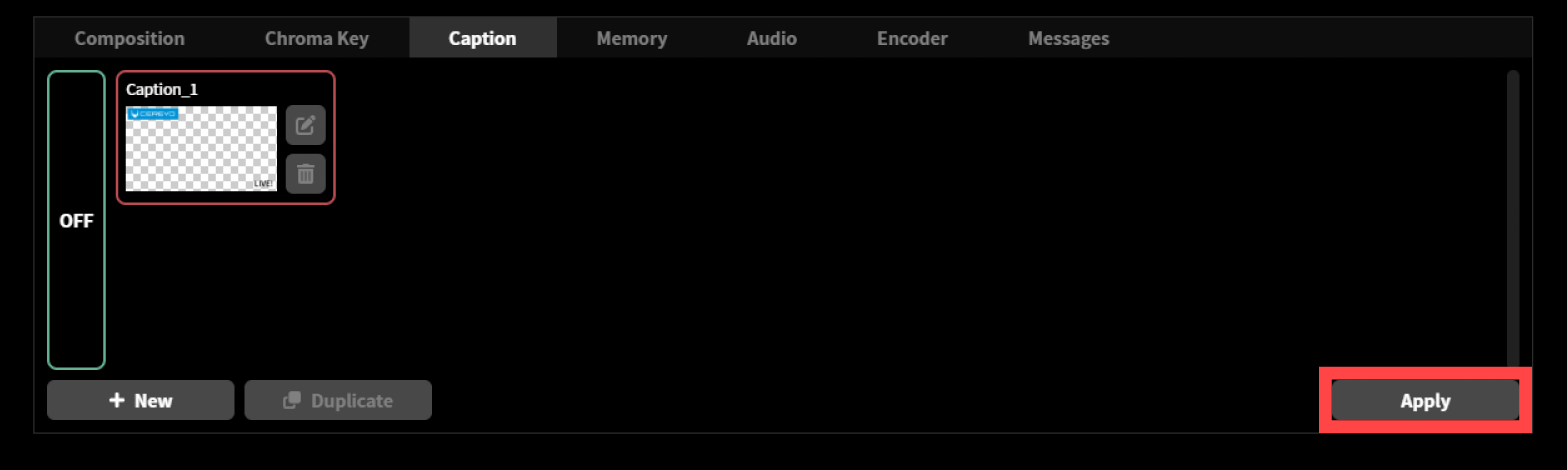
Select the thumbnail of the caption you want to apply.
Click the “Apply” button in the bottom right.
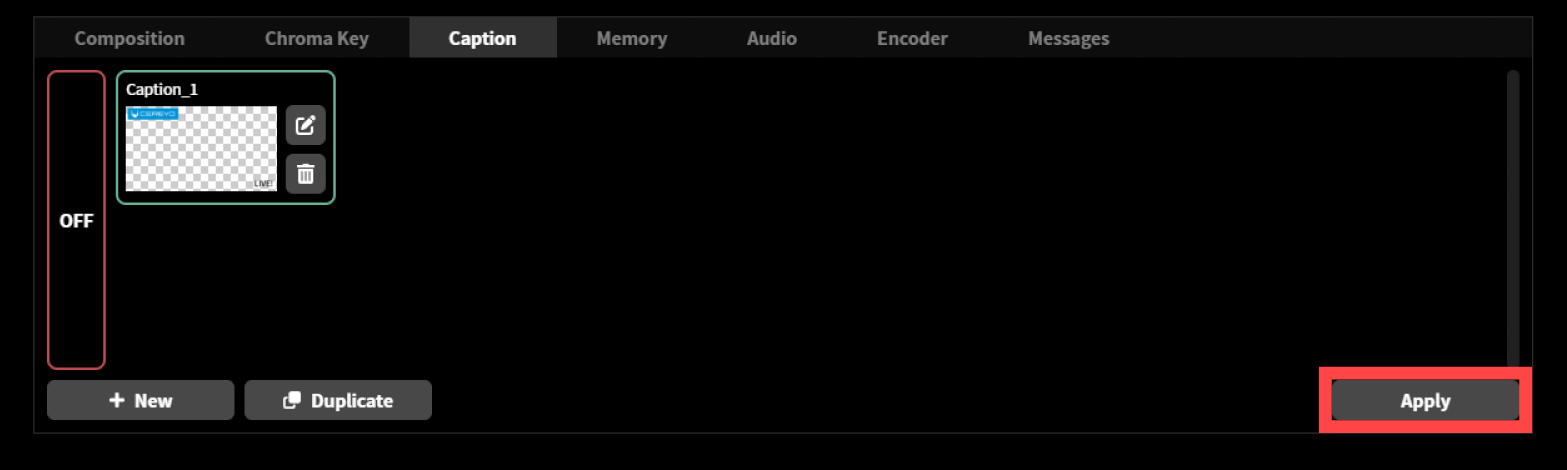
If you select and apply a new text while another text is already being composited, the composited text will be replaced by the newly selected text.
To stop overlaying captions onto the streamed video, please follow the steps below.
Click “OFF” displayed to the left of the caption thumbnail.
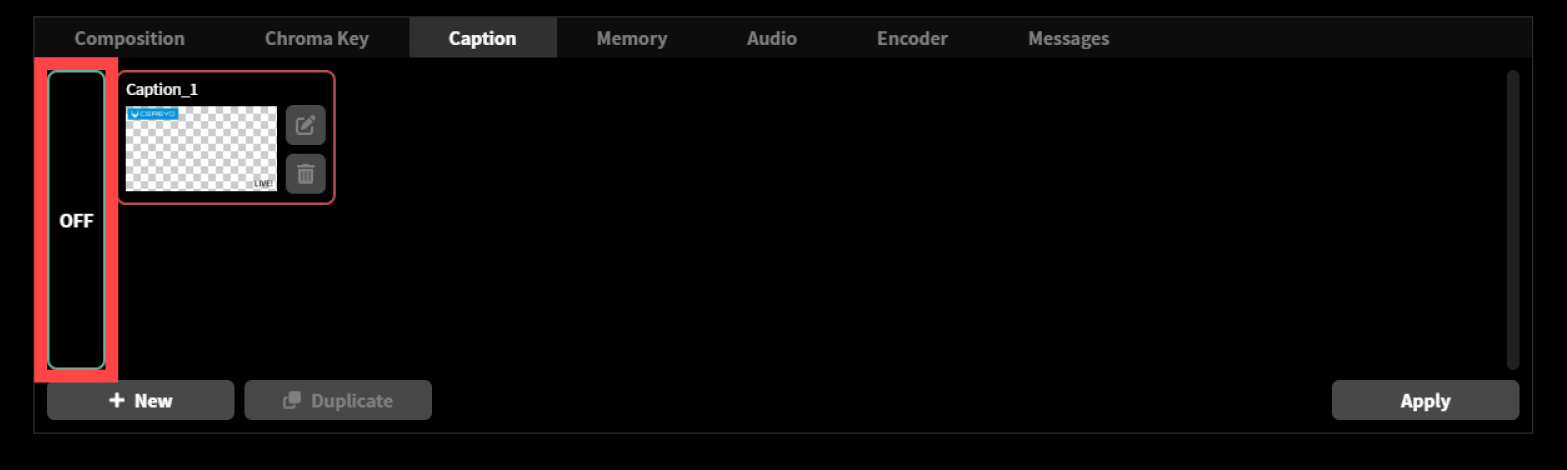
Click the “Apply” button in the bottom right.