6 Video and Audio Settings
This chapter describes how to configure the video and audio settings for this product.
6-1 System video format setting
Set the system video format to be used by this product.\ The system video format set here will also be applied to streamed and recorded video.
The video format of the video device (camera, computer, etc.) using HDMI input must be the same as the system video format of this product. If the settings are different, the video may not be recognized correctly by this product.
For this reason, set the video output format settings of video devices (camera, computer, etc.) and the system video format of this product to match the video format you actually want to use for streaming and recording.For instructions on how to set the output of your video device, please refer to the manual for each product.
By default, the system video format for this product is set to “1920x1080 60p (1080p 60fps)”.To change this setting, follow the steps below. \This can be done from LiveShell Studio or the product itself.
Tip
If you change the system video format or video device output settings while this product power is on, this product may not recognize the video correctly. \If this happens, please reboot this product.
Tip
If this product does not recognize the video correctly, see the troubleshooting below.
→Video is not recognized correctly/Errors occur
Operating with LiveShell Studio
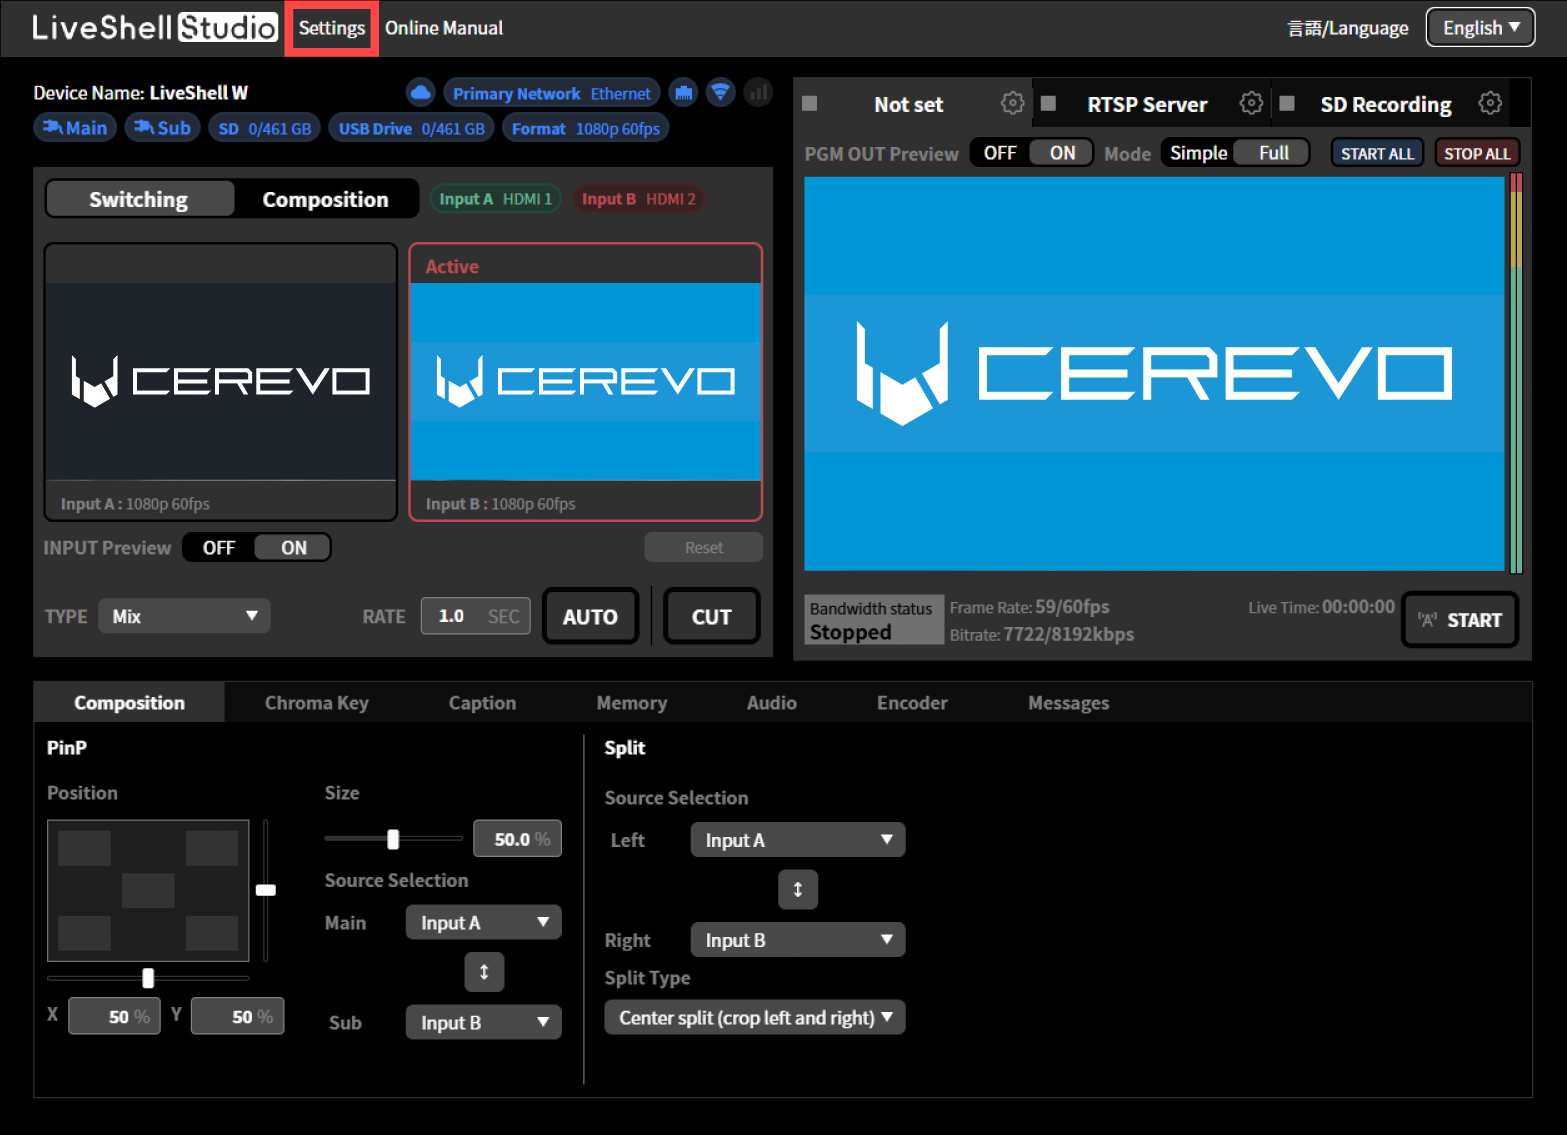
Click “Settings” at the top of the home screen.
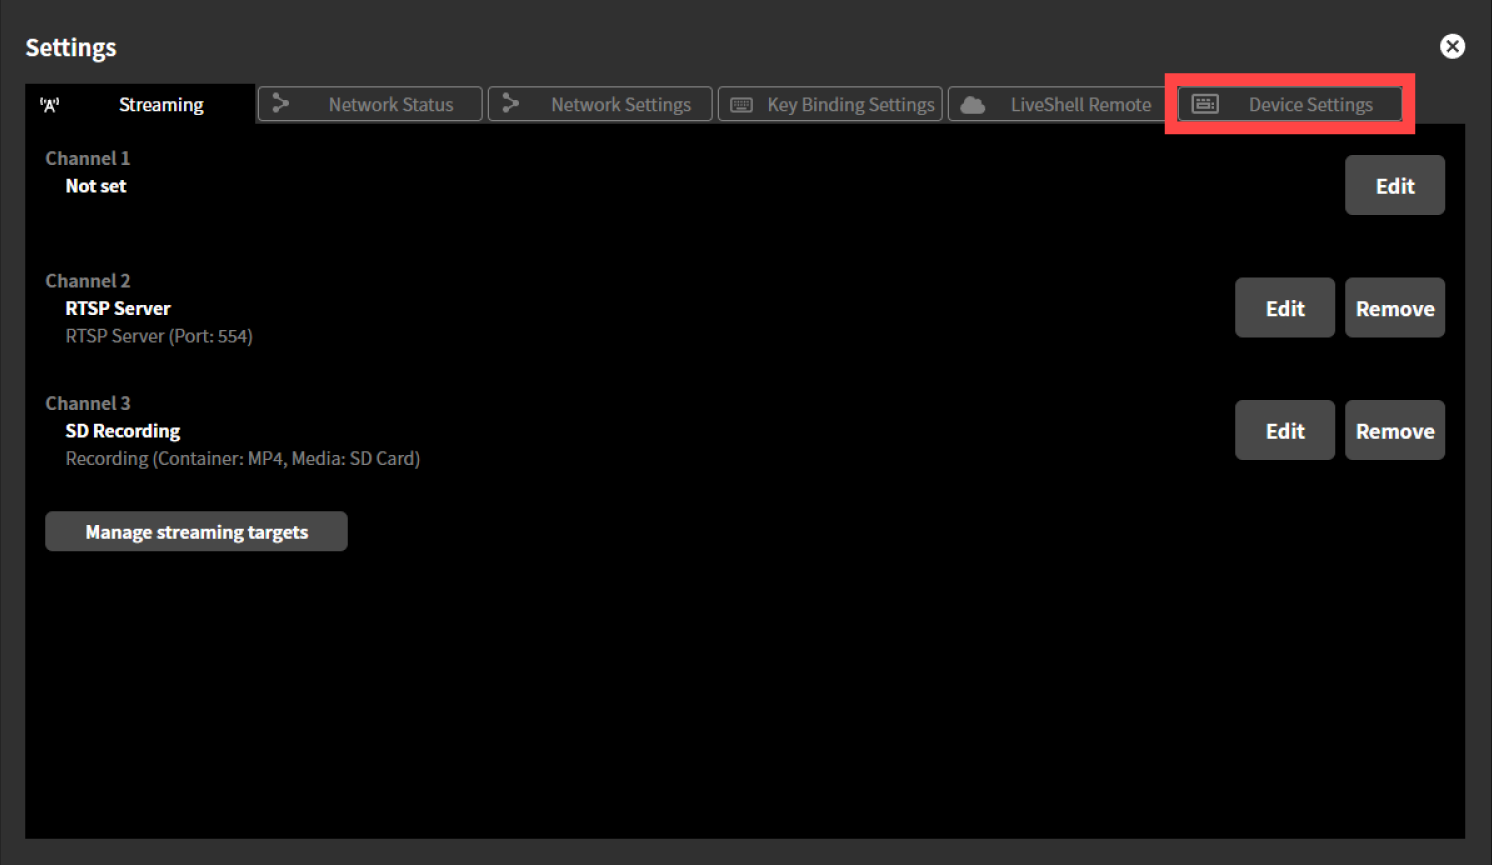
Click the “Device Settings” tab at the top of the “Settings” screen.
Select the desired setting from the drop-down menu under “System Video Format”.\ For details on each setting, see below.
→System video formatClick the “Save” button to apply the settings.
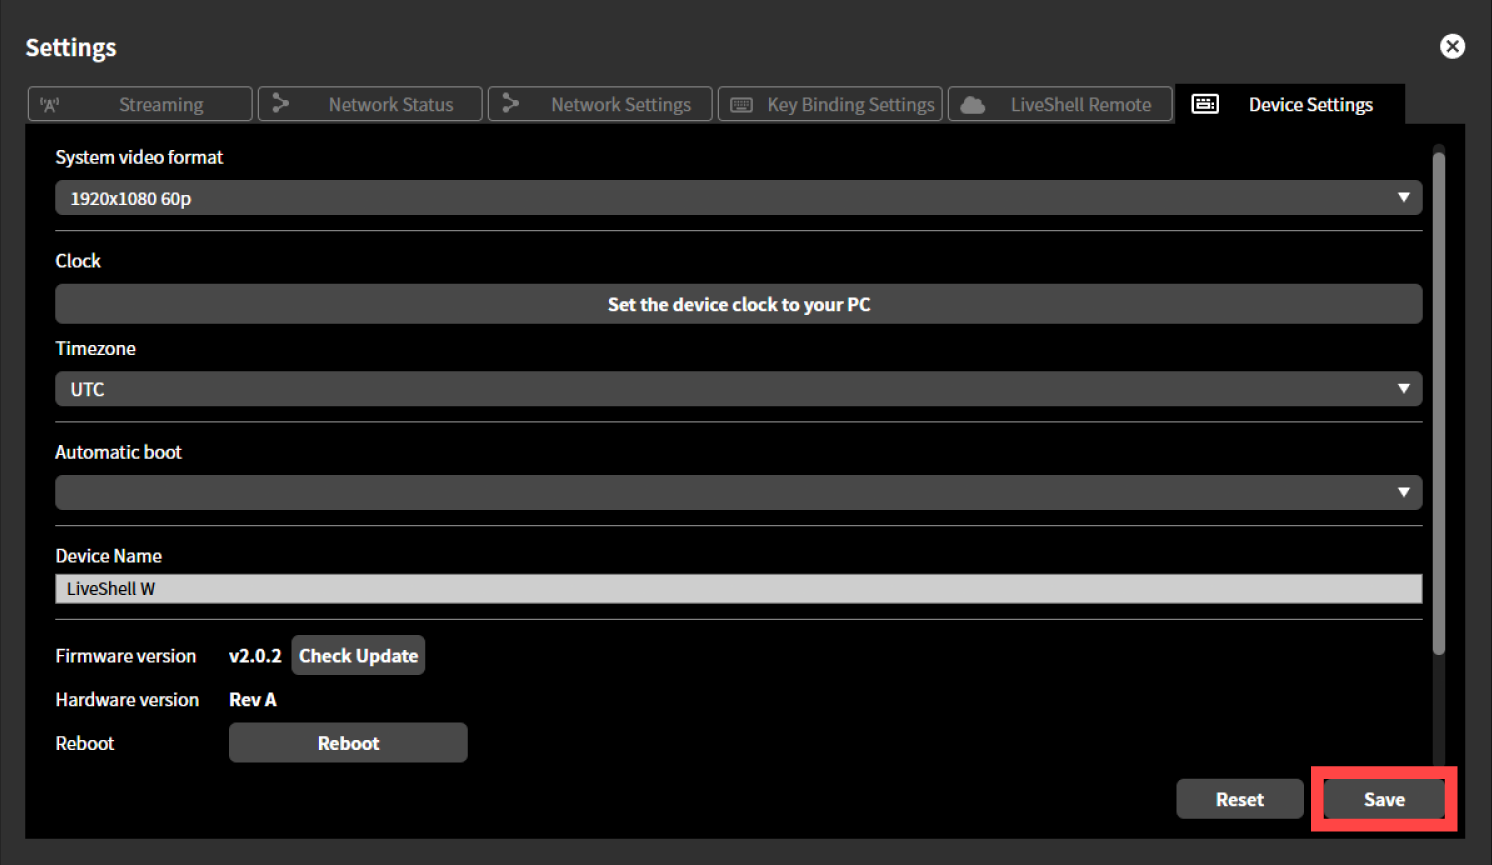
Reboot this product.
Operating from the device
Push the control dial, “MAIN MANU” is displayed.
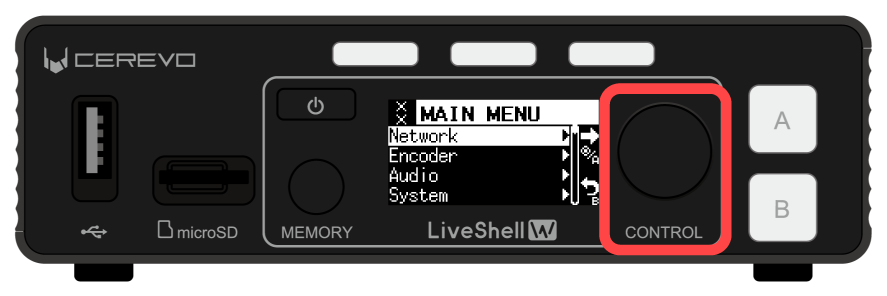
Turn the control dial, select “Encoder” and push Video select button A on the front of this product.
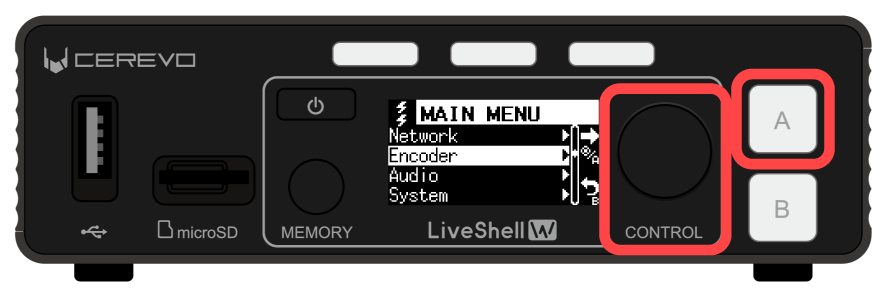
Turn the control dial, select “SysVideoFmt” and push Video select button A on the front of this product.
Follow the same steps as above for each of the displayed settings and set the desired values.
See below for details on each setting.
→System video formatIf you set it on the main unit, select the desired value in each input field. The setting will be applied when you press the Video select button A.
Reboot this product.
6-2 Setting the video
To configure the video settings for streaming and recording, follow the steps below.
This configuration can also be set using LiveShell Studio or the unit itself.
Operating with LiveShell Studio
Click “Encoder” at the bottom of the home screen.
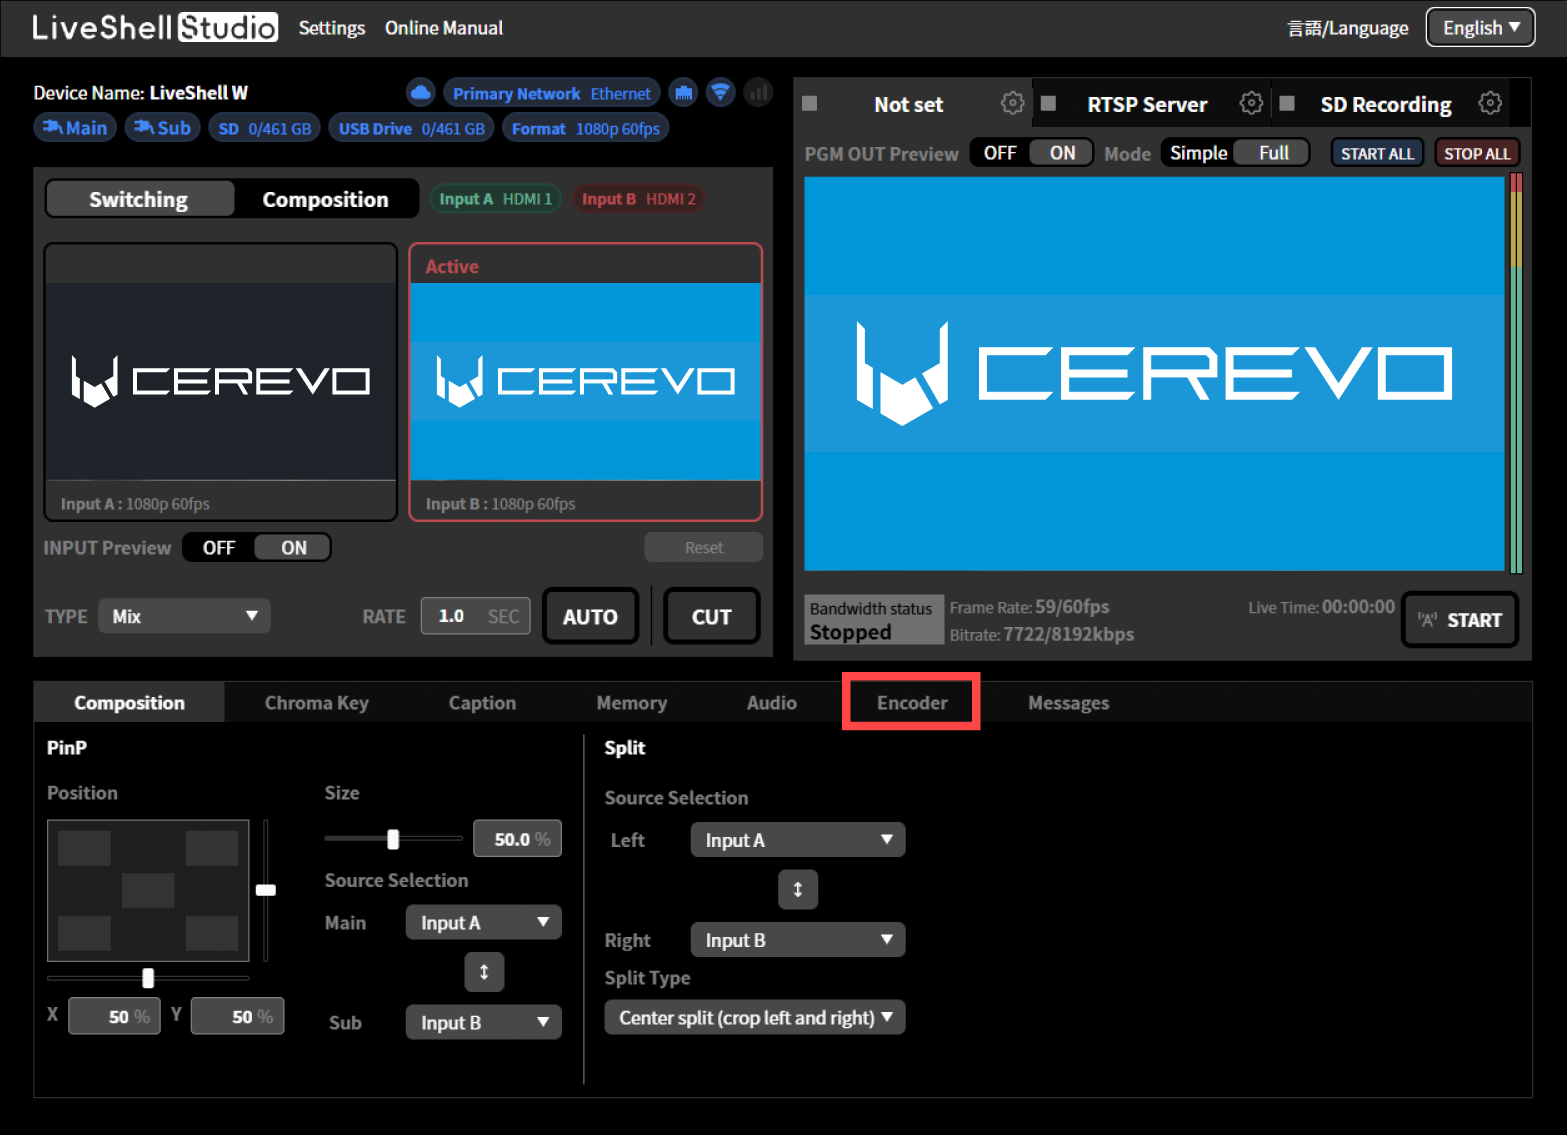
Enter the desired value for each setting.
For details on each setting, see below.
→Video encoder Settings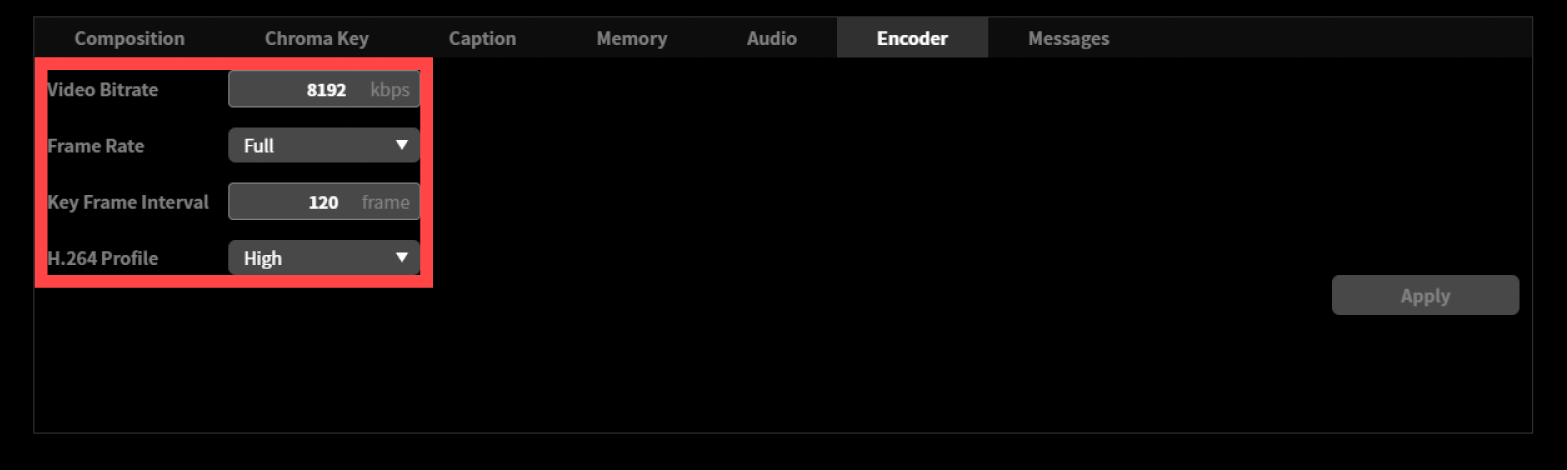
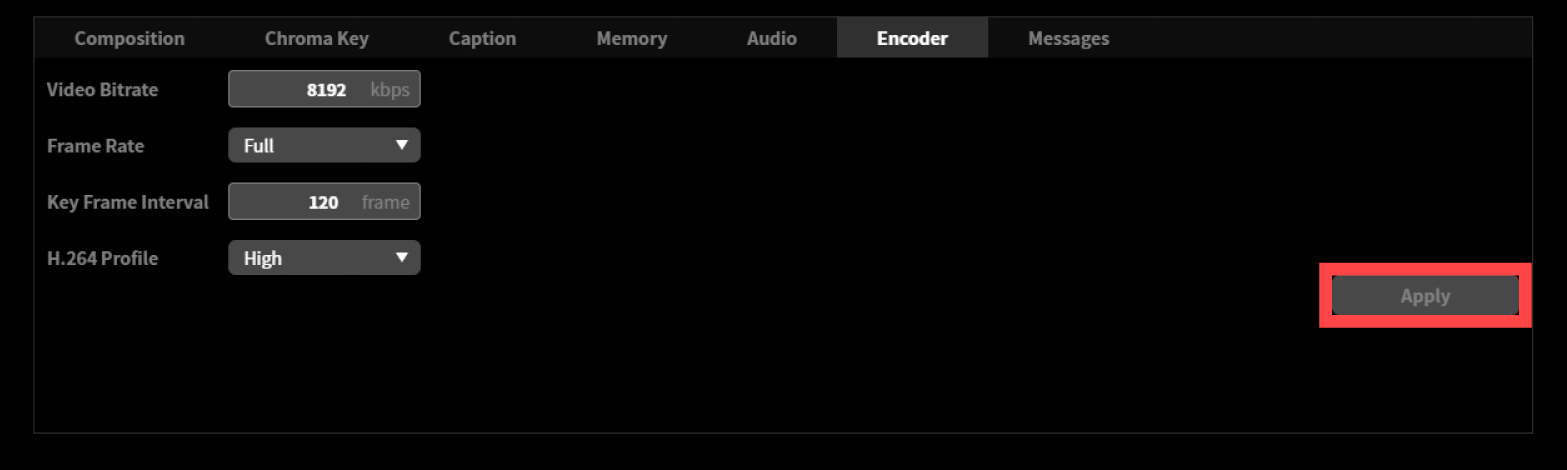
Click the “Apply” button to apply the settings.
Operating from the device
Push the control dial, “MAIN MANU” is displayed.
Turn the control dial, select “Encoder” and push Video select button A on the front of this product.
Follow the same steps as above for each of the displayed settings and set the desired values.
See below for details on each setting.
→Video encoder SettingsIf you set it on the main unit, select the desired value in each input field. The setting will be applied when you press the Video select button A.
6-3 Setting the audio
To configure the audio settings for streaming and recording, follow the steps below.
This configuration can also be set using LiveShell Studio or the unit itself.
Operating with LiveShell Studio
Click “Audio” tab at the bottom of the top of the home screen.
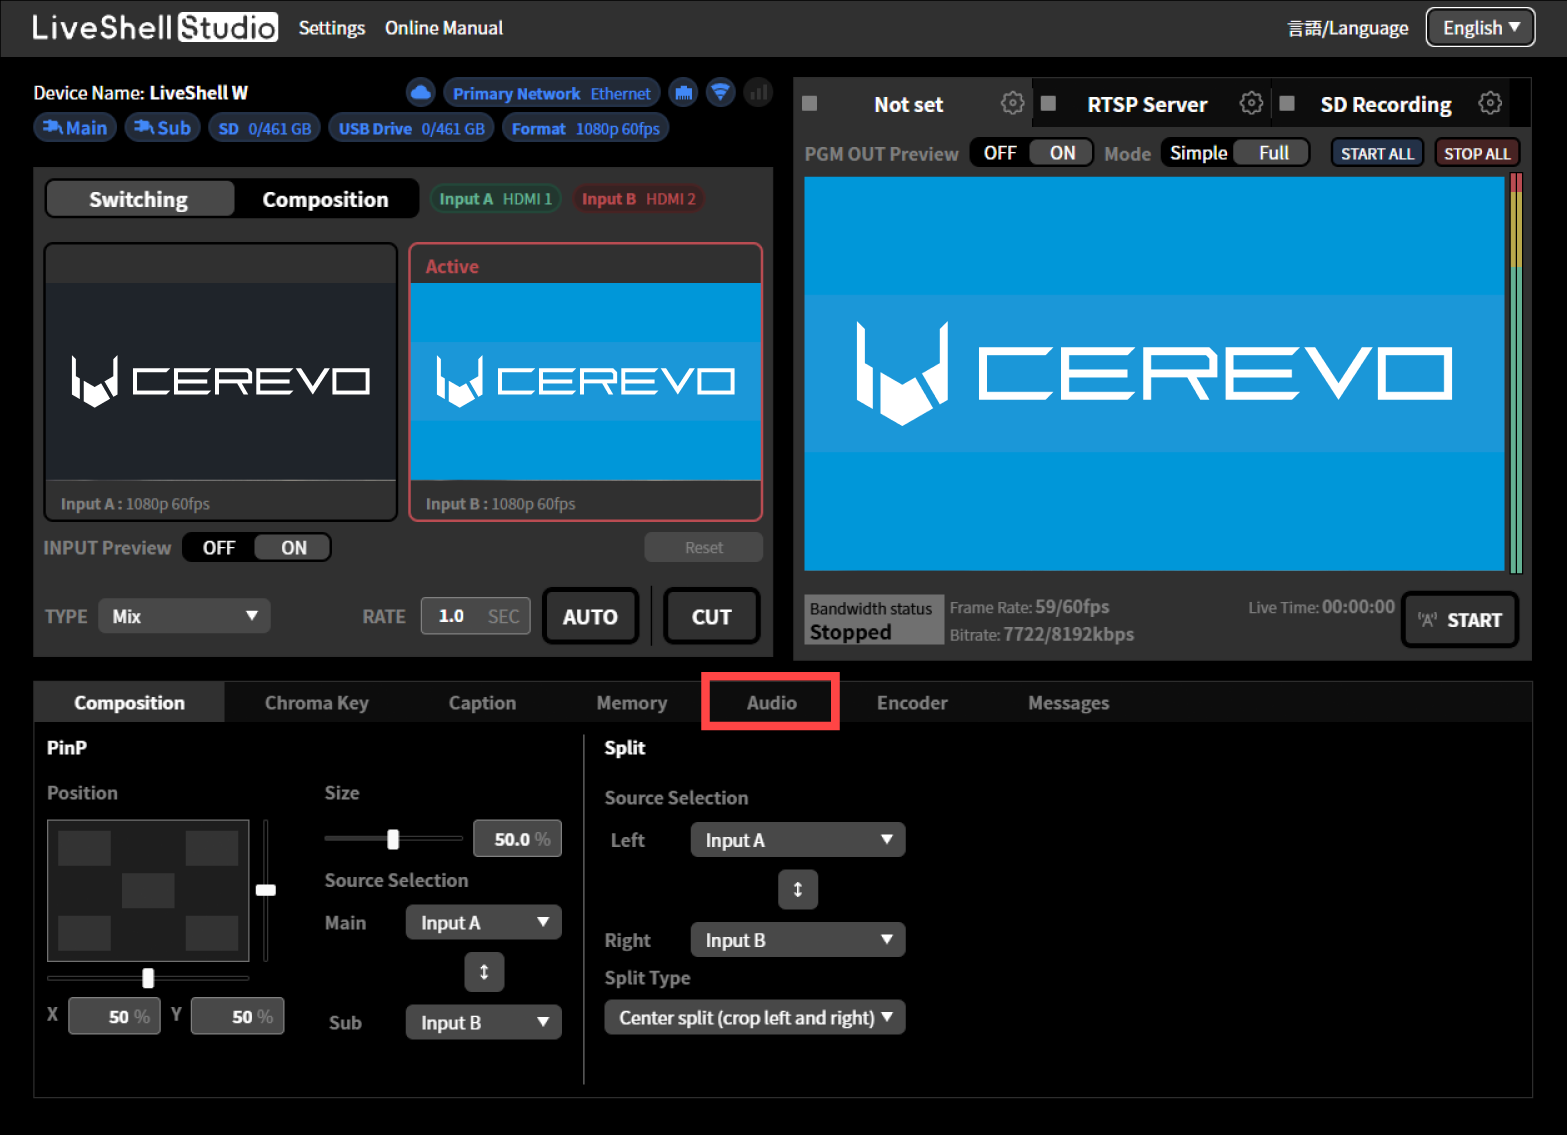
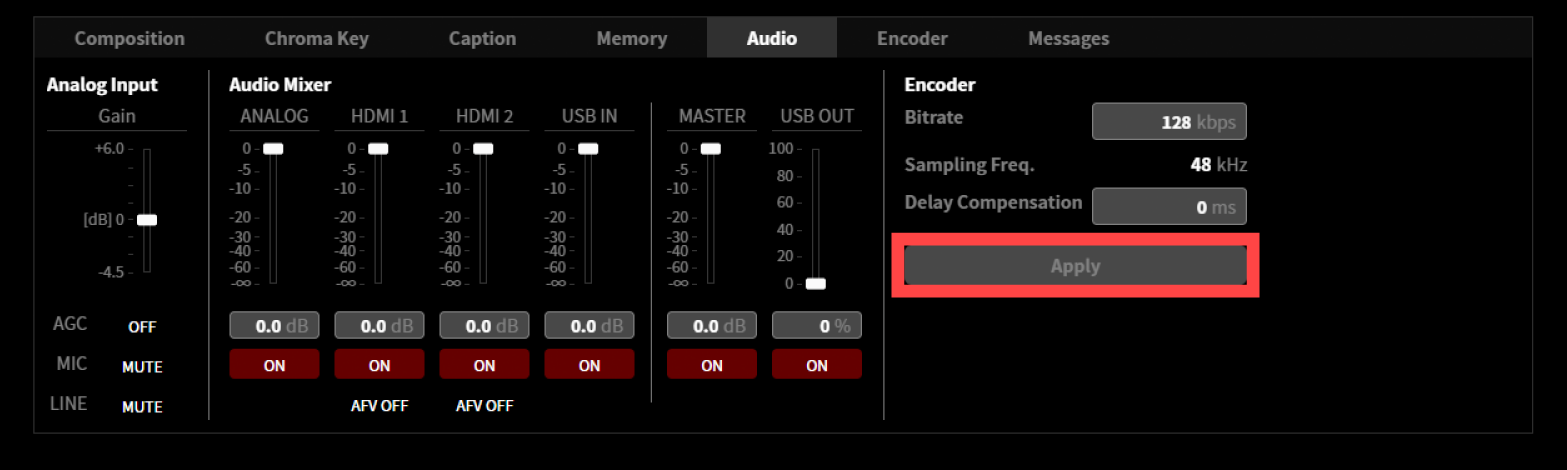
Enter the desired value for each setting in “Encoder”. For details on each setting, see below.
→ Audio encoder
Click the “Apply” button to apply the settings.
Operating from the device
Push the control dial, “MAIN MANU” is displayed.
Turn the control dial, select “Encoder” and push Video select button A on the front of this product.
Follow the same steps as above for each of the displayed settings and set the desired values.See below for details on each setting.
→Audio encoderIf you set it on the main unit, select the desired value in each input field. The setting will be applied when you press the Video select button A.
6-3 Setting Audio mixer
To configure the audio mixer settings for streaming and recording, follow the steps below.This configuration can also be set using LiveShell Studio or the unit itself.
Operating with LiveShell Studio
Click “Audio” tab at the bottom of the top of the home screen.
Enter the desired value shown in the audio mixer setting. Or you can adjust it by sliding the Audio fader.
See below for details on each setting.
→Audio mixer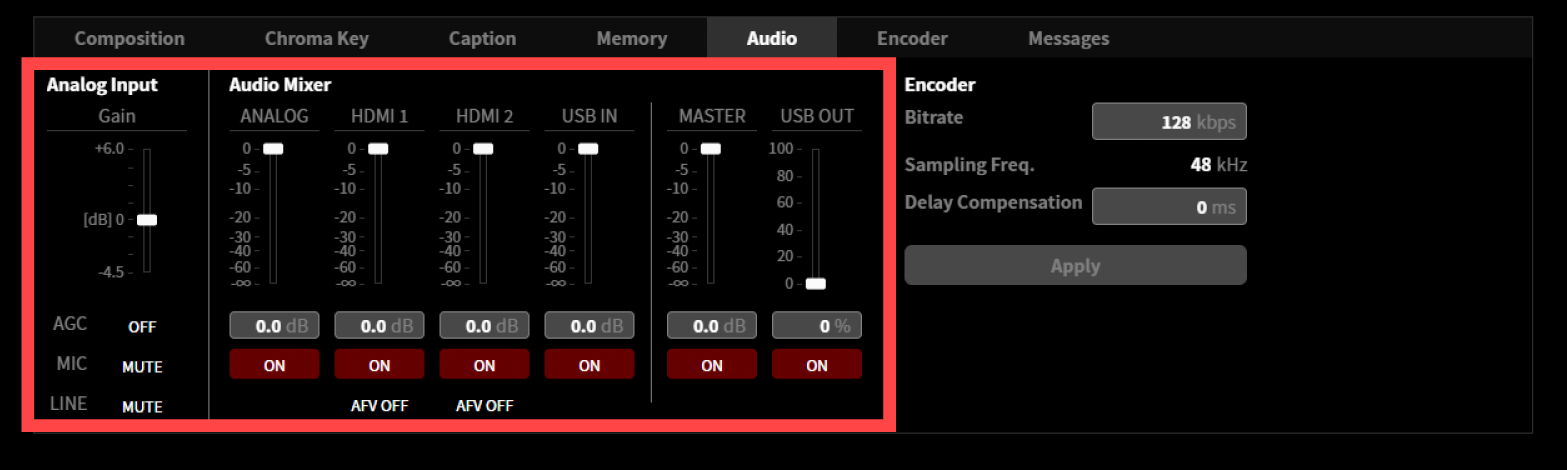
In either case, the settings are applied immediately.
Operating from the device
Push the control dial, “MAIN MANU” is displayed.
Turn the control dial, select “Audio” and push Video select button A on the front of this product.
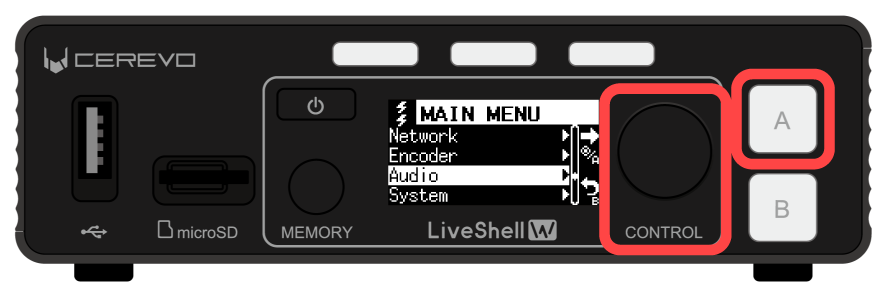
Turn the control dial, select “Mixer”. Push Video select button A.
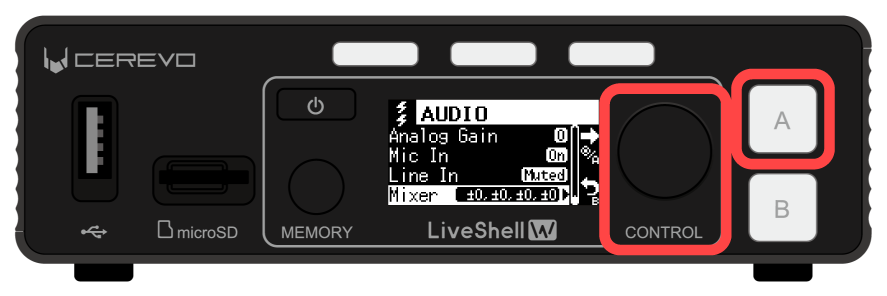
Turn the control dial, select the setting item you wish to set. Push Video select button A.
Enter the desired value shown in the audio mixer setting.
See below for details on each setting.
→Audio mixerIf you set it on the main unit, select the desired value in each input field. The setting will be applied when you press the Video select button A.
Tip
The “Audio” tab allows you to adjust the analog audio input gain, adjust the MIC input preamp gain, set AFV, AGC, mute, and perform delay adjustment.
See below for details on each setting.
→Audio mixer