10 More Convenient Usage
This chapter explains how to use this product more conveniently.
Automatic boot
This product can be set to automatically start up when power is supplied from an AC adapter, mobile battery, etc.
To set up automatic boot, follow the steps below.
This can be done from LiveShell Studio or the device itself.
Using LiveShell Studio
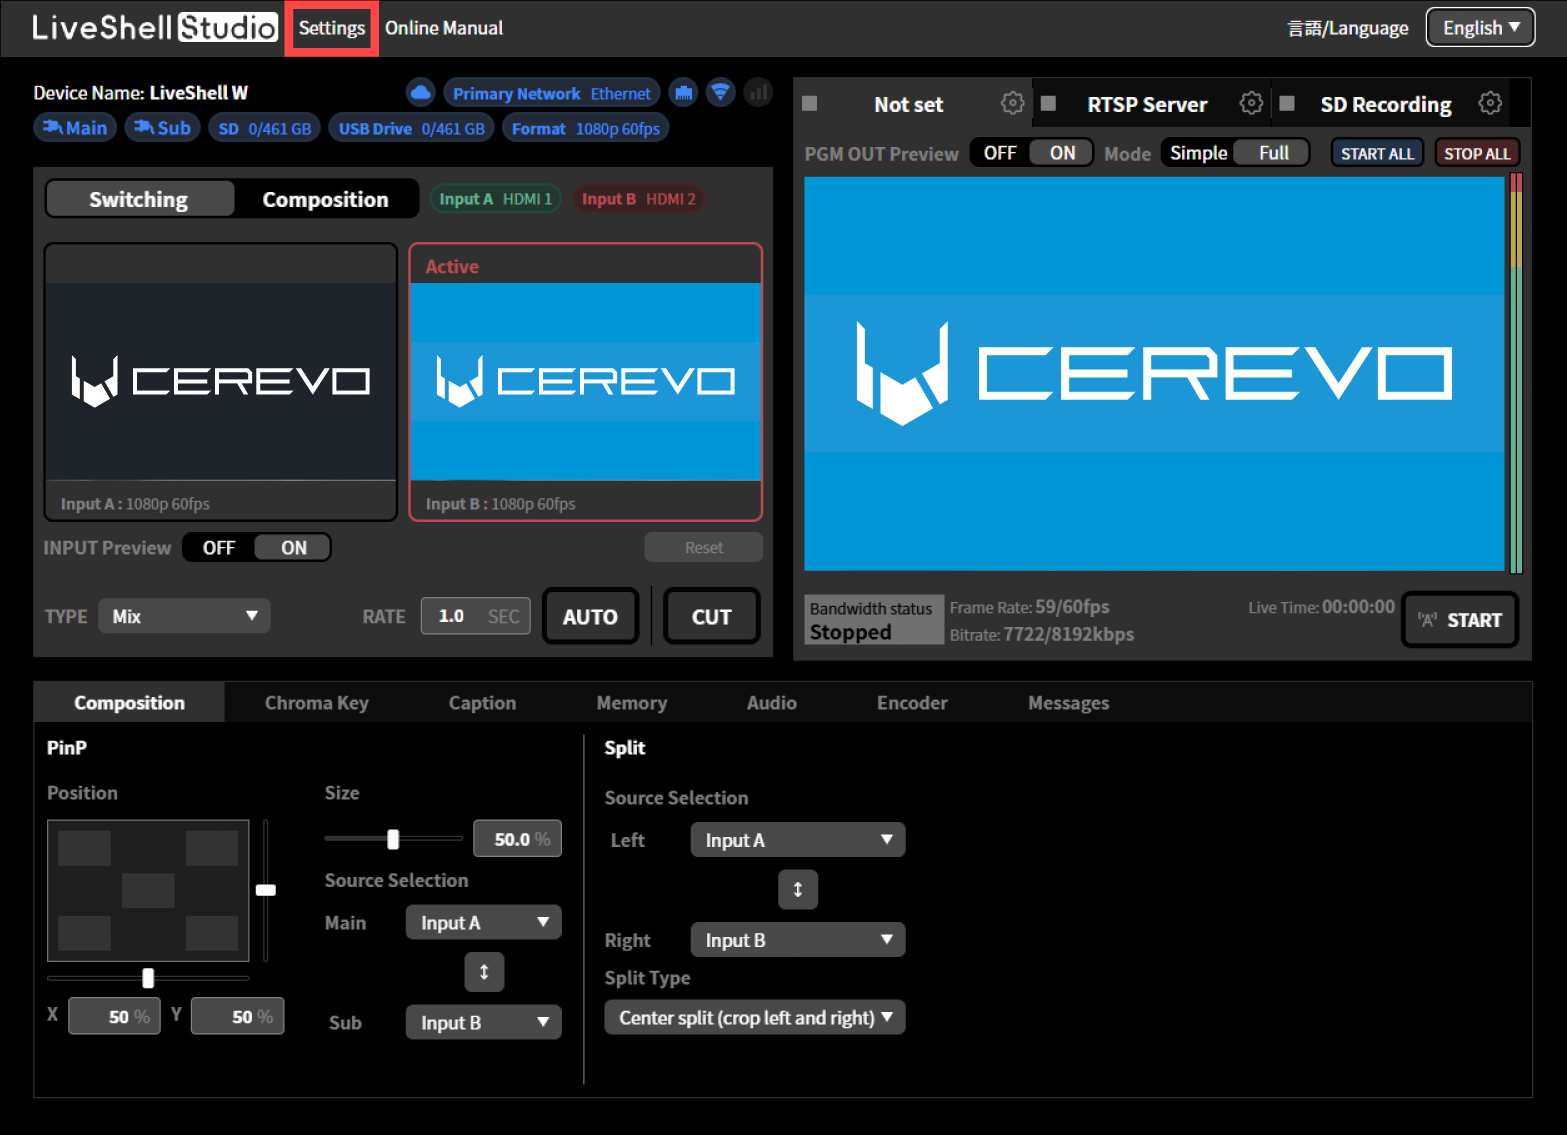
Click “Settings” at the top of the home screen.
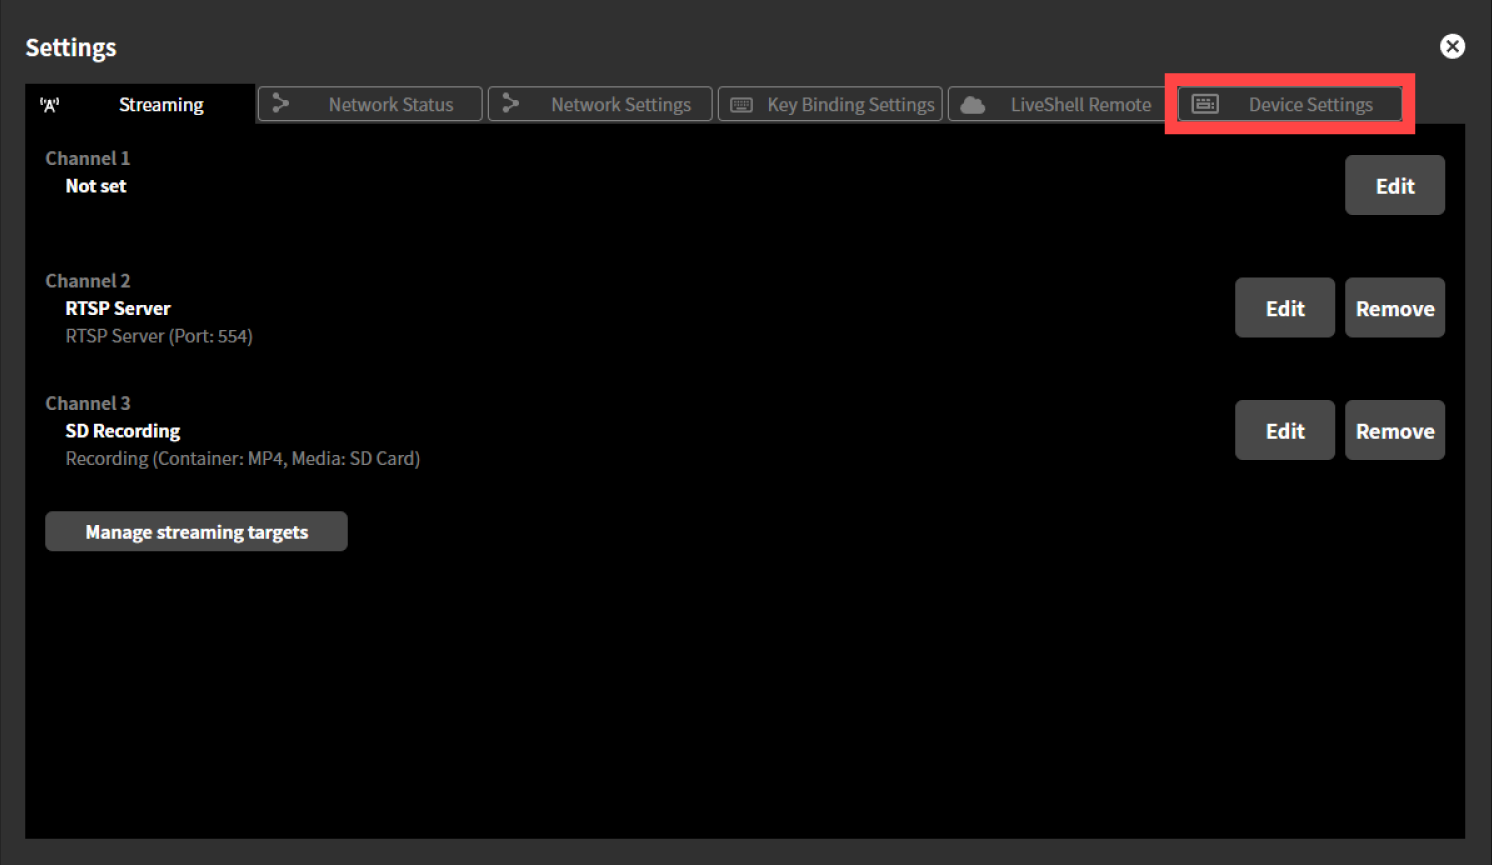
Click the “Device Settings” tab at the top of the “Settings” screen.
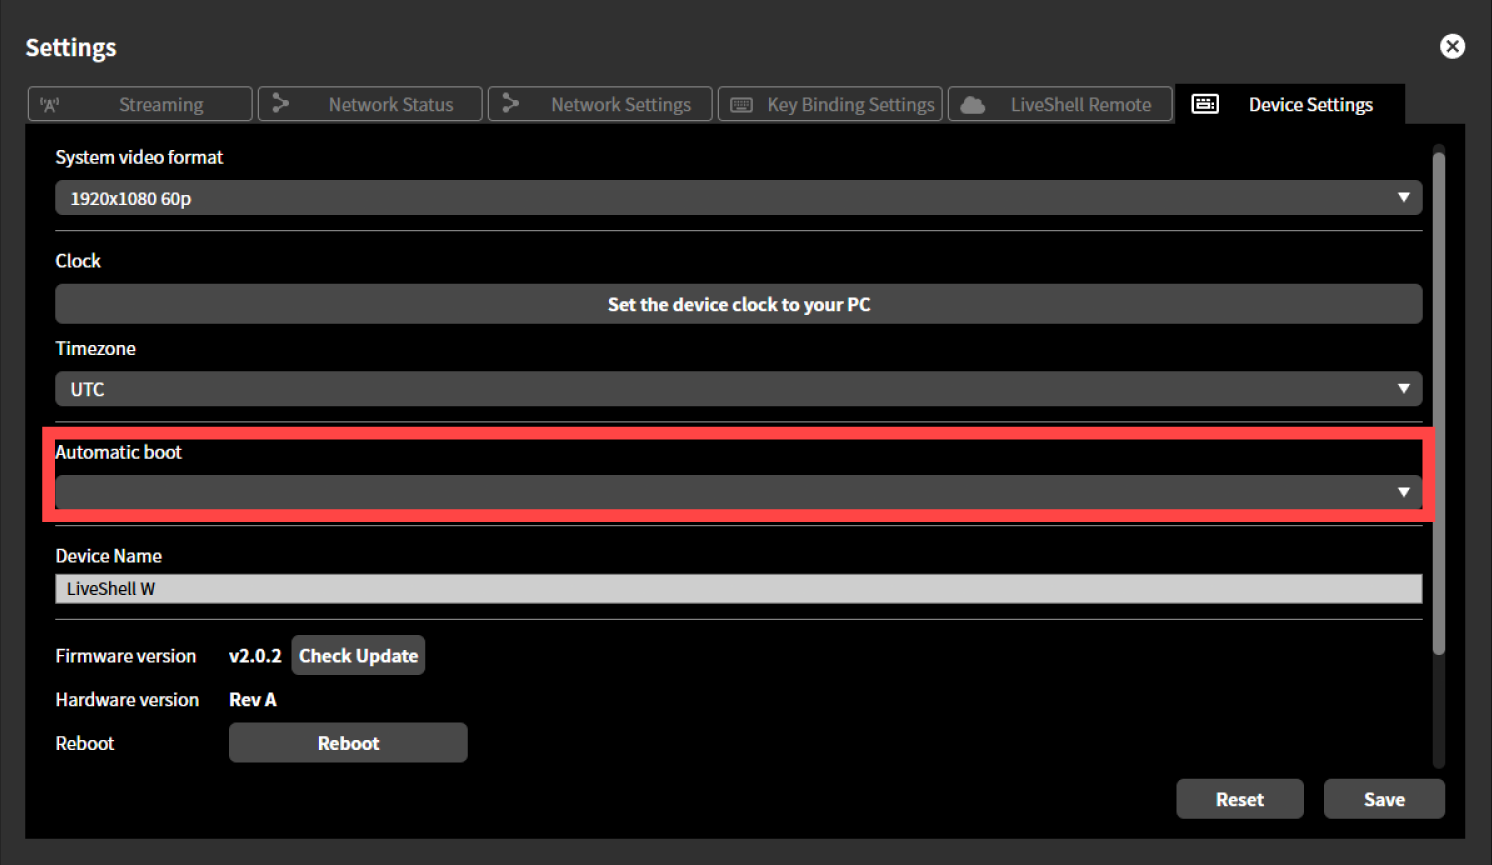
Select “ON” from the drop-down menu under “Automatic boot.”
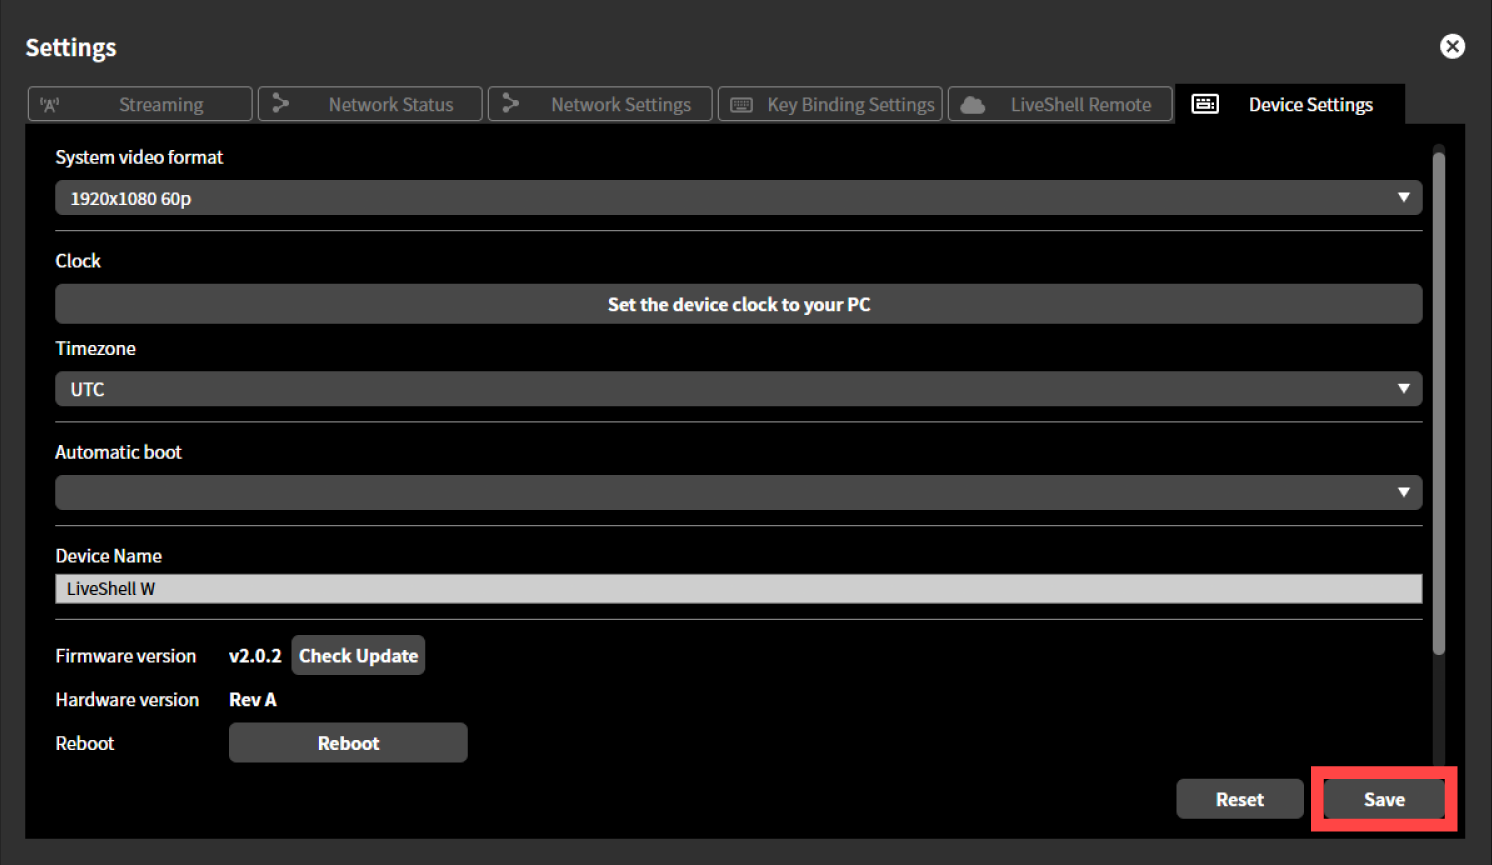
Click the “Save” button to apply the settings.
Using the Main Unit
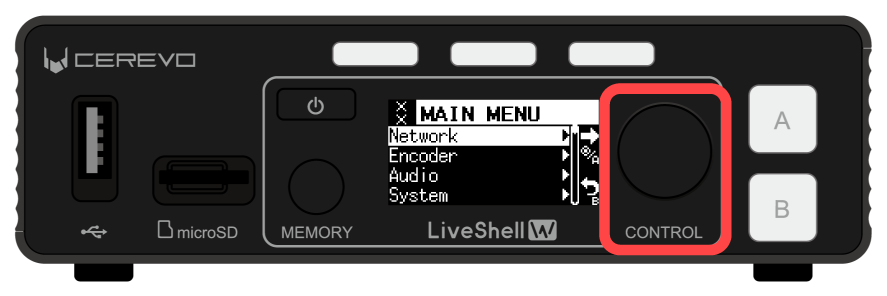
Press the control dial. The “MAIN MENU” is displayed.
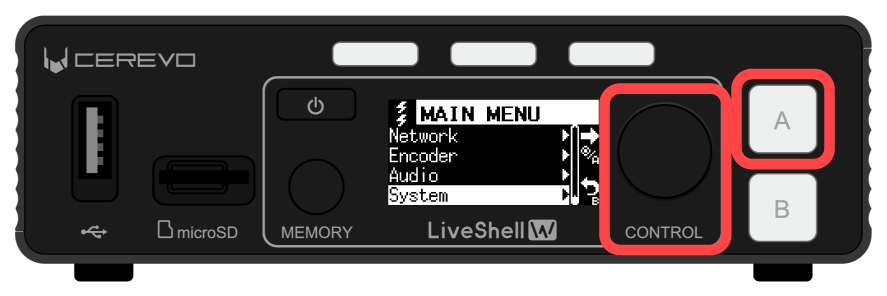
Turn the control dial to select “System” and press the Picture Select Button A.
Turn the control dial to select “Automatic Boot” and press the Picture Select Button A.
Turn the control dial to select “On” and press the Picture Select Button A to apply the setting.
Auto live streaming start setting
This product can be set to start live streaming automatically when power is supplied from an AC adapter, mobile battery, etc.
To set up automatic live streaming start setting, check “Auto Start” in the Destination Type settings.
→Settings for live streaming destination types
Screen saver setting
This product is equipped with a screen saver.
This product’s unit display uses OLED. Due to the characteristics of OLED, screen burn-in may occur if the same screen is displayed for an extended period of time. To avoid this, the screen saver is recommended. When the screen saver is turned on, if the main UI is not used for a specified period of time, specific displays will be displayed up and down to prevent screen burn-in.
To set it up the screen saver, follow the steps below.
This can be done from the device only, not from the LiveShell Studio.
Please note that the screen saver setting will not work in the following cases:
When the home screen of a channel currently streaming or recording is displayed.
When any menu is displayed
Press the control dial. The “MAIN MENU” is displayed.
Turn the control dial to select “System” and press the Picture Select Button A.
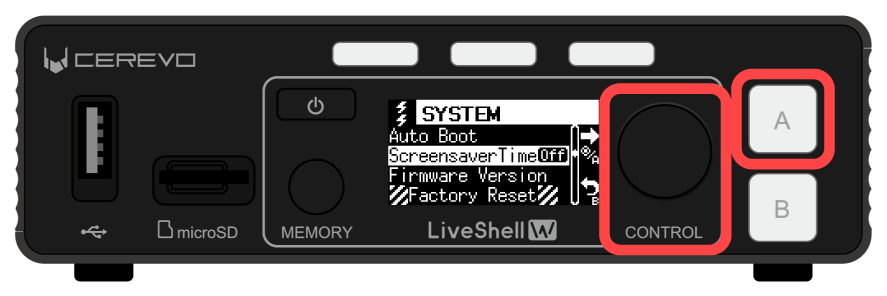
Turn the control dial to select “Screensaver Time” and press the Video Select Button A.
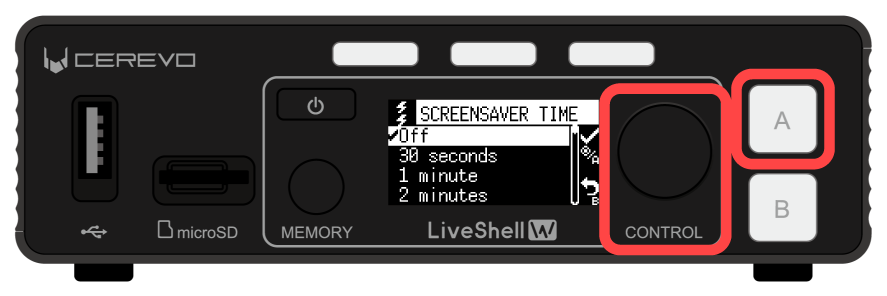
Turn the control dial to select the item you want to set and press the Video Select Button A to apply the setting.
Setting using LiveShell Studio
LiveShell Studio is a web application embedded in the LiveShell W device. If your network settings are DHCP, the login URL may change each time you start up the LiveShell W device, depending on the network environment you’re connected to.
The LiveShell Studio login URL depends on the LiveShell W device’s IP address. Therefore, if you want to fix the login URL, set LiveShell W to a fixed IP address.
See below for instructions on how to set a fixed IP address.
→I want to fix the unit’s IP address.
Memory function
The memory function allows you to save settings such as the switcher status, audio mixer adjustments, and whether or not to apply captions, and then easily call up a saved preset and apply those settings.
For detailed setup and how to use it, please see below.
→Memory Function
Key Assignment
Key assignment allows you to customize the operation of this product to suit your needs and preferences.By assigning keys, you can control the product using such as a separately sold LiveShell ControlPad or a USB keyboard.You can also customize the functions assigned to the unit’s buttons and control dials, allowing you to assign unique functions that are different from the standard.
For detailed setup and how to use, please see below.
→Key Assignment